It's move-in weekend, your help desk queue is already full, and the first complaint isn't about speed. It's that a laptop connects in the hallway, drops in the bedroom, and won't let a resident submit coursework from their desk. That's the moment student housing wifi stops being an amenity and becomes a service you have to defend, room by room and hour by hour.
Why Dorm WiFi Breaks at the Worst Moments
Say it's 9 p.m. during exam week. One floor is streaming lectures, another is on video calls home, and someone's console picks that exact moment to download an update. The network looked fine at noon. By evening, latency climbs, calls freeze, and residents switch to phone hotspots and blame the building.
That frustration isn't anecdotal. In Boldyn Networks' 2025 Campus Connectivity Report, 73% of U.S. college students said reliable internet in residence halls was essential, while 26% were very satisfied with their experience. That 47-point gap explains why headline download speed is the wrong target. Residents judge you on whether the connection holds up at peak hour, in their room, when it matters.
Three groups, three access paths
A workable design serves residents on personal devices, staff and faculty on managed or BYOD laptops, and visitors on guest wifi. One Cisco Meraki network with a captive portal can carry all three, but they shouldn't share one credential, one policy, or one failure mode.
You'll size capacity from real numbers, survey rooms before placing access points, onboard residents cleanly, choose credentials you can revoke, connect identity without mixing traffic, and monitor what residents feel. Do that in order and you'll have a plan a facilities or IT lead can sign off on with confidence.
Size Capacity From Real Resident Numbers
Bed count is the number finance asks for. It is not the number that sizes your network. In a University of Colorado Boulder dormitory study, the observed average was approximately 8 to 14 connected devices per 10 residents, equivalent to about 0.8 to 1.4 devices per person. Treat that as your opening baseline, then replace it with your own DHCP and authenticated-client data before you finalize access point counts or internet capacity.
Separate total registered devices from peak concurrent devices. A resident may register a phone, laptop, watch, TV, and console, but they won't all push traffic at once. What breaks evenings is concurrency in the same airspace, on the same floor, at the same hour.
Work the demand example before you buy bandwidth
The math is simple once you have one honest input: your measured average throughput per student across a full month, pulled from your own controller or ISP logs. Suppose your telemetry puts that figure at 0.5 Mbps per student. A 300-resident building then averages about 150 Mbps, and evening peaks will run several times higher than the monthly average. Plug your own number into that calculation before you sign a circuit order, because the gap between average and peak is exactly why you need bandwidth management tools and per-floor telemetry, not just a bigger pipe.
Your switching layer has to carry that peak without becoming the bottleneck, especially where access points need multigigabit uplinks and PoE headroom. If you're reviewing compact aggregation options for a wiring closet refresh, explore the Catalyst C1300 24XTS as part of that hardware comparison, then validate the choice against your own port and power counts.
Device and bandwidth planning by building size
| Residents | Registered device range | Average demand at the 0.5 Mbps-per-student example | Planning note |
|---|---|---|---|
| 100 residents | 80 to 140 devices | About 50 Mbps average | Size access points for airtime at evening peak |
| 300 residents | 240 to 420 devices | About 150 Mbps average | Check per-floor airtime and client density |
The mistakes that inflate or understate the plan
- Counting only laptops: Phones, TVs, consoles, speakers, and IoT devices all associate, roam, and retry, even when they're not streaming.
- Treating advertised rates as user throughput: The number on the box is an aggregate radio rate under ideal conditions, not what a resident at the room edge gets.
- Ignoring slow clients: Many low-rate clients can consume more airtime than a few fast ones, because each frame occupies the channel longer.
- Letting stale registrations stand in for live demand: Devices belonging to students who moved out still appear in controller lists. A system that lets the property manager reset Wi-Fi passwords between lease agreements and schedule the next move-in keeps your registered-device count honest, so you size for current residents rather than ghosts.
Practical rule: Size access points on channel utilization and interference first, and bandwidth second. A fast uplink can't fix a channel that's already saturated with retries.
Collect controller telemetry by room, floor, radio band, and hour, then validate your assumptions during an evening high-use period. If your own data shows more devices per person than the baseline, believe your building and adjust.
How to Survey Rooms and Place Access Points
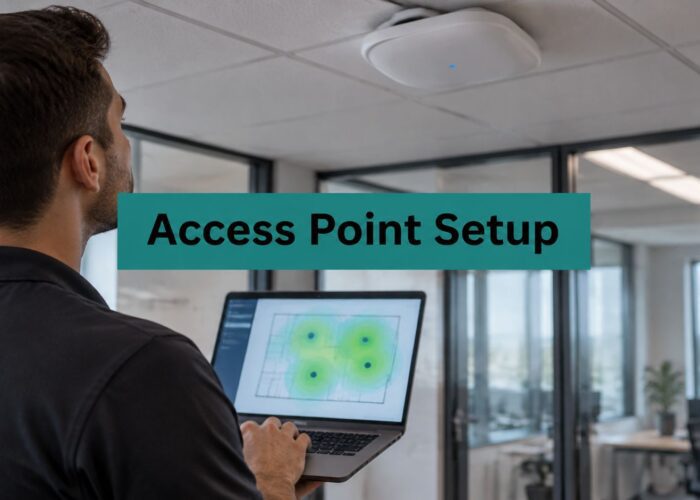
Coverage maps drawn from a desk will lie to you in a dorm. Concrete, fire doors, bathroom tile, and metal risers change signal in ways a floor plan alone won't show, so you need measurements from inside real rooms. Good wireless site surveys turn those surprises into a channel and power plan you can install.
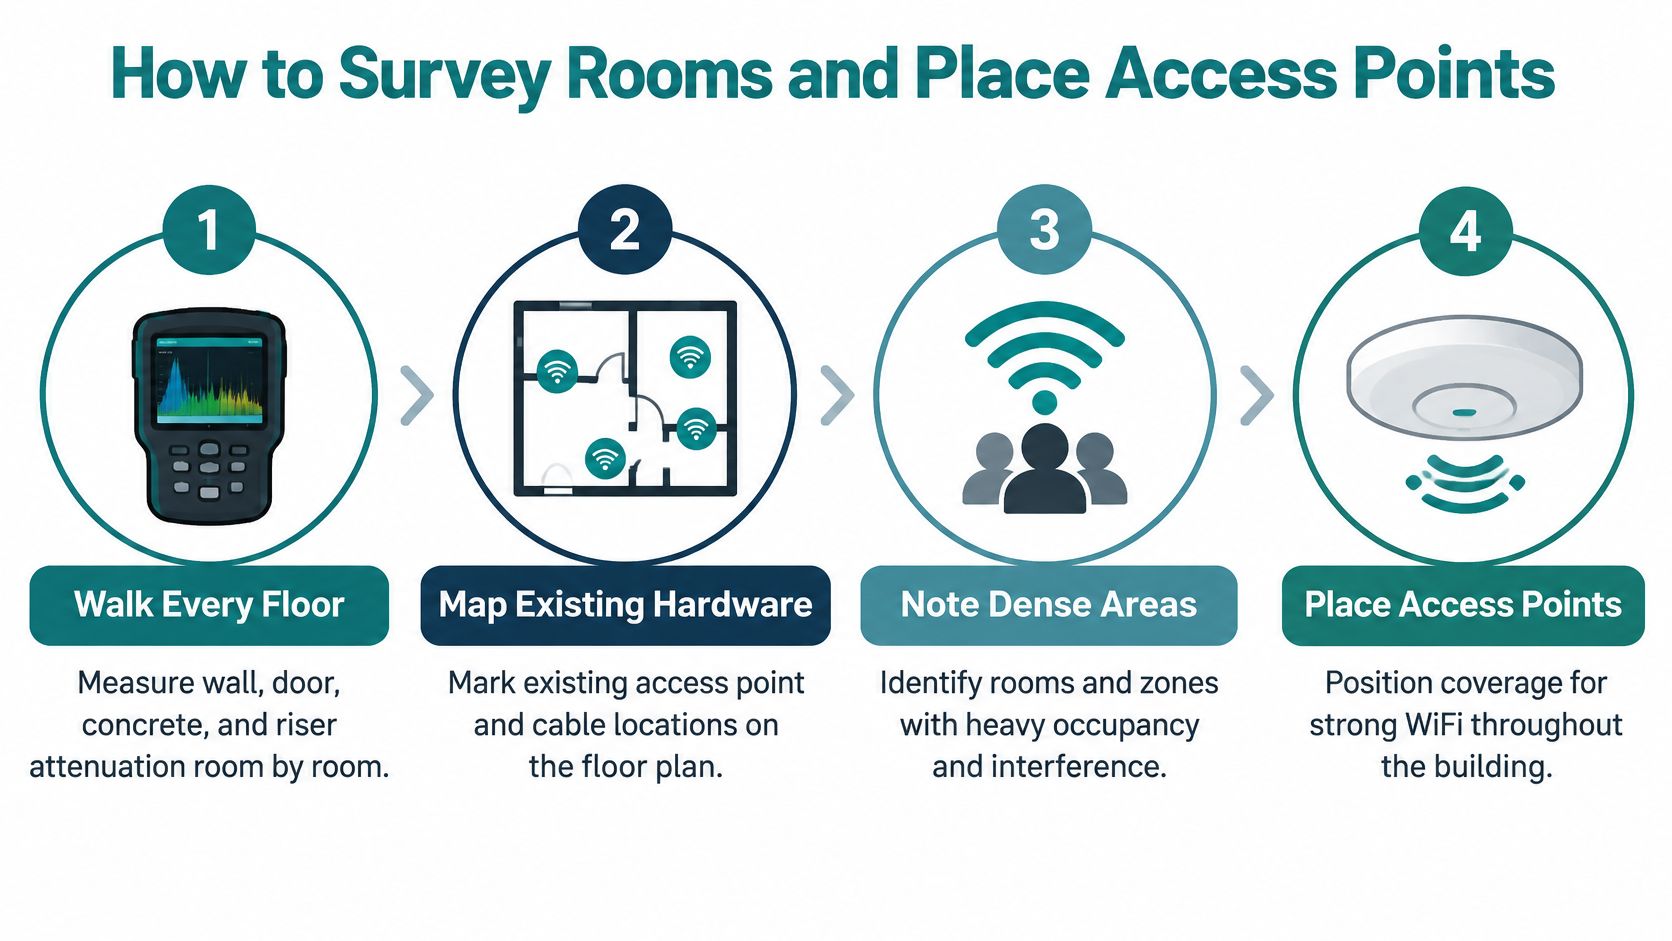
Survey and placement steps
- Walk every floor with a spectrum analyzer. Log wall, door, concrete, and riser attenuation room by room, because one hallway reading can't predict the far corner of a bedroom.
- Map existing hardware against the floor plan. Mark current access point and cable locations, then flag dense rooms and corridors where neighboring cells already overlap.
- Draft the channel plan for 2.4 GHz, 5 GHz, and 6 GHz. Use non-overlapping 2.4 GHz channels 1, 6, and 11, and keep neighboring access points on different channels so they aren't shouting over each other.
- Set transmit power conservatively. High power enlarges overlapping cells and creates contention, and it also makes sticky clients cling to a distant access point instead of roaming.
- Enable spatial reuse only after measurement. Features such as BSS Coloring and OBSS-PD can help dense floors, but aggressive OBSS-PD thresholds can permit collisions, so keep settings moderate until your data justifies more.
- Test a simulated peak load. Record RSSI, signal-to-noise ratio, channel utilization, packet loss, latency, and roam interruption per room while the floor is busy, not empty.
- Compare matched evening samples. Use median and 95th-percentile latency, retransmissions, and disconnect rates instead of one speed test, which hides airtime fairness problems.
Test 2.4 GHz separately from 5 GHz and 6 GHz. Legacy clients and longer range 2.4 GHz propagation create disproportionate contention, and a design that looks clean on 5 GHz can still be miserable for the older devices residents bring from home.
What a passing floor looks like
You're looking for stable latency at the far corner of the room, no roam drops as someone walks the corridor on a call, and channel utilization that stays below your alert threshold during the busiest hour. If a room only passes with the door open, it doesn't pass. Residents live with doors closed.
I'd rather add an access point and turn power down than crank power up and hope. Smaller, cleaner cells give you more total capacity in dense housing, and they make later troubleshooting far less painful.
Onboard Residents With QR Codes and Captive Portals
Move-in day is the worst possible time to teach hundreds of people a new login process. They're carrying boxes, parents are asking questions, and every failed scan becomes a front desk visit. Move the work earlier and the day gets calmer for everyone.
Students can pre-register and onboard devices weeks before coming to campus, which means the laptop and phone can be ready before the car is unpacked. Students log in to the campus network with their unique SSID credentials through a simple captive portal, using any device. Residents can also connect any device, anywhere on the property, in seconds, through a branded self-service portal once their credential is active.
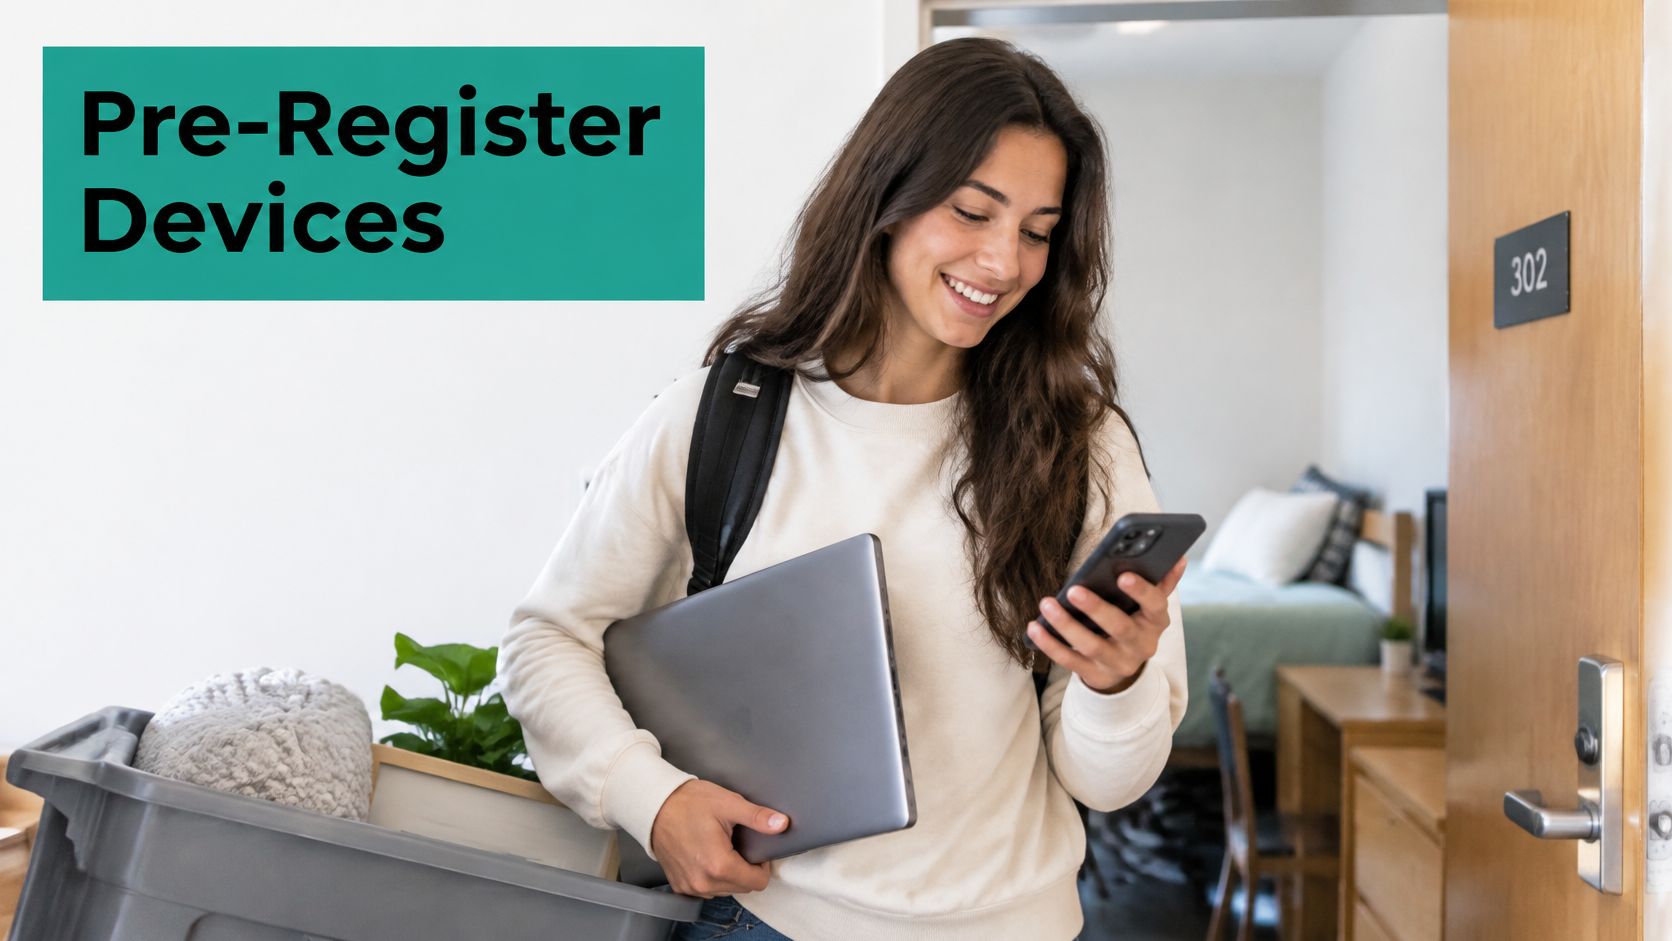
The flow should feel boring in the best way. A resident receives a QR code in the move-in email, scans it, lands on a branded portal, confirms their unique credential, and gets online. With QR code wifi access, there's no shared password written on a whiteboard and no hunting for the right network name in a crowded list.
Script the onboarding before you launch it
- Send the QR code and a one-page guide before move-in. Keep the guide visual, with the network name, the scan step, and one help contact.
- Set a per-resident device limit that fits your planning numbers. Too low creates tickets, too high makes capacity planning meaningless.
- Test the portal on iOS, Android, Windows, and gaming consoles. Consoles and TVs can't always handle a browser flow the way a phone can, so plan their registration path separately.
- Keep the terms page short and plain. Long walls of text get skipped or cause drop-off, and neither outcome helps you.
- Create a fallback path with a help-desk script. Staff need exact steps for failed scans, expired links, and devices with randomized MAC addresses.
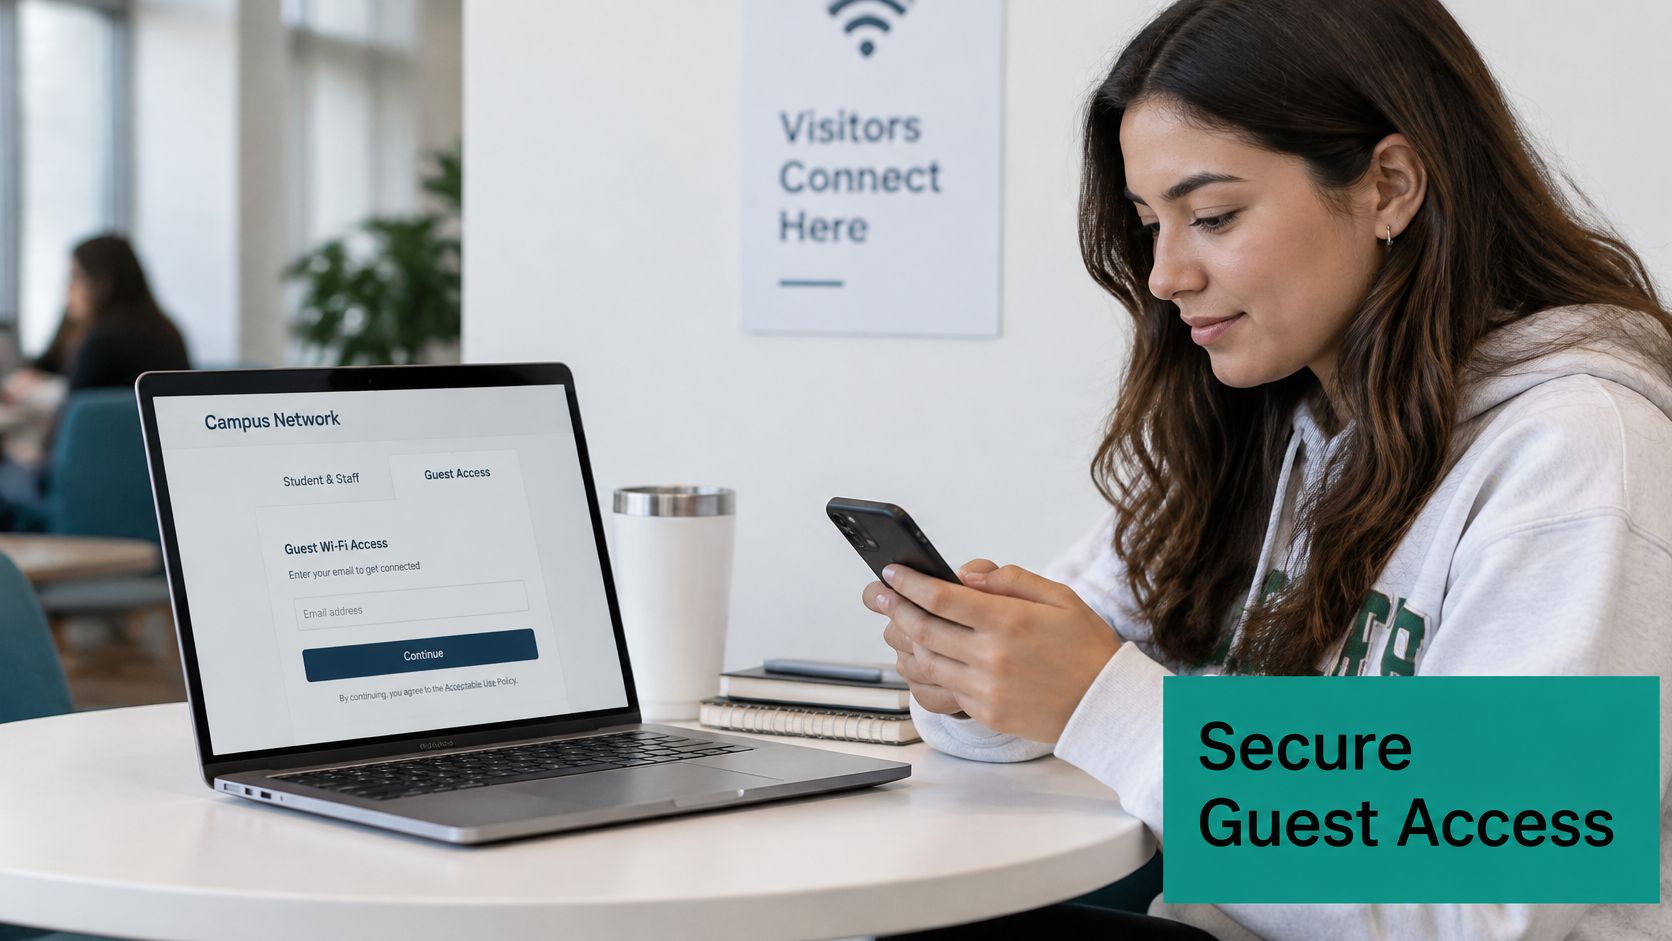
Visitors belong on a separate SSID. They can use social login or social wifi with a short acceptance step, while residents never see those options and never share their access path with a weekend guest.
Run a dry run with ten real students one week before move-in and count how many needed help. That count tells you more than any internal test with IT staff who already know the answers.
Pick the Right Credential for Each Group
Ask one question before you choose a credential: how painful is revocation? A shared WPA2 passphrase takes seconds to hand out and disconnects the whole building when you rotate it. Individual pre-shared keys, or IPSK, give each resident or room a unique key, so a departing student or a compromised phone loses access without anyone else noticing. The same logic fits dorm bedrooms and BYOD devices in corporate offices, where personal devices come and go constantly.
The WPN, or Wireless Private Network, approach goes further. Each resident onboards every device they own with a single WiFi key, and those devices land inside a private bubble on the network, so a phone can still find its own speaker without seeing the whole floor. The payoff shows up at move-out: resetting Wi-Fi passwords between lease agreements and scheduling the next move-in is a dashboard task, and access can be set to activate on a future date and deactivate automatically when the tenancy ends.
Plan for the exit, not just the login.
Match strength to sensitivity
Low-risk guest access and high-risk staff access deserve different doors. The FTC guidance on protecting personal information recommends multi-factor authentication for access to sensitive areas of a network, describing it as an additional step beyond a password, such as a temporary code sent to a smartphone or a security key. A guest portal can ask for an email address, an SMS code, or a terms acknowledgement. Staff, administrators, and vendors reaching protected resources need more than that.
The same logic travels across Education, Retail, and BYOD Corporate settings. In retail, social wifi can give shoppers convenient access without granting access to payment systems or inventory networks. Good school wifi passwords practice follows the same rule: the credential should fit the person, the device, and the destination.
Credential types compared by group and revocation
| Method | Best for | Revoking access | Guest fit |
|---|---|---|---|
| Shared WPA2 passphrase | Quick access in small common areas | Changing it disconnects everyone | Poor |
| Individual PSK (IPSK) per resident or room | Student bedrooms, corporate BYOD devices | Revoke one key, others stay connected | Limited |
| Single WiFi key with WPN private bubble | Residents with multiple personal devices | Disable one key, all that resident's devices drop | Limited |
| Voucher codes | Conference guests, short stays, retail visitors | Expire by time or usage | Strong |
| Social login or social WiFi | Shoppers, visitors, marketing opt-in | Account-level, no shared password | Strong |
| SSO through Azure AD or SAML | Staff, faculty, corporate BYOD laptops | Disable the directory account | Weak |
Treat residents, staff, and visitors as three separate access paths on one Cisco Meraki network, each with its own credential type and its own revocation plan. Keep staff, point-of-sale, and guest credentials on separate SSIDs or policies, even when the portal pages look similar. Similar branding is fine. Similar permissions are not.
Connect SSO and Keep Guest Traffic Apart
Identity is where a tidy design either holds together or falls apart. If everyone lands in one role, you'll spend the semester making exceptions. If groups map cleanly from day one, move-outs and staff changes become routine.
Set up identity and segmentation in order
- Connect Azure AD or another SAML identity provider to the captive portal. Confirm that a test account can sign in end to end before you invite real users, and use a tested approach for how to implement single sign-on rather than improvising the trust setup.
- Map directory groups to separate Meraki access policies. Residents, faculty, staff, and vendors get different roles, because their destinations and risk levels are different.
- Assign residents to a per-building VLAN. Campus providers can control access and allocate personal dorm VLANs in one easy to use system through the education module, and the education system lets students gain access onto a specified VLAN.
- Place guests on an isolated VLAN with client isolation on. Keep point-of-sale, admin, and staff networks on their own policies so a visitor device can't browse internal resources.
- Write a fallback rule before you need it. If the identity provider is unreachable, residents keep their IPSK access and staff use a time-limited local account, so an upstream outage doesn't lock out the whole building.
- Schedule account removal at graduation and move-out. Wifi service for residents can be scheduled for future activation and will automatically deactivate on a specific date, which keeps directory groups and keys from drifting.
Two rules that don't flex
The U.S. Federal Trade Commission cybersecurity guidance recommends using WPA2 or WPA3 encryption for wireless networks and separating guest and public access from the primary business network. Keep both rules fixed across student housing, retail guest wifi, and corporate BYOD, because personally owned devices shouldn't automatically receive access to sensitive internal resources.
Remember what a portal does and doesn't do. A captive portal controls onboarding and policy acceptance, but it doesn't secure every application after a device connects. Pair it with encryption, segmentation, firewall controls, and VPN or app-level protection for sensitive systems, and tell residents plainly that joining the approved network isn't the same as protection for every service they use.
When a device gets compromised, this structure pays off. You revoke one IPSK or disable one directory account, check what that identity touched, and leave the rest of the floor online.
Start Your Monitoring Checklist Before Move-In
Uptime is too blunt a measure for housing. A network can be technically up while a whole floor suffers through retries, frozen calls, and portal failures, so alert on the numbers that show residents are struggling. Build the dashboard before move-in, while you can still fix thresholds without an audience.
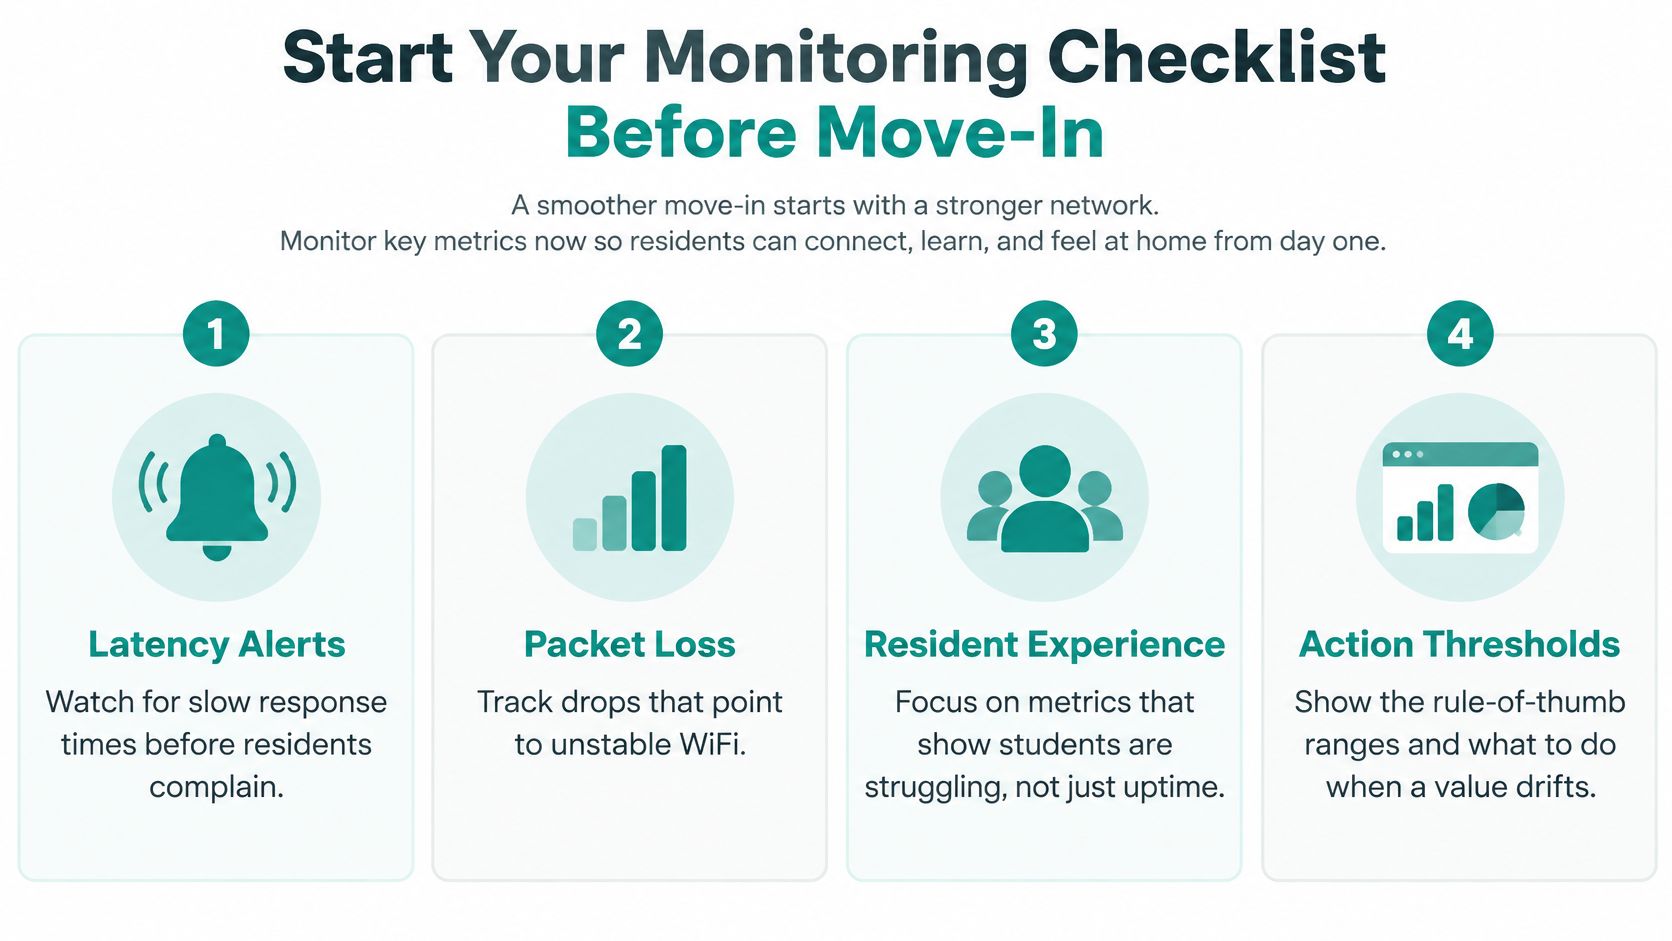
Monitoring metrics and the action each one triggers
| Metric | Healthy range (rule of thumb) | Action if it drifts |
|---|---|---|
| Channel utilization at peak | Below the alert threshold set in your peak test | Add an access point or rebalance channels |
| Packet loss | Under 1% | Check interference, cabling and uplink |
| 95th-percentile latency | Stable, no evening spikes | Review congestion and QoS on the busiest floor |
| Failed associations | Under 2% of attempts | Check portal, IPSK and identity-provider health |
| Portal drop-off on first login | Most dry-run residents finish without help | Shorten the terms page and retest the QR flow |
| Guest return rate | Stable or rising month to month | Track the trend monthly, not one day |
Use guest analytics without overcollecting
Guest analytics such as visit counts, dwell time, and return rate show whether the guest network is doing its job in common areas, retail spaces, and visitor zones. Report them at building level so you're spotting trends, not tracking individuals. That also gives facilities a cleaner story when they ask whether a lounge or study space needs more capacity.
Say the privacy part in plain language where residents will read it. Personal data of wifi users is deleted if the user does not log in to one of the wifi venues for more than 24 months. Splash Access uses personal data provided to access a wifi venue for the performance of the contract in its terms and conditions of service, which users agree to when accessing the service.
Final checklist before keys are handed out
- Confirm the peak-hour dashboard alerts. Trigger a test alert and make sure the right person receives it.
- Run the dry run again before move-in. Use real resident devices, including a console and a TV.
- Test SSO fallback and IPSK revocation. Revoke a test key and confirm only that device loses access.
- Set the lease-end process now. A property manager can reset wifi passwords between lease agreements and schedule the next move-in, so turnover doesn't depend on memory.
- Publish a short outage message template. Residents forgive problems faster when you tell them what's happening, what to use meanwhile, and when you'll update them next.
Before you commit: If you run Cisco Meraki with a captive portal platform, confirm its education module covers VLAN assignment and lease-based password resets. Those two features decide how painful every move-out will be.
Alert on resident experience, practice revocation, and rehearse your outage message. That's what turns a good installation into a service residents trust during exam week.
If you're planning student housing wifi on Cisco Meraki and want residents, staff, and guests on separate, revocable access paths without move-in day chaos, Splash Access can help you deploy the captive portal, IPSK and EasyPSK onboarding, and VLAN controls described above. Visit us to talk through your buildings, your peak-hour numbers, and a rollout plan your help desk can support.