You've claimed the Cisco Meraki access points, connected them to the switches, and watched them come online in Dashboard. Yet guests still get stuck at the login page, staff complain about hallway dropouts, and nobody's sure whether a personal device can reach the payment network.
Good access point configuration connects radio planning, network segmentation, and authentication. The practical question isn't just which SSID to broadcast. It's which devices should join, how their traffic should be protected, and what they can reach after they connect.
Key Access Point Settings and Recommended Values
Key access point settings and recommended starting values
| Setting | Starting value | Why it matters |
|---|---|---|
| SSIDs per access point | Up to 3 | Each SSID adds beacon and airtime overhead |
| Band steering | On | Encourages dual-band clients toward the less crowded 5 GHz band |
| Legacy data rates | Disabled where client mix allows | Prevents low-rate transmissions from consuming excessive airtime |
| Channel width on 5 and 6 GHz | 20 MHz | Narrow channels allow more reuse in dense venues |
| Overlap between neighboring APs | 15-20% | Reduces roaming dead zones |
| Same-channel neighboring signal | Below about -82 dBm | Limits co-channel contention |
| AP spacing in high-density 5 and 6 GHz | About 12-15 m | Planning baseline to verify on site |
| Area per AP in high-density 5 and 6 GHz | About 110-185 m² | Planning baseline to verify on site |
| Guest SSID access | Captive portal on a guest VLAN | Keeps visitor traffic off staff networks |
The radio values above are planning baselines, not coverage guarantees. Meraki's channel-planning guidance supports starting dense deployments with 20 MHz channels, 15-20% cell overlap, same-channel neighboring signals below about -82 dBm, spacing around 12-15 m, and approximately 110-185 m² per AP, subject to measured conditions.
Start with airtime, not maximum speed
Keep the SSID count small. The up-to-three-SSID recommendation gives you room for staff, guests, and devices without broadcasting a separate network name for every department. Use credentials and access policies to distinguish groups that don't need another broadcast network.
Enable band steering, then check where clients connect. It encourages compatible clients toward a suitable band, but the client still makes the association decision. Don't assume enabling the setting proves that busy devices have left the crowded radio.
Disable legacy data rates only after checking scanners, printers, and other awkward clients. Removing low rates can improve airtime efficiency, but aggressive minimum-rate settings can also leave working devices unable to connect.
Practical rule: Change a radio setting because a measurement supports it, not because a larger number looks faster.
Transmit power needs the same discipline. Use the wireless transmit-power guide to understand why turning every AP up isn't a substitute for placement.
Copy the table into a site worksheet. Mark survey-confirmed values, record exceptions, and flag anything you haven't measured before opening the configuration screens.
How to Plan Radios and Channels Step by Step
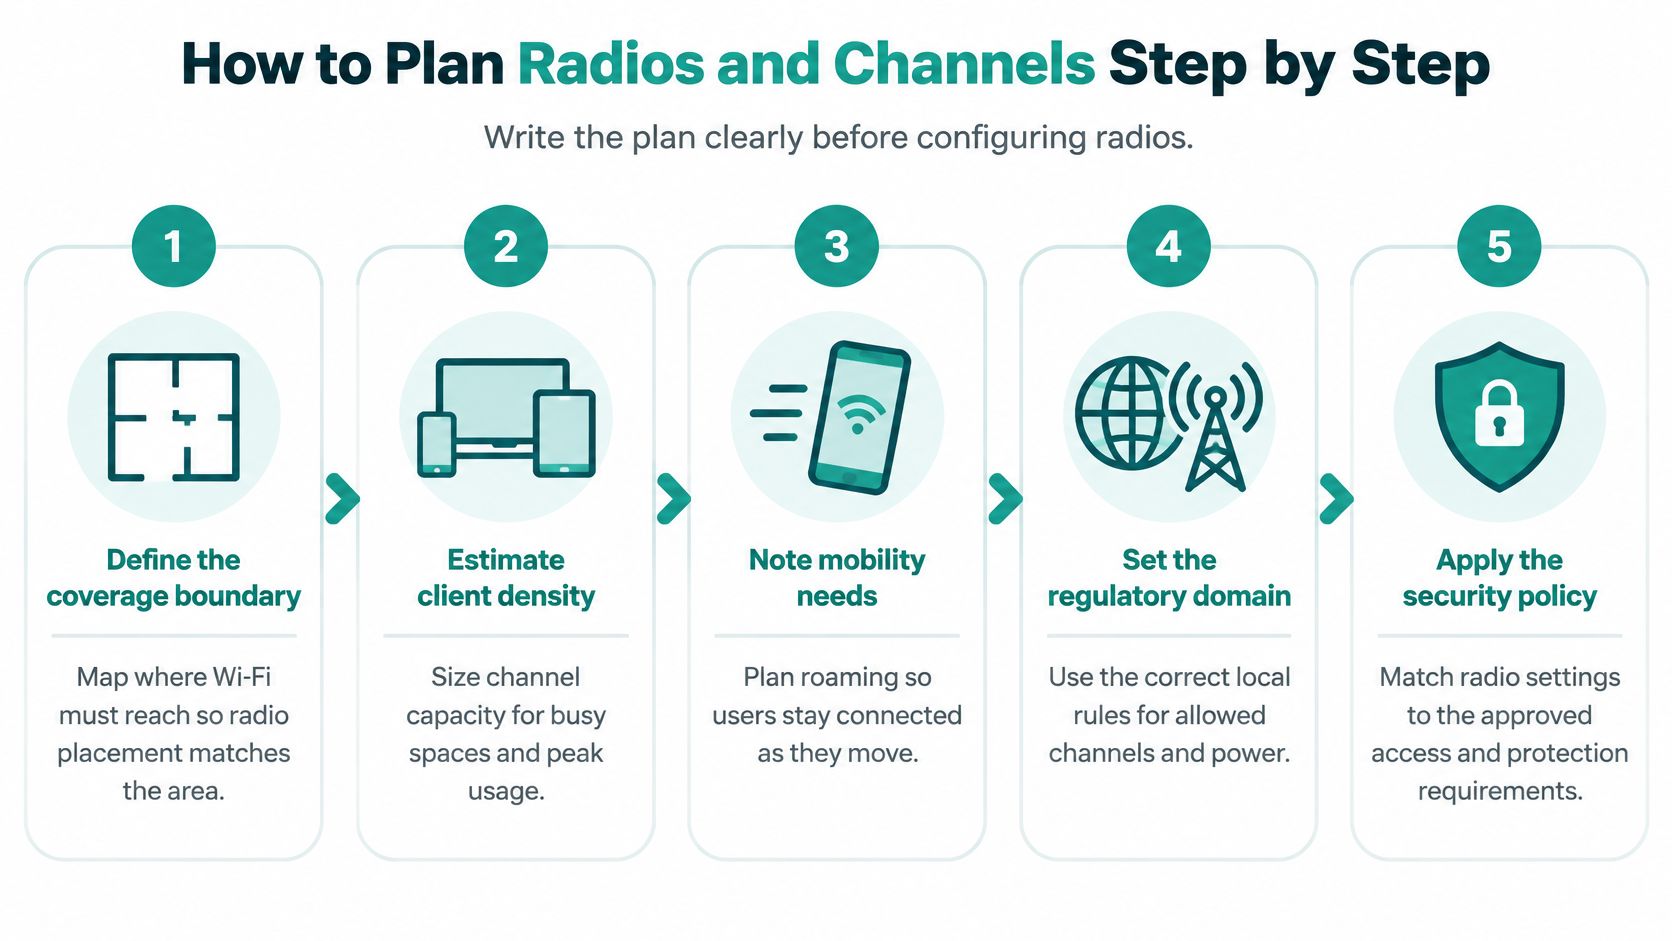
Write the coverage requirements before adjusting radios. A hotel conference area, a classroom, and a quiet corridor shouldn't inherit identical settings just because they share a building, and the same goes for the controls layered on top. Each zone's SSID, VLAN, and authentication choices belong in the same document as its channel plan.
Build and validate the RF plan
Define the requirements area by area. Record the coverage boundary, expected client density, mobility needs, regulatory domain, and access policy for guest rooms, classrooms, checkout zones, and outdoor spaces. Stack the decisions together at this stage: which SSIDs each area broadcasts, which VLANs those SSIDs tag traffic to, and whether a zone calls for encrypted access or a captive portal for admission. Include devices that move while carrying calls or application sessions, because stationary browsing tests won't expose every roaming problem.
Run a predictive survey using floor plans and realistic wall materials. Place APs to meet the overlap target in the worksheet, then treat that model as a proposal to validate, not proof that the building will behave as expected.
Deploy APs and plan neighboring channels. Assign different non-overlapping channels to adjacent cells where possible, since clients sharing a channel must compete for airtime. Check mounting position and antenna orientation before trying to correct poor placement with extra power.
Build RF profiles for areas with similar requirements, and map each SSID to its intended VLAN. In Meraki Dashboard, keep the profile assignments and VLAN tagging consistent with the switch uplink configuration; an SSID name alone doesn't identify the traffic's destination. A guest network routed to the wrong VLAN can hand visitors internal access or drop their portal session entirely.
Validate with passive and active surveys across the supported bands, including 2.4, 5, and 6 GHz. Passive surveys reveal the radio environment, while active tests check whether clients can authenticate, obtain addressing, and carry useful traffic. On a guest SSID, run that test through the full portal login rather than stopping at a successful DHCP lease.
Pilot RF changes in a limited zone. Adjust channel width or receiver sensitivity in one area and compare results under similar load before rolling anything out. Applying untested changes everywhere makes faults harder to isolate, so keep a rollback configuration ready.
Qualify Wi-Fi 7 before buying broadly. Check switch power-over-Ethernet budgets, cabling, uplink capacity, and actual client support for 6 GHz, then pilot a suitable high-density or mission-critical zone rather than replacing every AP indiscriminately.
Choose capacity where it's needed
Wider channels can help an isolated, lightly contested cell, but they consume more of the available channel plan. Use the Wi-Fi channel-width guide when deciding whether additional width helps a particular zone or reduces reuse across neighboring APs. Test the answer against your channel plan, not in isolation.
For outdoor upgrades, confirm the permitted operating mode and any automated-frequency-coordination requirements before committing the installation schedule. Indoor assumptions shouldn't become outdoor configuration defaults.
The finished plan should be a site map showing AP locations, channels, power levels, profile assignments, and survey results for each zone. Add the client types tested and unresolved exceptions so another engineer can understand why each setting exists.
Securing SSIDs with WPA2, WPA3 and IPSK
Authentication options by use case
| Method | How users authenticate | Typical fit |
|---|---|---|
| Open SSID with captive portal | Accept terms or log in with social login | Lobbies, cafes and public guest areas |
| Shared WPA2-PSK | One shared passphrase | Small staff-only networks |
| WPA2-Enterprise with 802.1X | Individual credentials checked by RADIUS | Schools, healthcare and corporate staff |
| WPA3 | Personal credentials or enterprise authentication, with stronger protection and required use on 6 GHz | New hardware and 6 GHz deployments |
| IPSK | Individual pre-shared key per user or device | BYOD and devices that cannot use 802.1X |
| EasyPSK | Individual pre-shared keys at scale | Large deployments with many devices |
Read this as a decision guide, not a menu of interchangeable security settings. A guest accepting terms and a managed laptop proving its identity are different events, even if both users eventually reach the internet.
A captive portal controls admission; wireless encryption protects the radio connection. NIST's wireless-security guidance supports integrating authentication with a security network rather than treating a legal-disclosure page as equivalent to encrypted authentication.
Match identity to the device
Start by mapping staff, guests, personal devices, and IoT equipment to policy domains. Use separate SSIDs where the connection method clearly differs, and credential-based policies where compatible devices can share a broadcast network safely.
For staff laptops and campus accounts, WPA2-Enterprise with 802.1X provides an identity-based approach. NIST's healthcare security architecture describes centralized authentication through infrastructure such as RADIUS, which checks the client's credentials before granting access.
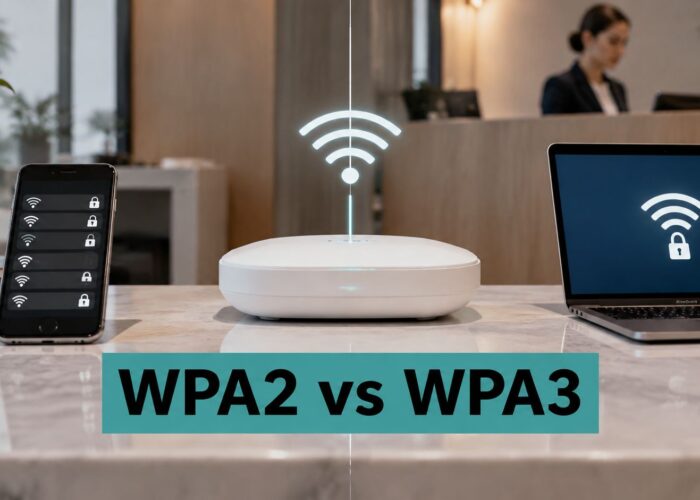
Choose WPA3 for compatible new deployments. The Wi-Fi Alliance's WPA3 deployment guidance identifies WPA3 as mandatory in the 6 GHz band; check client compatibility before changing an existing mixed-device network.
For devices that can't use enterprise authentication, consider IPSK or EasyPSK with an individual key per user or device. This lets you revoke a lost device's credential without changing everyone else's password, provided the selected AP, band, and authentication mode support the design.
The IPSK with RADIUS authentication guide helps connect private credentials to policy decisions.
More SSIDs aren't automatically safer. Separation only works when the VLAN assignment and firewall rules enforce the intended boundary.
Finish by joining each applicable SSID from a phone, laptop, and IoT device. Confirm the assigned VLAN, permitted destinations, blocked destinations, and credential-revocation behavior, not merely whether the device says connected.
Captive Portals, Social Login and Guest Onboarding
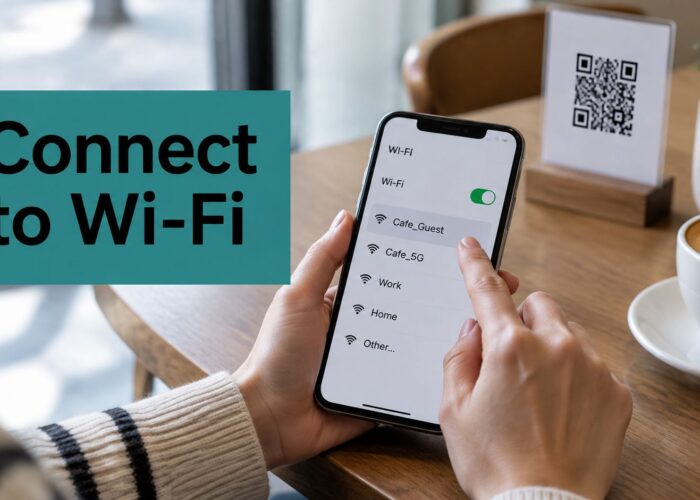
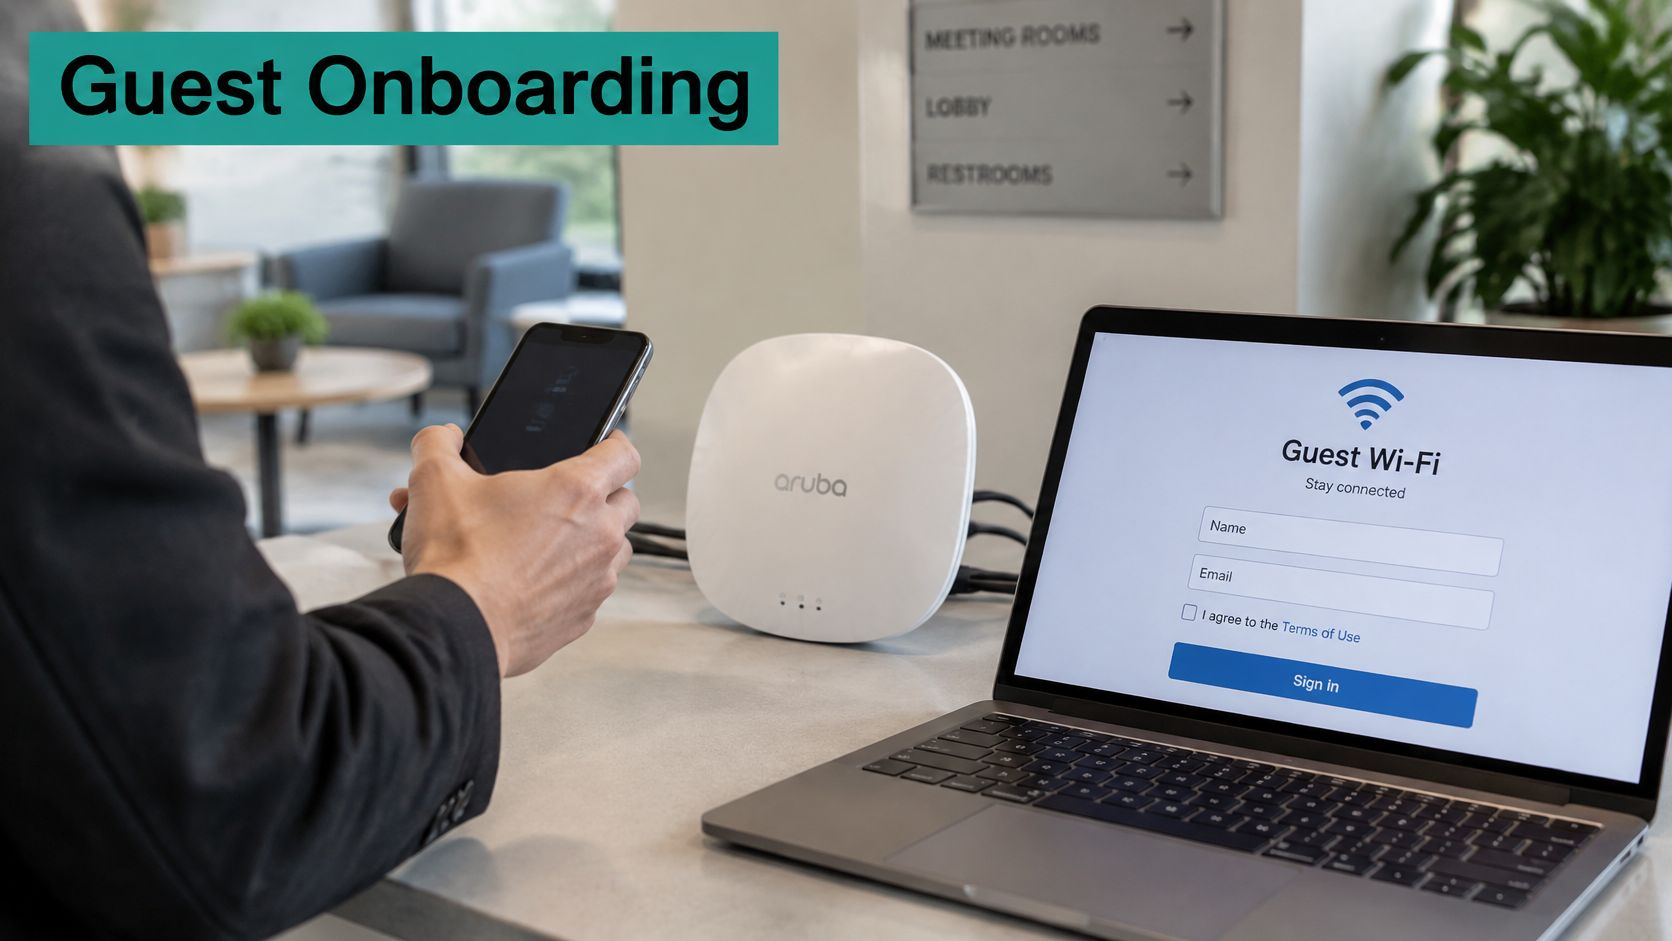
A device first associates with the guest SSID, then reaches an HTTPS authorization page before receiving general internet access. The Wi-Fi Alliance's Enhanced Open overview describes this captive-portal approach in public venues; protected users should remain on their designated WPA2 or WPA3 service.
Configure the guest journey
Create the guest boundary. Put the guest SSID on its own VLAN and allow internet access while blocking staff and management networks. Don't assume a guest label in Dashboard creates those firewall restrictions automatically.
Choose the onboarding method to suit the visit. Click-through terms reduce friction for a cafe, social login and social WiFi can support engagement, and vouchers or email capture can suit hotels and events; asking for excessive information before providing access drives unnecessary abandonment.
Brand the splash page and simplify the terms. Keep the connection button obvious and the notices readable on a phone. Avoid oversized graphics and form fields that push the action off-screen.
Test iOS, Android, Windows, and macOS. Their portal windows behave differently, so don't approve the journey after testing only a full desktop browser.
Check the supporting services. Monitor authentication success, DHCP completion, DNS resolution, and redirect behavior. A slow or unreachable portal looks like broken guest Wi-Fi, even when the radio connection is healthy.
Use the wireless social-login guide to evaluate the sign-in journey alongside your venue's information requirements.
Keep subscriber account access distinct from visitor onboarding. If you're documenting account resources for a venue using Premier Broadband, the Premier Broadband customer login belongs in that account-support workflow, not as a substitute for the guest splash page.
Acceptance test: A guest should reach ordinary browsing from the SSID join process on every test device without needing a second attempt.
Configuration Patterns for Education, Retail and BYOD
Education. The U.S. Department of Education's 2020–21 Civil Rights Data Collection found that 95% of public schools reported Wi-Fi in every classroom and 87% said students could take home school-issued internet-capable devices. Those groups need distinct policies for managed equipment, student-owned devices, and visitors, rather than a shared password that follows everyone indefinitely. With our campus workflow, students log in using their unique SSID credentials through a simple captive portal, using any device; visitor access can follow a separate onboarding policy.
Retail. Put POS terminals, cameras, and sensors into controlled VLANs separate from shopper Wi-Fi. Plan checkout capacity around the actual concentration of terminals, handheld scanners, and staff devices rather than assuming the sales floor has uniform demand. Test operational applications while guest traffic is active, and permit only the destinations each device group needs.
Corporate BYOD. Give employees individual credentials through IPSK or 802.1X, according to device capability and company policy. Send visitors to a guest portal with terms and an access expiry, while keeping management interfaces unavailable to both visitor and ordinary personal-device traffic. Define who removes access when a contractor leaves or an employee loses a device.
Turn groups into enforceable rules
The useful distinction is who or what the device represents, not just whether it belongs to the organization. A personal laptop used for work and an unattended sensor shouldn't inherit identical permissions merely because neither is centrally managed.
Copy this sequence into the deployment worksheet:
- Name each group. Identify students, staff, visitors, payment devices, cameras, and other operational equipment.
- Assign an SSID or individual credential. Prefer credential-based distinctions when another broadcast network isn't necessary.
- Map the VLAN and firewall rule. Document allowed destinations and verify the blocked ones.
- Set admission and expiry. Record who approves access, how long it lasts, and how it's revoked.
We manage the deployment of all VLANs and networks, keeping those mappings aligned with the intended access policy. These patterns are starting points to check against the site survey and application requirements, not substitutes for either.
Troubleshoot Symptoms and Confirm Go-Live
Troubleshooting symptoms and first checks
| Symptom | First check | Setting to verify |
|---|---|---|
| Clients fail to authenticate | Portal, IPSK key or RADIUS settings | SSID security mode |
| Clients get no IP address | VLAN tag on uplink and DHCP scope | VLAN mapped to the SSID |
| Roaming drops in hallways | Overlap between neighboring APs | 15-20% overlap and minimum bitrate |
| Neighboring APs fight over a channel | Channel assignment | Same-channel signal below about -82 dBm |
| Portal never loads | DNS resolution and redirect | Guest VLAN firewall rules |
Start with the symptom, run the first check, then verify the setting. Don't alter radio power to fix a failed RADIUS request or rebuild the portal to fix a missing VLAN tag.
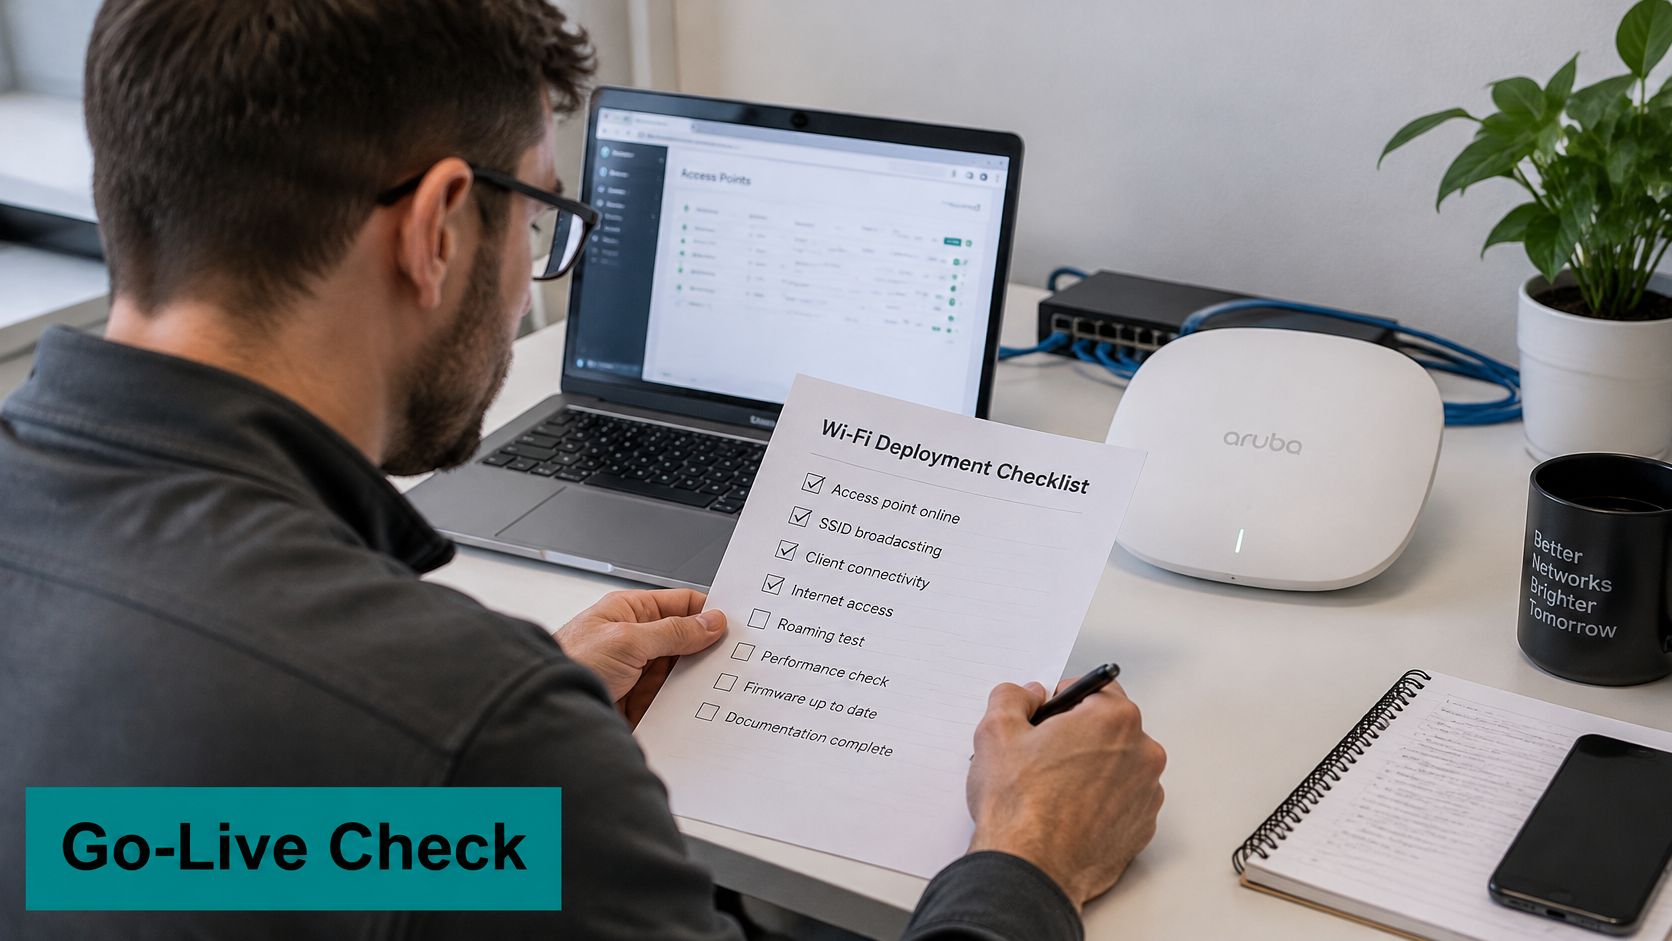
Approve the deployment with evidence
- Reconcile the survey and worksheet. Resolve unexplained differences between planned and measured radio behavior.
- Test every applicable SSID with a phone, laptop, and IoT device, including a walk through roaming areas.
- Verify the security baseline. Check management access, logging, and firmware against your standard configuration, consistent with NIST's WLAN security guidance.
- Record authentication, DHCP, DNS, latency, packet loss, and airtime telemetry so later changes have a meaningful comparison.
- Pilot before expanding. As a practical rollout choice, run the pilot zone for a week, including its busy periods, and retain the rollback settings.
Use the network troubleshooting steps to keep fault isolation systematic.
Our instantly deployable captive portals integrate directly into the Meraki Cloud. Our authentication product list includes Cisco Meraki IPSK Solution, EASYPSK for Large Deployments, IPSK MDU Solution, and DUO secure multi-factor authentication for Meraki WiFi.
If the checks pass, apply the design to the next comparable zone. If a check fails, return to the matching troubleshooting row and resolve the cause before expanding.
Splash Access offers Meraki-integrated captive portals and authentication solutions that connect guest onboarding with your SSID, VLAN, and access-policy design. Visit Splash Access to discuss your Cisco Meraki configuration, bringing your site plan, device groups, and onboarding requirements so we can help identify the right approach.