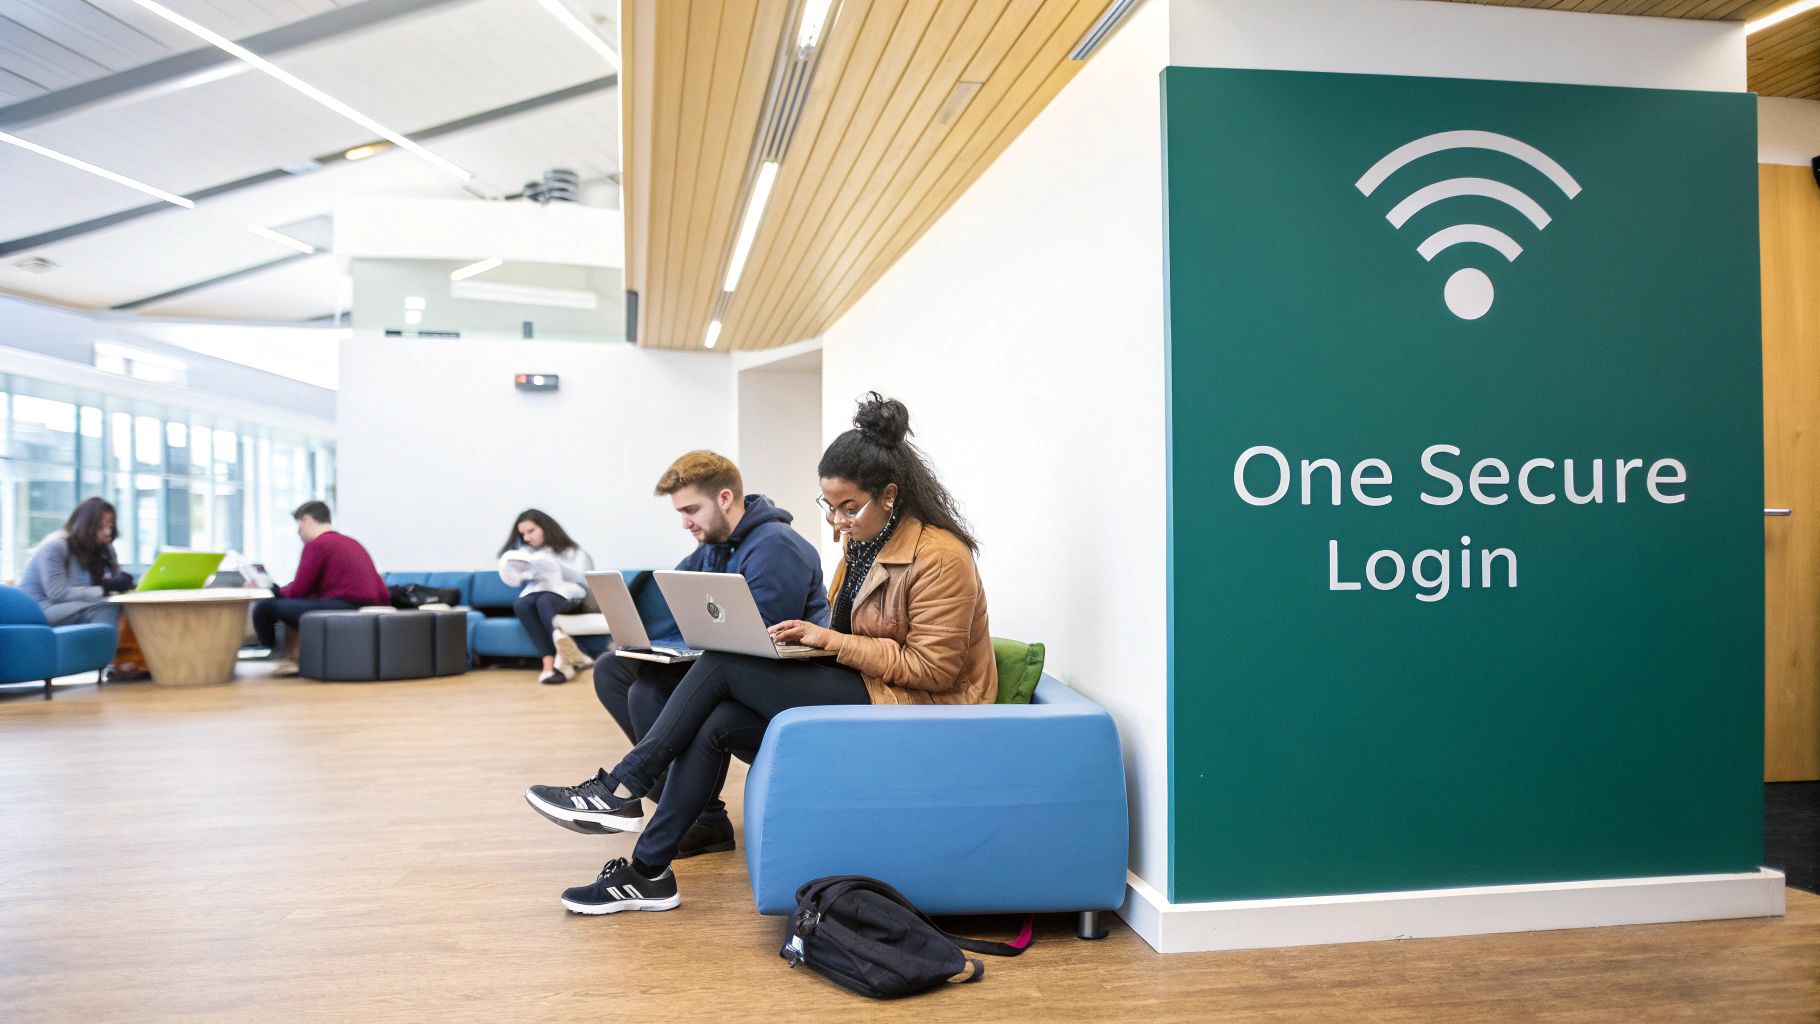
Hey there! Let's talk about implementing Single Sign-On (SSO). Think of it as creating one secure login for everything. It's a fantastic way to get rid of the headache of juggling dozens of passwords, turning a frustrating login marathon into a single, clean step for everyone.
Why SSO Is a Game Changer for Your WiFi Network
Let's be real—managing a long list of passwords is a pain for everyone involved. For your users, it's a never-ending cycle of remembering, forgetting, and resetting. For your IT team, it's a constant flood of support tickets that eats up time and energy. This is exactly why figuring out how to implement Single Sign-On is no longer a "nice-to-have," but a must-have for modern WiFi networks, especially in busy sectors like Education, Retail, and corporate BYOD environments.
Simplifying Access in Demanding Environments
Think about busy environments like Education, Retail, or corporate offices where BYOD policies are the norm. The login experience really matters here. A clunky, multi-step process just to get on the WiFi isn't just an annoyance; it’s a roadblock to getting things done.
SSO changes the game by integrating directly with your Captive Portals. Instead of seeing a generic login page, users get a familiar authentication screen where they can use their existing company or school credentials. This works incredibly well on networks running on hardware from Cisco and Meraki, which are built to handle these kinds of advanced Authentication Solutions.
Boosting Security and Efficiency
While the convenience is a huge win, the security improvements are where SSO really shines. By centralizing authentication, you give your IT admins one single place to manage and monitor user access. This approach dramatically tightens security by shrinking the number of passwords that could be stolen or leaked. Fewer credentials out in the wild means a smaller attack surface for bad actors.
By consolidating user verification, SSO enables organizations to enforce stronger authentication policies, such as multi-factor authentication (MFA), across all connected services from one central point.
This kind of centralization is a cornerstone of modern cybersecurity. In fact, it’s a key part of bigger security strategies. You can learn more about what is zero trust security to see how SSO fits into that puzzle. It's a foundational step toward building a much more secure network.
For guest wifi, you can pair SSO with other flexible options like social login or social wifi. This gives visitors a fast way to connect while you gather useful marketing insights. When you combine this with technologies like IPSK or EasyPSK, you're building a layered security strategy that works for everyone—from internal staff to temporary guests—without creating unnecessary friction.
Your Pre-Implementation Checklist for SSO
Jumping straight into the technical side of an SSO implementation without a plan is a recipe for headaches. Think of it like trying to build a complex piece of furniture without the instructions—you might get there, but it won't be pretty. A bit of prep work up front will save you a world of trouble later on. Let's walk through your pre-flight checklist for a smooth launch.
Before you touch a single setting, the first thing to confirm is that you have the right keys to the kingdom. You absolutely must have administrative access to both your identity provider (like Azure AD) and your Splash Access portal. If you don't, you'll hit a dead end almost immediately. This is especially true in complex network environments running on Cisco or Meraki hardware, where permissions can be layered across multiple systems.
Mapping Your Network and Authentication Flows
Next, take a moment to really think about your network architecture. Do you have a clear picture of how users will connect and get authenticated through your Captive Portals? This step is critical in places like Education or BYOD Corporate sectors, where you often have several user groups with completely different access needs.
You need to decide which Authentication Solutions will apply to each group. For example, your full-time staff might use SSO, while contractors get access via an EasyPSK solution. Mapping these pathways out from the beginning helps you build a system that's both logical and secure.
Implementing Single Sign-On (SSO) has proven to be a game-changer for organizations worldwide. A study revealed that 80% of participating companies found it highly effective as an authentication tool, leading to an average 35% decrease in security incidents. You can explore the full SSO findings on ExpertInsights.com to see just how impactful this one change can be.
Gathering Your Technical Details
With your plan in place, it’s time to gather the specific technical details you’ll need for the actual configuration. From my experience, this is where projects often get delayed, so having everything ready beforehand gives you a massive advantage.
Here’s what you should have on hand:
- Entity ID: This is just a unique name for your application within your identity provider. Think of it as a unique system identifier.
- Reply URL (Assertion Consumer Service URL): This is the endpoint that tells your identity provider where to send the user's authentication response after they've successfully logged in.
- User Attributes: You need to decide exactly what information you want to pass from your identity provider over to Splash Access. Common examples include email, first name, and last name.
This preparation is a key part of maintaining a strong security posture. For a deeper dive into structuring your network rules, our guide on creating a network security policy template offers a fantastic starting point.
Having this information documented and ready will make the actual implementation steps—which we'll cover next—feel much more straightforward.
Connecting Azure AD With Your Authentication Solution
With the prep work out of the way, it's time to roll up our sleeves and connect the dots. This is where we build the digital bridge between your users' identities in Azure AD and your WiFi network. We're going to walk through setting up a SAML-based SSO connection with Splash Access, which will make figuring out how to implement single sign on feel much more manageable.
Forget the confusing technical jargon. Think of this as a practical, hands-on guide. We'll start inside your Azure portal, create what's known as an "Enterprise Application," and then fine-tune the SAML settings that make the magic happen.
Setting Up the Enterprise Application in Azure
The first real move is to create a new, non-gallery application right inside your Azure AD tenant. This application is going to act as the trusted service provider in your SSO relationship. You're essentially telling Azure, "Hey, I have a trusted partner—Splash Access—and I want you to handle authentication for it."
Once you've created the application, you’ll assign the specific users or groups who should have access. This is a critical step for security and management, especially in diverse environments like Education or BYOD Corporate sectors, where different user types need different permissions. You might have one group for students, another for faculty, and a third for corporate employees, each with its own set of rules.
Configuring the SAML Handshake
With your application ready, the next step is configuring the SAML settings. This is the absolute core of the SSO process, where you define exactly how Azure AD and Splash Access will communicate. You'll need those details you gathered earlier—the Entity ID and the Reply URL.
- Identifier (Entity ID): This uniquely identifies your Splash Access application to Azure.
- Reply URL (Assertion Consumer Service URL): This tells Azure where to send the user after they’ve successfully logged in.
Getting these URLs right is vital. I can't stress this enough—a single typo can break the entire authentication flow, so double-check everything. When you're connecting identity providers like Azure AD, a solid grasp of API integration principles is what ensures these systems communicate flawlessly.
This flowchart breaks down the SSO process into three key phases: accessing credentials, mapping your network, and gathering the right info.

As you can see, the process is all about getting the right information lined up before you start the actual configuration.
Transferring Credentials to Your Authentication Solution
Now for the final piece of the puzzle. Inside your new Azure application's SSO settings, you'll find the critical information that Splash Access needs to complete the connection on its end. You're looking for two specific items: the Login URL and the Azure AD Identifier.
You will simply copy these values directly from Azure and paste them into the corresponding fields within your Splash Access portal's SAML configuration page. This direct mapping is what establishes the trust relationship, allowing secure authentication for users connecting to your Cisco Meraki access points through the captive portal.
This process is truly foundational for creating a seamless login experience. For a more detailed walkthrough, you can find additional guidance on our page dedicated to setting up Azure AD for WiFi authentication.
Once you hit save, you’ve officially established the SSO connection. You're well on your way to a more secure and user-friendly network.
Bringing SSO to Your WiFi Captive Portal
You've done the heavy lifting by building the bridge to Azure AD. Now for the fun part: activating that seamless authentication experience right on your WiFi Captive Portal. This is where all that behind-the-scenes configuration translates into a simple, secure login for everyone connecting to your network.
This final step is all about telling your Splash Access profile to use the new SAML authentication method. The moment a user connects their device to your Cisco or Meraki network, they'll be greeted by the familiar, trusted Azure login page instead of a generic portal. This is a massive win for user experience, especially in environments like Education and BYOD Corporate sectors, where people live and breathe by their organizational credentials.

Flipping the Switch on SAML
Getting this live is surprisingly straightforward. Inside your Splash Access dashboard, you’ll find the setting to switch your authentication method to SAML. That one change tells the system to start using your Azure AD connection for verifying users.
But don't stop there. A great login experience is more than just the authentication mechanism. This is your opportunity to tailor the look and feel of your guest wifi login page. Match it to your organization's branding to create a professional and trustworthy first impression.
You can also add other login options to run alongside your primary SSO authentication. Think about including social login or social wifi for visitors who aren't part of your organization. This kind of flexibility ensures you can accommodate every type of user.
When integrating SSO into your WiFi captive portal, remember that the underlying network is just as important. All successful wireless deployments are built on a solid foundation that can handle the advanced authentication you're enabling.
SSO Benefits Across Different Sectors
Implementing SSO isn't a one-size-fits-all solution; its value shines differently depending on the environment. Here’s a quick look at how it solves specific challenges across various sectors.
| Sector | Primary Challenge | How SSO Solves It |
|---|---|---|
| Education | High user turnover and the need to manage thousands of student/staff accounts securely. | Automates account provisioning/deprovisioning based on the school's directory, simplifying access for students while securing the network. |
| Retail | Providing seamless access for corporate employees, temporary staff, and vendors without compromising security. | Allows employees to use their corporate credentials while enabling separate, secure access methods (like IPSK or EasyPSK) for temporary users. |
| Corporate | Managing a diverse range of BYOD devices and ensuring that only authorized personnel can access sensitive network resources. | Enforces a single, secure identity for each employee across all their devices, simplifying IT management and boosting security. |
As you can see, the core benefit of simplified, secure access adapts to solve the unique pain points of each industry.
Layering Security with IPSK and EasyPSK
SSO is the perfect solution for your primary users, but what about devices that can't handle a web login? Or for guest users who need a different level of access? This is where other Authentication Solutions complement your SSO setup perfectly.
This is exactly what IPSK (Individual Pre-Shared Key) or EasyPSK were designed for. These tools let you generate unique WiFi keys for specific users, devices, or groups. I've seen them used incredibly effectively in a few key scenarios:
- Corporate Offices: Securing personal BYOD devices with unique keys while employees use their SSO credentials for laptops and primary access.
- University Campuses: Giving each student in a dorm a secure, individual key for their personal devices like gaming consoles and smart TVs.
- Retail Environments: Granting vendors or temporary staff secure, time-limited access without needing to create a full SSO account for them.
By combining SSO with these powerful PSK solutions, you're not just choosing one security method—you're building a layered and adaptable framework. This strategy ensures every single user and device has a secure and appropriate way to connect. To see what else is possible, take a look at our complete guide on building a modern captive portal for WiFi.
Advanced Tips for a Resilient SSO Setup
Getting your SSO connection up and running is a great first step, but a truly resilient setup goes well beyond the initial configuration. Based on what I've seen in countless real-world deployments, a few advanced strategies can make your entire authentication system more robust, secure, and user-friendly for the long haul.
Let's start with the impact on your IT team. One of the biggest wins with SSO is a dramatic boost in efficiency. A study I often reference showed a massive 43% reduction in IT support tickets after deployment, mainly because those endless password reset requests practically disappear. This is a direct solution to the "login fatigue" we all know, freeing up your team for more strategic work. You can learn more about the impact of SSO on Clerk.com to see the full scope of these benefits.
Bolstering Security with Multi-Factor Authentication
Single Sign-On is brilliant for convenience, but it also creates a single, powerful point of entry. If a user's credentials are ever compromised, an attacker could potentially get the keys to the kingdom. This is exactly why pairing SSO with Multi-Factor Authentication (MFA) is an absolute must for any serious security posture.
MFA adds that critical second layer of defense. Even if a password gets stolen, access is blocked without that second verification step, like a push notification or a code from an authenticator app. This simple addition transforms a potential single point of failure into a hardened security checkpoint. It's particularly vital in sensitive environments like the Education or BYOD Corporate sectors. To see how this works in practice, check out our guide on Duo Multi-Factor Authentication.
Think of SSO as a strong front door lock. MFA is the security camera and alarm system that ensures only the right person with the right key gets inside. It's an essential partnership for modern security.
Leveraging Social Logins for Guest WiFi
While SSO is perfect for your internal staff, your guest wifi requires a completely different mindset. Forcing visitors to create a new account just to get online is a surefire way to frustrate them. This is where using social login options on your Captive Portals for Cisco Meraki networks really shines.
By offering social wifi login—letting guests use their existing credentials from platforms like Facebook or Google—you provide a seamless, quick connection. It's a true win-win: they get online fast, and you can gather valuable, opt-in demographic data to better understand your visitors. This is especially useful in Retail, where understanding customer foot traffic is key.
You can also layer this with other Authentication Solutions like IPSK or EasyPSK for contractors or vendors who might need more structured, temporary access. By offering a mix of tailored login methods, you build a smart, flexible network that serves everyone securely.
Answering Your Single Sign-On Questions
I get it. Kicking off a project like this always brings up a lot of questions. Let's walk through some of the most common ones we hear when it comes to rolling out Single Sign-On, especially for WiFi networks. The goal here is to give you clear, straightforward answers so you can get this done with confidence.
A big one that comes up right away is security. People often ask, "Is SSO really secure if it creates one point of entry?" The answer is a definite yes, but only when it's done right.
The trick is to pair SSO with strong, sensible security policies. By centralizing your authentication, you actually create a single, powerful point of control. This makes it far easier to monitor who's accessing what and enforce your rules across the entire network.
Will This Work With My Current Network?
Compatibility is another big hurdle for many teams, particularly if you're running on Cisco or Meraki hardware. The good news is that modern Authentication Solutions are built from the ground up to play nicely with professional-grade gear like this.
The whole process relies on well-established standards, which means your Captive Portals can communicate directly with your identity provider without any major headaches. It's designed to be a smooth integration.
A common misconception is that SSO is meant to replace every other authentication method. In reality, it works best as part of a layered strategy, using tools like IPSK and EasyPSK to handle different types of users and devices securely.
Think about a typical setup in the Education sector. Students and faculty might use SSO on their laptops and phones, while something like an EasyPSK solution secures devices that don't have a web browser, like smart TVs or gaming consoles in the dorms. It’s all about building a flexible and secure ecosystem.
What About Guest and BYOD Access?
Managing access for non-employees is a massive consideration, especially in Retail and corporate BYOD environments. How do you give visitors a simple way to connect without putting your internal network at risk? This is where options like social login for guest wifi really shine.
By offering social wifi options, you give visitors a familiar and incredibly fast way to get online. Not only does this improve their experience, but it can also provide you with valuable, anonymous insights into visitor demographics.
It's a smart way to manage temporary access while your core network remains safely protected behind your main SSO solution. This blended approach makes sure every connection is handled the right way.
Ready to build a secure, seamless WiFi experience for everyone? Splash Access delivers powerful, easy-to-manage captive portal and authentication solutions designed specifically for Cisco Meraki networks. Learn more at Splash Access and see how we can help you implement Single Sign-On today.


