Ever tried to hold a conversation in a packed, noisy room? You have to speak louder and listen harder just to be understood. That's a perfect real-world example of what your WiFi devices deal with every single day.
Your conversation is the WiFi 'signal,' and all that background chatter is the 'noise.' The WiFi signal-to-noise ratio (SNR) is simply a measure of how much louder your signal is than all that competing noise.
What Is WiFi Signal to Noise Ratio
Think of SNR as the clarity of your wireless connection. It's easy to get fixated on signal strength—how many bars you have—but that's only half the story. If your signal is strong but the background noise is also high, your connection will be unreliable, slow, and frustrating. SNR is the metric that tells you how clean and usable that signal really is.
Getting this right is the secret to stable, high-performance WiFi, no matter the environment. From students in a university library in the Education sector, shoppers in a busy Retail mall, or employees in a modern BYOD Corporate office, a clean signal is absolutely essential for a great user experience.
Why It Matters for Your Business
For any business, especially those running on professional-grade networks from vendors like Cisco or Meraki, understanding SNR is non-negotiable. It has a direct, measurable impact on the performance of your entire wireless system.
Just think about these common scenarios:
- Guest WiFi: A customer trying to log in through your captive portal won't stick around if the connection is laggy. Poor SNR could cause them to give up before they even see your social login page, meaning you miss out on valuable engagement.
- Corporate Security: In a secure office using modern authentication solutions like IPSK or EasyPSK, a low SNR can cause constant dropouts and login failures, leading to endless helpdesk tickets from frustrated employees.
- High-Density Areas: In places like schools or retail stores, hundreds of devices are all fighting for airtime. In these environments, controlling the noise floor is just as critical as boosting the signal.
This diagram breaks down the simple but crucial relationship between the signal you want, the noise you don't, and the resulting SNR.
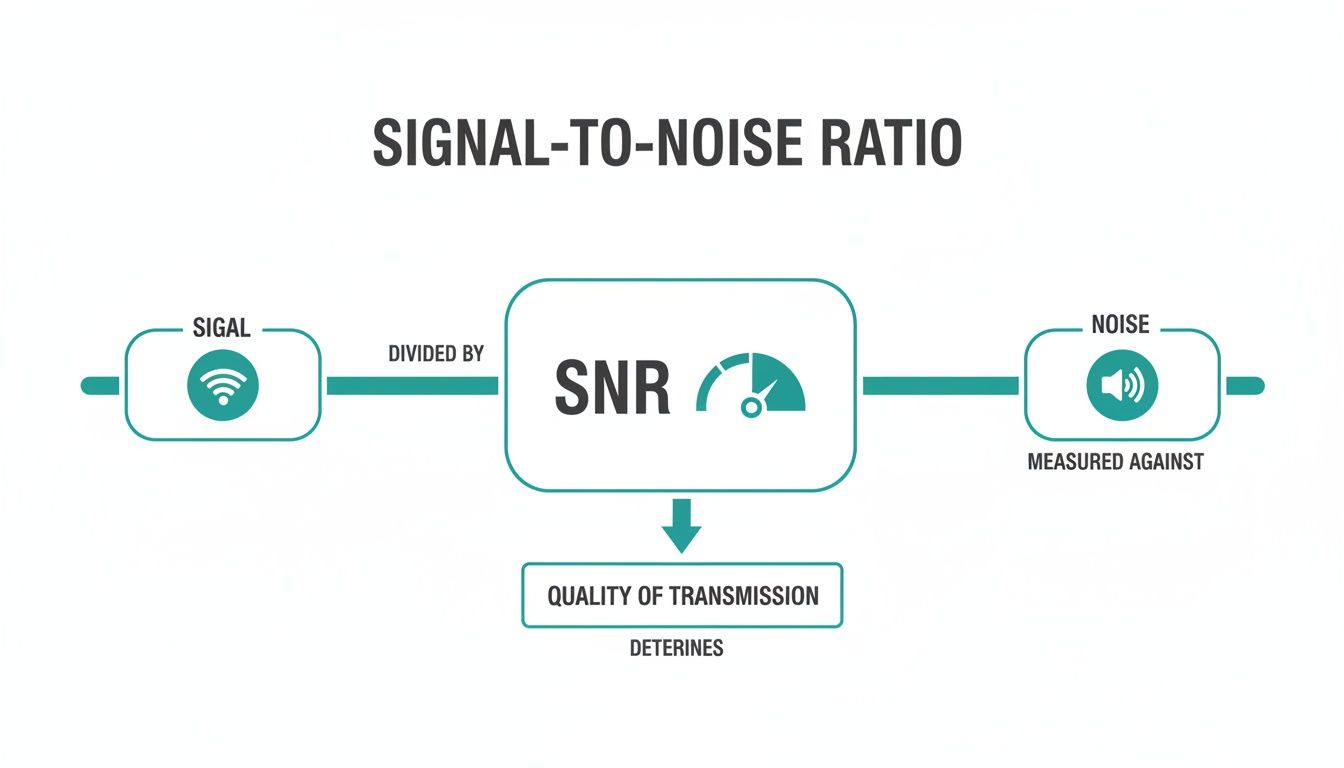
The bottom line is simple: a stronger signal compared to the background noise creates a better, more reliable connection for your users. It's also worth remembering that physical objects can disrupt this balance. Things like walls, furniture, and even people can get in the way, which is a concept we explore more in our guide to The Fresnel Zone.
Understanding SNR Values and Performance
So, what do the numbers actually mean? SNR is measured in decibels (dB), and different values correspond to very different levels of performance.
This table breaks down the key thresholds and what you can realistically expect at each level.
| SNR Value (dB) | Signal Quality | Expected Performance and Use Case |
|---|---|---|
| 40 dB+ | Excellent | The best possible connection. Ideal for high-throughput applications like 4K video streaming, large file transfers, and online gaming. |
| 25 dB – 40 dB | Very Good | A solid, reliable connection for most business and home use. Great for web browsing, HD streaming, and video calls. |
| 15 dB – 25 dB | Good | The minimum for basic connectivity. Web browsing and email should work, but streaming or video calls may buffer and become unstable. |
| 10 dB – 15 dB | Poor | Performance will be very slow and unreliable. Users will likely experience frequent disconnects and extremely slow speeds. |
| Below 10 dB | Very Poor | The connection is essentially unusable. Devices may see the network but will likely fail to connect or maintain a stable link. |
As you can see, the difference between 25 dB and 15 dB is huge—it's the difference between a happy, productive user and a frustrated one. Aiming for an SNR above 25 dB is a great rule of thumb for ensuring a quality wireless experience.
Breaking Down Signal Strength and Noise
Getting great Wi-Fi isn't just about raw power; it's more like a balancing act. Imagine you're trying to have a conversation in a crowded room. You need to speak loud enough to be heard (that's your signal), but you also need the background chatter (the noise) to be low enough for your voice to cut through.
To really get a handle on your network’s performance, you need to understand both sides of this equation.
Most people focus only on signal strength—how strong the Wi-Fi signal is when it reaches your device. But the real performance killer, the one that often goes unnoticed, is the noise floor. This is the constant hum of background radio frequency (RF) interference in your environment. If it gets too loud, it can completely drown out even a powerful Wi-Fi signal.
What's Making All That Racket?
In any busy place—a Retail store, a school campus, or a BYOD Corporate office—the sources of Wi-Fi noise are everywhere. And it's not just other Wi-Fi networks causing the problem. All sorts of electronics operating on similar frequencies add to the interference.
Common culprits include:
- Other Wi-Fi Networks: In dense areas, you're competing with dozens of neighboring networks for the same limited airwaves.
- Bluetooth Devices: All those wireless headphones, keyboards, and speakers add to the background RF static.
- Microwave Ovens: These are notorious for leaking RF energy, especially in the 2.4 GHz band. They can cause short but severe connection problems.
- Cordless Phones & Office Gear: Many older wireless gadgets and even some office equipment can contribute to the overall noise floor.
All this electronic "smog" raises the noise floor, making it much harder for a laptop or phone to clearly hear the signal from your access point. This is why professional-grade hardware, like access points from Cisco Meraki, is built with advanced radio management to intelligently navigate and filter out this kind of interference.
A high noise floor can absolutely cripple your network. It's the root cause of that frustrating lag and those random connection drops that ruin the user experience. This is especially damaging for guest wifi, where a customer might just give up on a captive portal or social login if the connection feels flaky.
The frequency band you use also makes a huge difference. The 2.4 GHz band is famously crowded and prone to interference. With only three non-overlapping channels, it’s like a congested three-lane highway during rush hour—and that’s before you add all the non-Wi-Fi interference.
In contrast, the 5 GHz band offers far more channels and much less interference, making it easier to achieve a clean signal and a better Wi-Fi signal to noise ratio. If you're interested in the nitty-gritty, you can find deeper technical insights into SNR and how different bands are affected.
How to Measure and Understand Your Wi-Fi SNR
You can't fix a problem you can't see, and that’s especially true for your Wi-Fi network. To get a handle on performance issues, you first need to diagnose the health of your signal. Thankfully, measuring your Wi-Fi signal-to-noise ratio isn't as complicated as it sounds, especially if you have the right tools.
For networks running on Cisco Meraki, the dashboard itself is your best friend. Without needing any third-party software, your IT team can jump right into the client details page and see the live SNR for any connected device. This gives you a real-time snapshot of what your users are actually experiencing—or, more accurately, what their devices are hearing. That kind of visibility is gold when you're managing a BYOD environment or making sure your guest wifi is rock solid.

Translating dB into Action
Once you have the numbers, you need to know what they actually mean. SNR is measured in decibels (dB), and a few key thresholds can tell you pretty much everything you need to know about your connection quality. Think of them as your network's vital signs.
For a truly comprehensive picture, you might need a deeper dive. Professional wireless site surveys are invaluable for mapping out signal strength and noise levels across your entire facility. This is the most effective way to hunt down and eliminate specific dead zones or problem areas.
Here’s a quick guide to making sense of the numbers:
- 25 dB or Higher: This is the sweet spot. You're looking at solid, reliable performance where video streaming, voice calls, and other demanding apps run smoothly.
- 20 dB to 25 dB: Things are okay, but not great. The connection is generally usable, but users might notice buffering on video calls or slower-than-expected downloads.
- Below 20 dB: Houston, we have a problem. This is a major red flag. Connections will be slow, unstable, and likely drop out altogether. Even basic web browsing will feel like a chore.
Whether you're managing a university campus, a Retail store, or a BYOD Corporate office, the goal should always be to maintain a consistent SNR of at least 25 dB across all critical areas. Consider this the baseline for any modern, high-performing wireless network.
Putting this knowledge in the hands of your IT team is the first step toward a better network. When a user in a BYOD environment reports a bad connection, you can immediately check their device's SNR. If a customer complains about the guest Wi-Fi, you can pinpoint whether the issue is a weak signal or just too much noise. This data-driven approach is essential for environments using captive portals or secure authentication solutions, because a poor connection can completely derail the user's login process.
Getting Your Hands Dirty: How to Boost Your Network's SNR
Alright, enough with the theory. You know what SNR is and how to spot a problem. Now, let's roll up our sleeves and actually fix it. Improving your Wi-Fi's signal-to-noise ratio is all about making your signal stand out from the crowd—turning up the volume on what you want to hear and quieting the chatter in the background.
Thankfully, you're not entirely on your own here. Modern network gear from providers like Cisco Meraki does a lot of the heavy lifting. Their access points (APs) have built-in smarts that constantly listen to the airwaves and tweak settings on the fly. Still, a little human intervention and solid fundamentals can make a world of difference, especially in tough spots like a crowded Retail floor or a packed university lecture hall in the Education sector.
It All Starts with AP Placement and Power
Where you put your access points is, without a doubt, the most critical decision you'll make for good coverage. It’s like setting up speakers for a live band—you want everyone in the audience to hear clearly, with no weird echoes or dead zones. A proper site survey is your best friend here, helping you pinpoint the perfect spots to hang your APs so the signal reaches every last corner.
But it's not just about where you put them; it's about how loud they're "shouting." A common mistake is to crank the AP's transmit power all the way up, thinking louder is always better. In reality, this often backfires. It can create a ton of self-inflicted noise, known as co-channel interference, where your own APs end up screaming over each other.
Key Takeaway: The goal is balance. You need enough power for solid coverage, but not so much that you’re just adding to the noise pollution. This is where the auto-power features in a platform like Cisco Meraki really shine, as they can intelligently adjust these levels for you.
Get Smart About Channel Planning
Next up is channel planning. Picture a busy retail space or a corporate BYOD environment—you’ve got dozens of networks all fighting for the same sliver of radio airspace. If all your APs are stuck on the same channel, it's like trying to have ten different conversations in one tiny room. It’s pure chaos.
To learn more about how to manage this, check out our guide on dealing with interference with WiFi.
Good channel planning means setting adjacent APs to different, non-overlapping channels. This gives each AP its own clear lane to communicate, drastically cutting down on interference. You can do this manually, but again, tools like Meraki's Auto Channel feature make life easier by automatically sniffing out the cleanest channel for each AP. This is absolutely essential for a smooth guest wifi experience, especially when users are logging in through a captive portal with social login.
As Wi-Fi technology has advanced, getting this right has become even more important. Today's networks really need a wifi signal to noise ratio of 20-25 dB just for decent performance. For high-demand applications, like in education or enterprise settings, the target is now closer to 35 dB or even higher to support those blazing-fast speeds.
If you want to keep your network in peak condition without getting bogged down in the details, working with a professional team for managed IT services can be a huge help. They can make sure these strategies are implemented correctly so your authentication systems, like IPSK and EasyPSK, run smoothly without a hitch.
Solving SNR Challenges in High-Density Venues
Walk into a university library during finals week, a busy shopping mall on a Saturday, or a packed conference hall, and you'll find a common, invisible battle being waged: the fight for a clean Wi-Fi signal. These high-density venues are notorious for connectivity headaches, where the sheer number of devices creates a chaotic radio frequency (RF) environment, tanking the Wi-Fi signal-to-noise ratio.
The root of the problem is often what we in the industry call the "performance anomaly." In a crowded network, all it takes is a few devices with a terrible connection to act like anchors, dragging down the experience for everyone. These clients can't "hear" the access point over the background chatter, so they have to retransmit data over and over. This not only wastes precious airtime but also generates even more interference for their neighbors.

Taming the Crowd with Smart Technology
This is where you have to get smarter than the average network. Your first line of defense is deploying professional-grade hardware from vendors like Cisco Meraki. These systems are built for hostile RF environments, with features like automatic power control and channel selection that help minimize the interference your own access points create.
But hardware is only half the battle. You absolutely need intelligent authentication solutions to bring some order to the chaos. This is especially true in sectors like Education, Retail, and corporate BYOD environments, where managing a wild mix of devices is just another Tuesday.
Real-world data shows that over 27% of networks have at least one client with an unreliable signal, creating that performance anomaly that can cripple throughput for everyone else. The problem gets exponentially worse as more people join the network. If you want to dive into the numbers, you can explore the full research on Wi-Fi performance anomalies to see just how deep the rabbit hole goes.
Smarter Access for a Cleaner Signal
By pairing a robust Cisco Meraki infrastructure with smarter authentication methods, you can build a far more stable and predictable network. This isn't just about security; it's about controlling who gets on the network and how, which directly protects your SNR.
- IPSK and EasyPSK: Forget the single shared password that gets written on a whiteboard and passed around. Individual Pre-Shared Key (IPSK) solutions assign a unique key to each user or device. This is a simple but powerful way to stop unauthorized devices from hopping on and polluting your airwaves.
- Captive Portals with Social Login: For guest Wi-Fi, a well-designed captive portal does more than just let users log in with social Wi-Fi accounts for marketing purposes. It acts as a gatekeeper. By managing who connects and when, you can prevent the network from becoming an uncontrolled free-for-all.
By intelligently managing who gets on the network, you put an end to the RF chaos that plagues so many high-density venues. This kind of strategic control is fundamental for places like universities trying to deliver reliable connectivity. Our guide on deploying effective Wi-Fi for universities explores these challenges in more detail.
At the end of the day, it's the combination of great hardware and smart access control that delivers a fair, consistent, and high-performing Wi-Fi experience for every single user.
Building a Superior Guest WiFi Experience
At the end of the day, a healthy WiFi signal-to-noise ratio is the invisible bedrock of a fantastic guest experience. We've all been there: you try to log on to a public network, and the connection is so weak and noisy that you just give up. That's a lost opportunity.
When a visitor has to fight a bad connection, they often abandon the login process long before they even see your beautifully designed captive portal. This frustration torpedoes your business goals, whether that's capturing data or simply keeping customers happy.
A clean, stable signal is the perfect canvas for all the advanced authentication and engagement tools we use today. Think of it this way: robust hardware from vendors like Cisco Meraki provides the strong, clear signal. That reliability is absolutely essential for the authentication solutions that make modern guest networks tick.
From Signal to Success
By putting your network’s health first, you’re making sure every user has a good interaction from the second they connect. This holds true everywhere guest access is important.
- Retail: A shopper using social login to grab a quick coupon won’t stick around if the connection is choppy. It has to be solid.
- Education: Students and campus visitors need reliable access for everything from research to staying in touch. A noisy network just won't cut it.
- BYOD Corporate: A visitor in your office expects a secure, no-fuss connection. Solutions like IPSK or EasyPSK provide that seamless experience, but they absolutely depend on a stable network underneath.
A seamless connection isn't a luxury anymore; it's a basic expectation. A user who connects smoothly through your social WiFi is far more likely to engage with your brand than one who gets frustrated by a poor SNR and simply gives up.
Getting this right takes a thoughtful approach. You have to make sure your network infrastructure can actually support the sophisticated features you want to offer. If your goal is to build an outstanding guest network, our guide on how to set up guest WiFi is a great place to start.
By focusing on SNR first, you’re paving the way for successful marketing and a user experience that people will remember for all the right reasons.
Answering Your Top Questions About Wi-Fi SNR
Let's dig into some of the most common questions that pop up when talking about Wi-Fi signal-to-noise ratio. Getting these concepts down is a game-changer for managing networks in busy Retail, Education, or corporate BYOD environments.
What's Considered a Good Wi-Fi Signal-to-Noise Ratio?
In general, you want to see an SNR of 25 dB or higher. That’s the sweet spot for a stable connection that can handle video calls and streaming without a hitch.
For more demanding enterprise networks, especially those built on hardware like Cisco Meraki, I always recommend aiming for 35 dB or better. Once you dip below 20 dB, you can bet your users will start complaining about slow speeds and frustrating disconnects.
Can I Have a Strong Signal but Still Have Bad SNR?
Yes, and it’s an incredibly common scenario. Your phone might show full bars, making you think the signal is perfect. But if you’re in an environment flooded with radio frequency (RF) noise from other networks, microwaves, or Bluetooth devices, your SNR can be terrible.
This is a classic problem in packed corporate offices, bustling schools, and busy retail centers. Despite the strong signal, the connection feels sluggish and unreliable because the "noise" is drowning out the clean Wi-Fi signal.
This is exactly why looking at signal strength alone is a trap. You have to understand the noise floor to get the real picture of connection quality, especially when users are trying to get through a captive portal for guest Wi-Fi.
How Does IPSK Authentication Actually Help Network Performance?
This is a great question that connects security to performance. Technologies like Individual Pre-Shared Keys (IPSK) or EasyPSK assign a unique key to every single user or device. This is a massive upgrade for both security and network management.
In high-density places, this simple change prevents unauthorized devices from hopping onto your network and contributing to the overall wireless congestion and noise. By controlling exactly who gets on, you indirectly preserve a healthier Wi-Fi signal-to-noise ratio for legitimate users. This leads to a much smoother experience with your authentication solutions and social login features.
Ready to provide a superior, reliable guest Wi-Fi experience? Splash Access integrates seamlessly with your Cisco Meraki network to deliver secure, branded captive portals with advanced authentication options like IPSK and social Wi-Fi.


