Hey there! Ever thought of a point-to-point wireless bridge as an invisible Ethernet cable? That's exactly what it is. It uses radio waves to connect two buildings, saving you the massive headache and cost of digging trenches for fiber. It’s the perfect solution when you need to extend your network to a remote retail kiosk, a student dorm on an Education campus, or a new corporate annex, creating one unified, high-performance network over some pretty impressive distances.
Connecting Buildings Without Digging Trenches
Have you ever been tasked with getting a solid network connection to a building just across the parking lot? The old-school way involves permits, heavy machinery, and tearing up the landscape—a slow, disruptive, and wildly expensive process. A point-to-point wireless bridge outdoor setup completely changes the game.
This cool tech lets you beam a secure, high-speed network link from one location to another without a single physical wire in between. It's a practical and budget-friendly alternative that's become the go-to for extending networks in all sorts of environments.
Real-World Scenarios and Benefits
The applications are pretty much endless. A sprawling Education campus can link its libraries, lecture halls, and dorms back to a central network, giving students and staff seamless access everywhere. In Retail, a main store can push its network out to pop-up shops, inventory warehouses, or digital signage across a shopping center.
For BYOD Corporate environments where everyone brings their own device, a wireless bridge is a lifesaver. You can get a new office building or annex online in days instead of waiting months for a leased line. That kind of agility is a huge win.
The biggest benefits are crystal clear:
- Massive Cost Savings: You completely sidestep the sky-high costs of trenching, laying conduit, and installing fiber optic cable.
- Rapid Deployment: A wireless bridge can often be installed and running in a single day, not the weeks or months it takes for underground cabling.
- High Performance: Modern bridges from top-notch vendors like Cisco and Meraki deliver multi-gigabit speeds, easily handling HD video streaming, VoIP calls, and large file transfers.
Paving the Way for a Modern User Experience
This connection is more than just a link; it’s the backbone for a much better user experience. With the bridge in place, you can extend your entire Wi-Fi infrastructure, opening the door for advanced Captive Portals and robust Authentication Solutions.
A stable wireless bridge isn't just about connectivity; it's the foundation for deploying smart, secure, and user-friendly guest Wi-Fi across your entire property.
Suddenly, you can roll out awesome features like social login or social WiFi to make guest access a total breeze. In more controlled settings like a corporate campus, you can deploy powerful security methods like IPSK or EasyPSK. These tools give each user or device a unique, secure key—perfect for securely managing BYOD policies in any Corporate sector.
Of course, none of this works without a clear path for the signal. Understanding the critical role of a clear line of sight is your next step, and you can get the full rundown on how obstructions impact your signal in our article on the Fresnel Zone. Getting this foundation right ensures your network is ready for anything, from a simple kiosk to a multi-building campus.
Planning Your Wireless Link for Flawless Performance
A powerful point-to-point wireless bridge doesn't just happen by accident. It's the result of some careful planning that takes place long before you ever unbox the hardware. Think of this stage as drawing up the blueprint for a perfect connection. Getting it right from the start is what ensures your network extension—whether it’s for a sprawling corporate campus or a multi-building retail complex—is rock-solid from day one.
The absolute cornerstone of this whole process is the site survey. This isn’t a quick glance out the window; it's a deep, professional assessment of the entire environment between your two connection points. The main goal here is to guarantee a clean, completely unobstructed path for your signal to travel. That’s the secret to a stable, high-speed link.
This step is critical for any deployment, from linking two buildings on an Education campus to connecting a main storefront to a remote warehouse in a Retail setting. The demand for these solutions is booming, driven by the need for cost-effective, high-throughput links.
Mastering Line of Sight and the Fresnel Zone
The first and most important rule of planning a wireless bridge is achieving a clear Line of Sight (LoS). Simply put, you should be able to see Point B from Point A with nothing in the way. But it’s actually a bit more complex than just a visual check. Radio waves don't travel in a laser-thin line; they spread out in an elliptical shape as they travel, and this area is called the Fresnel Zone.
For a strong, reliable signal, you need this zone to be mostly clear of obstructions. I always follow the rule of thumb to keep at least 60% of the first Fresnel Zone free from obstacles. You'd be surprised what can get in the way:
- Growing Trees: A path that's clear in the spring might be completely blocked by summer foliage. You have to plan for growth.
- New Construction: Always check for any planned construction projects in the area that could pop up and obstruct your path in the future.
- Terrain: Over long distances, even slight hills or rises in the landscape can easily block a signal.
A thorough site survey uncovers these potential headaches early on. To really dig into the specifics, check out our detailed guide on how to perform a comprehensive site survey for your wireless network. Trust me, the effort you put in here will save you countless hours of frustrating troubleshooting later.
This diagram shows the basic concept of how an invisible wireless link connects two buildings.
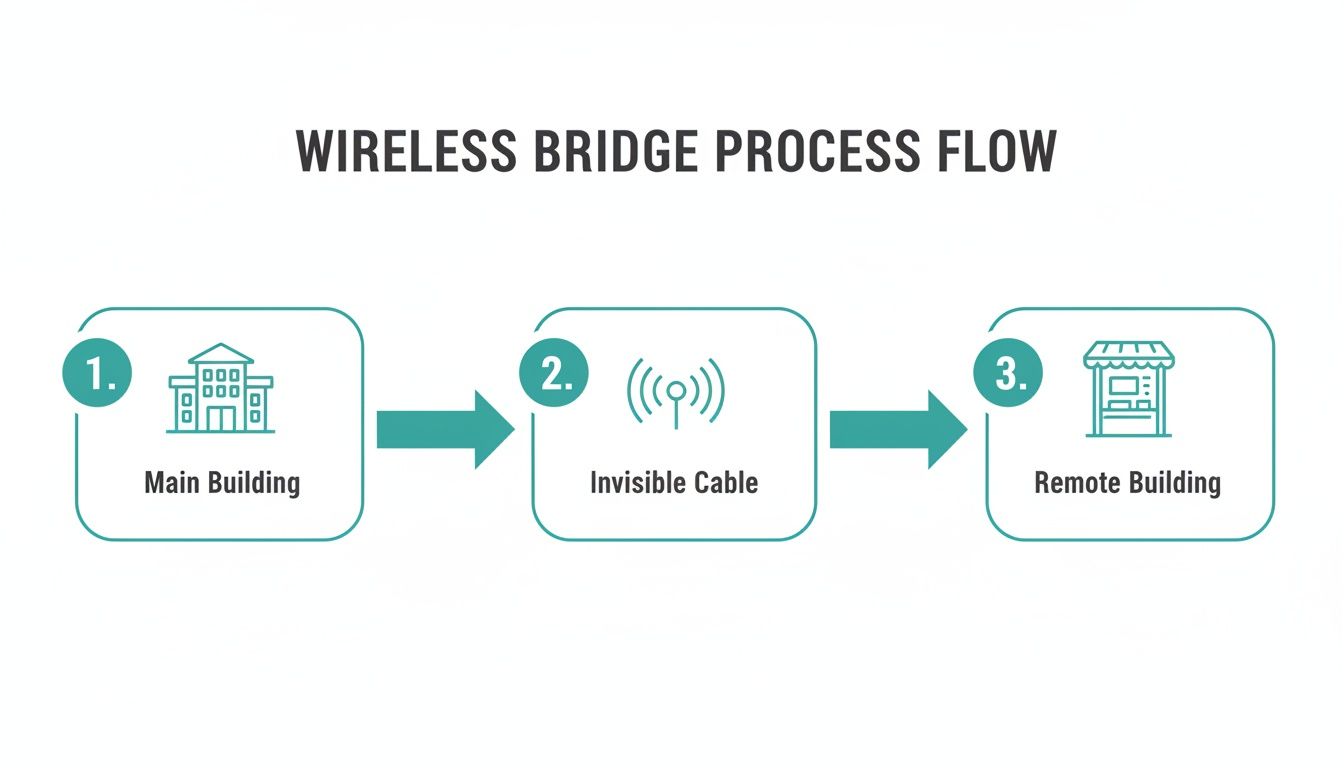
It’s a great visualization of how a wireless signal essentially becomes a direct, invisible cable between a main building and a remote location.
Calculating Your Link Budget for All-Weather Reliability
Once you've confirmed a clear line of sight, the next step is to calculate a link budget. It sounds technical, but it’s really just a practical way to make sure your connection has enough power to stay stable, even when conditions are less than ideal. This calculation factors in transmitter power, antenna gain, and all the potential signal loss from distance and, importantly, weather.
The real goal here is to build in a "fade margin." This is extra signal strength that acts as a buffer against things like heavy rain or snow, which can seriously weaken radio waves. A healthy fade margin is the difference between a link that only works on sunny days and one that you can count on year-round.
This upfront planning is what lets you extend sophisticated network features across the link. For those running Cisco or Meraki infrastructure, a reliable bridge is the foundation for a truly unified network. It allows you to seamlessly extend your guest wifi services, complete with branded Captive Portals, social login options, and advanced Authentication Solutions like IPSK and EasyPSK.
Without this foundational planning, trying to manage a BYOD Corporate policy in a remote building or offer seamless social wifi at a satellite Education campus facility becomes a constant battle. A well-planned link makes it all just work.
Choosing the Right Wireless Bridge Hardware
Once you've done the critical pre-flight checks, it's time for the fun part—picking out the gear. Selecting the right point to point wireless bridge outdoor hardware isn't about grabbing the box with the biggest numbers. It’s about being a matchmaker, pairing the right tech with your specific environment and goals to forge a rock-solid, high-speed link.
The hardware you choose has a ripple effect on everything, from raw throughput to all-weather reliability. You need equipment that can shrug off a rainstorm while delivering the performance your users demand, whether they're students on an Education campus or shoppers in a sprawling Retail center.
Antennas and Frequencies
First things first, let's talk about antennas. For these long-haul point-to-point links, you’re usually looking at two main contenders:
- Parabolic Dish Antennas: Think of a mini satellite dish. These are the undisputed champions for long-range, highly focused connections. They produce a super-narrow "pencil beam," which is incredible for cutting through noise over several miles but demands meticulous, painstaking alignment.
- Panel Antennas: These are flat, rectangular, and offer a slightly wider beam. That makes them a bit more forgiving during installation and a fantastic choice for shorter links where absolute pinpoint precision isn't the top priority.
Then you have the frequency. For years, the 5 GHz band has been the reliable workhorse. But the newer 6 GHz spectrum, ushered in by Wi-Fi 6E and Wi-Fi 7, is a total game-changer. It opens up a massive, uncongested superhighway of new channels, which can make a night-and-day difference in crowded urban areas.
Don't overlook the IP rating! That little two-digit number (like IP67) is your guide to how well the gear is sealed against dust and water. Higher numbers mean better protection, and for any outdoor deployment, this is non-negotiable.
Creating a Cohesive Network Ecosystem
Here’s where a little forethought really pays dividends, especially if your network already runs on Cisco or Meraki. Sure, you can mix and match brands, but sticking with a single vendor for your core infrastructure makes life so much easier. A Meraki-compatible bridge, for instance, slots right into that beautiful dashboard you already use for your indoor APs.
This unified approach is about more than just convenience; it unlocks powerful, integrated features essential for modern networks. For anyone in a Corporate environment juggling BYOD policies or a school in the Education sector that needs to secure student devices, this is a massive win.
When your wireless bridge is just another node in your Meraki network, deploying sophisticated Authentication Solutions is practically a click-and-go process. You can extend your existing security policies to the new building without any kludgy workarounds. We dive deeper into these benefits in our guide on getting the most from a Cisco outdoor AP installation.
Choosing the right features for your venue's specific needs is critical. This table breaks down which capabilities matter most across different environments.
Wireless Bridge Feature Comparison for Different Venues
| Feature | Education Campus | Retail Center | Corporate (BYOD) |
|---|---|---|---|
| High Density Support | Crucial for lecture halls and common areas. | Important for high-traffic stores and food courts. | Essential for meeting rooms and open-plan offices. |
| Seamless Roaming | Essential for students moving between buildings. | Key for shoppers maintaining connection store-to-store. | Critical for employees on calls while walking the campus. |
| Advanced Security | High priority for protecting student data (IPSK/802.1X). | Important for PCI compliance and guest data privacy. | Highest priority for protecting corporate data (IPSK/EasyPSK). |
| Guest Analytics | Useful for tracking campus movement and resource use. | Crucial for understanding foot traffic and dwell times. | Important for visitor tracking and network resource management. |
| Centralized Management | A must-have for managing APs across a large campus. | Highly desirable for chain stores and mall management. | Standard requirement for enterprise IT efficiency. |
As you can see, while the core technology is similar, the feature priorities shift dramatically based on who is using the network and why.
Powering Your Guest WiFi Experience
A stable wireless bridge is the bedrock of a fantastic guest wifi experience. Once that link is live, you can push your entire guest network infrastructure—and all its intelligence—to the remote location. This means deploying beautiful, branded Captive Portals that make getting online a breeze for visitors.
Think about what this unlocks:
- Social Login: In a Retail environment, let guests connect with their social media accounts. It's frictionless for them and provides you with valuable marketing insights.
- Social WiFi: Create a simple, engaging connection process that encourages brand interaction.
- IPSK and EasyPSK: For Corporate or Education settings, these powerful Authentication Solutions are the gold standard. You can generate unique, secure passphrases for every single user or device, ensuring every connection is private, accountable, and secure—perfect for a BYOD environment.
By choosing hardware that plays nicely with your existing Cisco or Meraki setup, you’re not just building a bridge. You're extending the reach of your network's security and intelligence, turning a simple link into a powerful tool for managing and engaging with your users.
Getting Your Outdoor Bridge Installed and Configured
Alright, with the planning phase behind you and the hardware in hand, it’s time for the fun part: bringing your network extension to life. Installing and configuring your point to point wireless bridge outdoor is where all that theory becomes a reality. This is the hands-on process that turns a couple of devices in a box into a powerful, high-speed data link spanning your property.
Getting this right is about more than just plugging in a few cables. It demands a sharp eye for detail when mounting, absolute precision during alignment, and a clear, methodical approach to the software setup. Let's walk through the critical steps to make sure you nail it and get a rock-solid connection from day one.
Secure Mounting and Weatherproof Cabling
The first job on-site is getting the hardware physically mounted. I can't stress this enough: don't cut corners here. A wobbly mount is a surefire recipe for an unstable link. Even the slightest vibration from wind can knock your alignment out of whack and cause frustrating performance drops. Always use heavy-duty, non-penetrating roof mounts or bolt them directly to solid structural elements.
Protecting your cabling is just as crucial. Every outdoor bridge relies on an Ethernet cable for both data and power (via PoE), making that cable the absolute lifeline of your link.
- Use Outdoor-Rated Cabling: This is a must. You need shielded, outdoor-rated Ethernet cable with a UV-resistant jacket. Standard indoor cable will crumble and fail in the elements faster than you think.
- Create Drip Loops: Before the cable runs into the building or connects to the device, form a small downward loop. This simple move forces rainwater to drip off the bottom instead of channeling it straight into your expensive equipment.
- Weather-Sealed Glands: Your bridge came with weatherproof glands for a reason. Install them correctly and tighten them down. This creates a watertight seal around the Ethernet port, which is a common point of failure if you leave it exposed.
Finally, proper grounding is completely non-negotiable. A power surge from a nearby lightning strike can fry not only the bridge but also the switch it's plugged into. Always connect the device's grounding point to a proper earth ground.
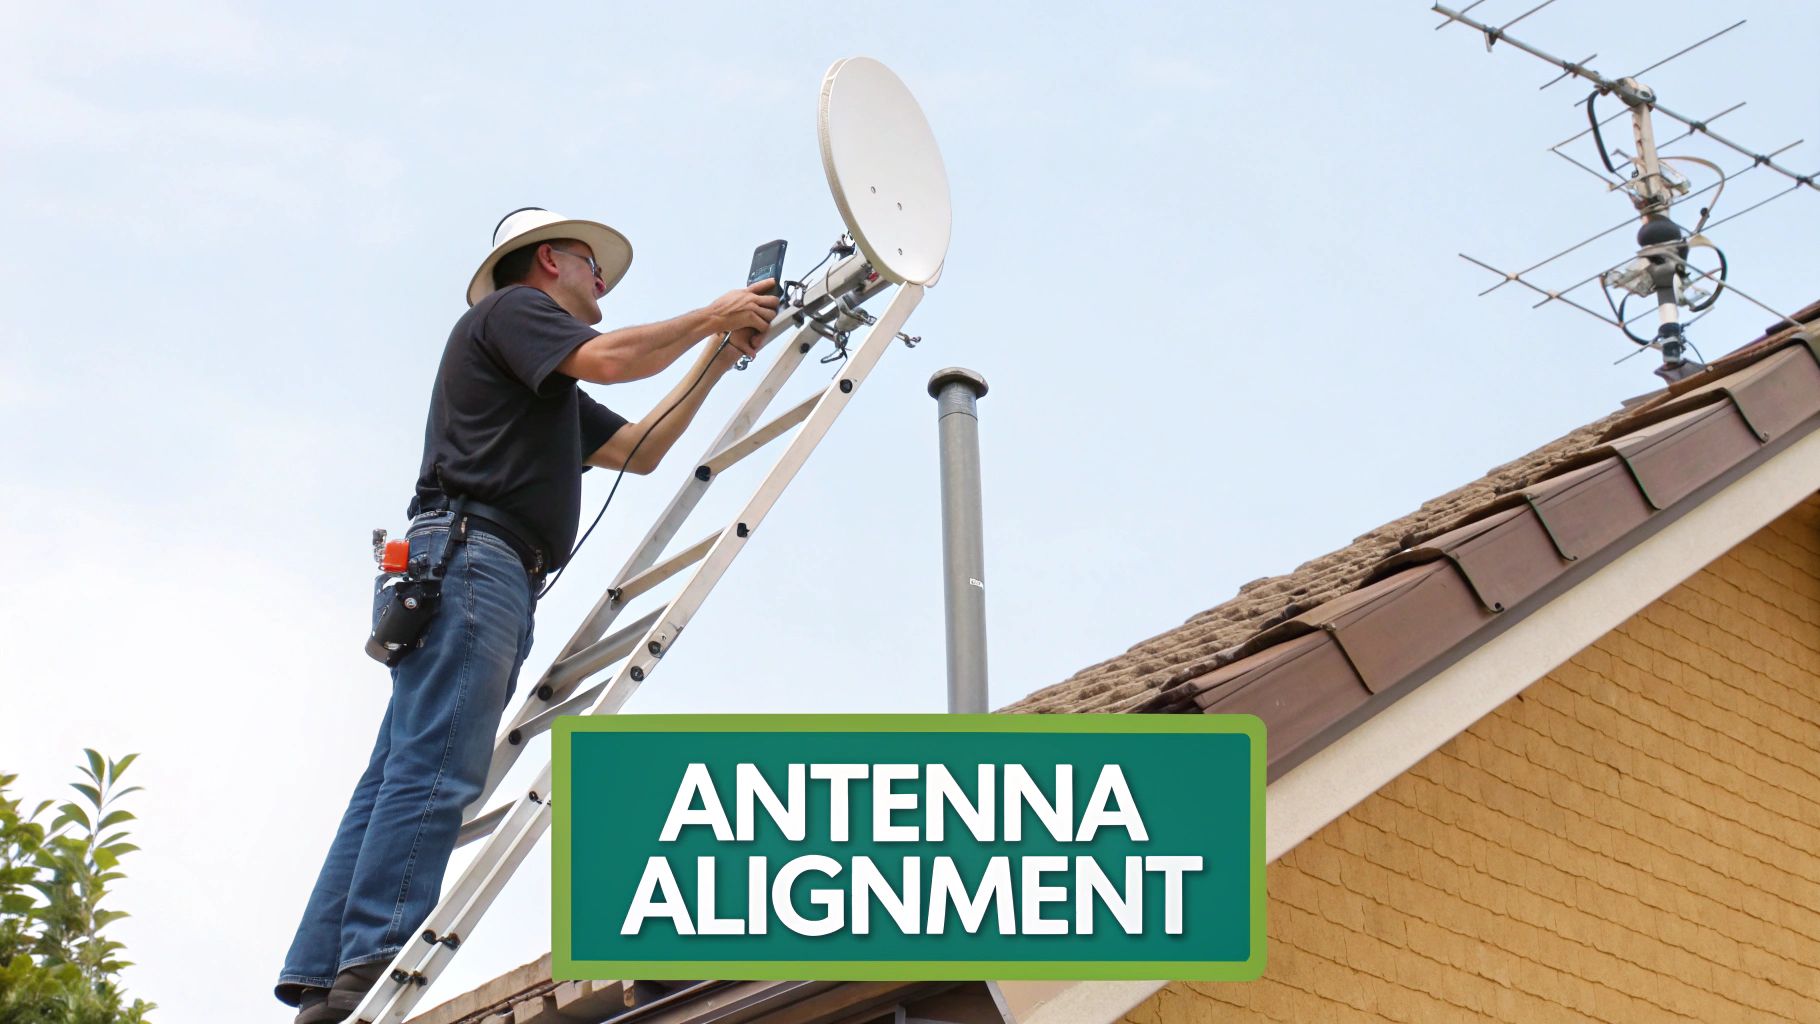
The Art of Antenna Alignment
This is it—the most critical part of the entire installation. A few degrees of misalignment can be the difference between a lightning-fast, multi-gigabit link and a connection that drops every five minutes. You can get a rough start by sighting it visually with binoculars, but the real work happens in the software.
Most modern bridges, including those from Cisco and Meraki, have a built-in alignment tool right in their web interface. This tool gives you a live signal strength reading, usually in dBm. Your mission is to get that number as close as possible to the value you calculated back in your link budget.
The alignment process is a slow, methodical dance. You make a tiny, incremental adjustment to the azimuth (left-right) or elevation (up-down) on one antenna, then wait a few seconds to see the result. Once you've peaked the signal, lock that side down and repeat the process on the other end to really dial it in.
It's this level of precision that makes these bridges so valuable across different industries. From Education to healthcare and senior living, point-to-point wireless is essential for reliable campus-wide coverage. The global market is growing fast, which shows just how critical this technology is. You can learn more about the explosive growth of the wireless bridge market and its widespread impact.
Initial Software Configuration and Meraki Integration
Once your physical link is up and aligned, it’s time to jump into the software. This usually means connecting a laptop directly to one of the bridges to access its configuration page. Here, you’ll set up the basics: IP addresses, subnet masks, and core security settings.
If you’re running a Cisco Meraki environment, this part is almost effortless. After you configure the bridge with basic network connectivity, it will automatically find and connect to the Meraki Cloud Dashboard. From that point on, you can manage it just like any other AP on your network.
This seamless integration is a massive win when you need to deploy advanced guest wifi or security features. You can extend your existing network rules and SSIDs across the bridge without any clunky workarounds. This is perfect for scenarios like:
- Education: Pushing a student-only network SSID to a remote dormitory.
- Retail: Extending your branded guest wifi network, complete with a social login portal, to a pop-up store or outdoor kiosk.
- Corporate BYOD: Applying consistent IPSK or EasyPSK security policies for employees in a separate office building.
By bringing the bridge into the Meraki dashboard, you’re not just creating a connection—you’re creating a true, managed extension of your network. If you want a quick refresher on the fundamentals, take a look at our guide on how to configure an access point.
Securing Your Link and Integrating Guest WiFi
You've got the bridge powered up and the signal is locked in. That's a huge step, but the real work starts now. Before you open the floodgates to user traffic, you absolutely must secure this connection. An unsecured point-to-point wireless bridge outdoor isn't just a weak link; it's a gaping hole in your network security.
Let's walk through how to lock it down and then turn this simple connection into a smart, valuable asset for your venue.
This process goes way beyond just setting a password. We'll cover the essential security measures to protect the link itself and then explore how this new connection becomes the foundation for an exceptional guest WiFi experience. This is where your investment really starts to pay dividends.
Locking Down the Wireless Bridge
First things first: let's harden the bridge itself. Leaving the link open or, almost as bad, using weak encryption is like leaving the front door to your server room wide open. The absolute bare minimum today is WPA3 encryption. It offers vastly superior protection over older standards and should be the first thing you enable on both ends of the link.
Beyond that, here are a few other mission-critical steps I never skip:
- Change Default Credentials: It sounds basic, but you'd be shocked how often this is overlooked. Always, always change the default admin username and password on your bridge hardware before it ever touches your production network.
- Disable Unused Services: Your bridge's firmware likely has services like Telnet or HTTP enabled by default. Turn off anything you don't need. For management, stick to secure protocols like SSH and HTTPS only.
- Use Management VLANs: Isolate the management traffic for your bridge on its own dedicated VLAN. This is a huge security win, as it prevents regular user traffic from ever having a path to the device's administrative interface.
Taking these steps creates a hardened perimeter around the link, ensuring the data flying between your buildings stays secure and private.
Your wireless bridge is core network infrastructure, not just an accessory. Treat it with the same security diligence you apply to your firewalls and core switches. It's absolutely essential for protecting your organization's data.
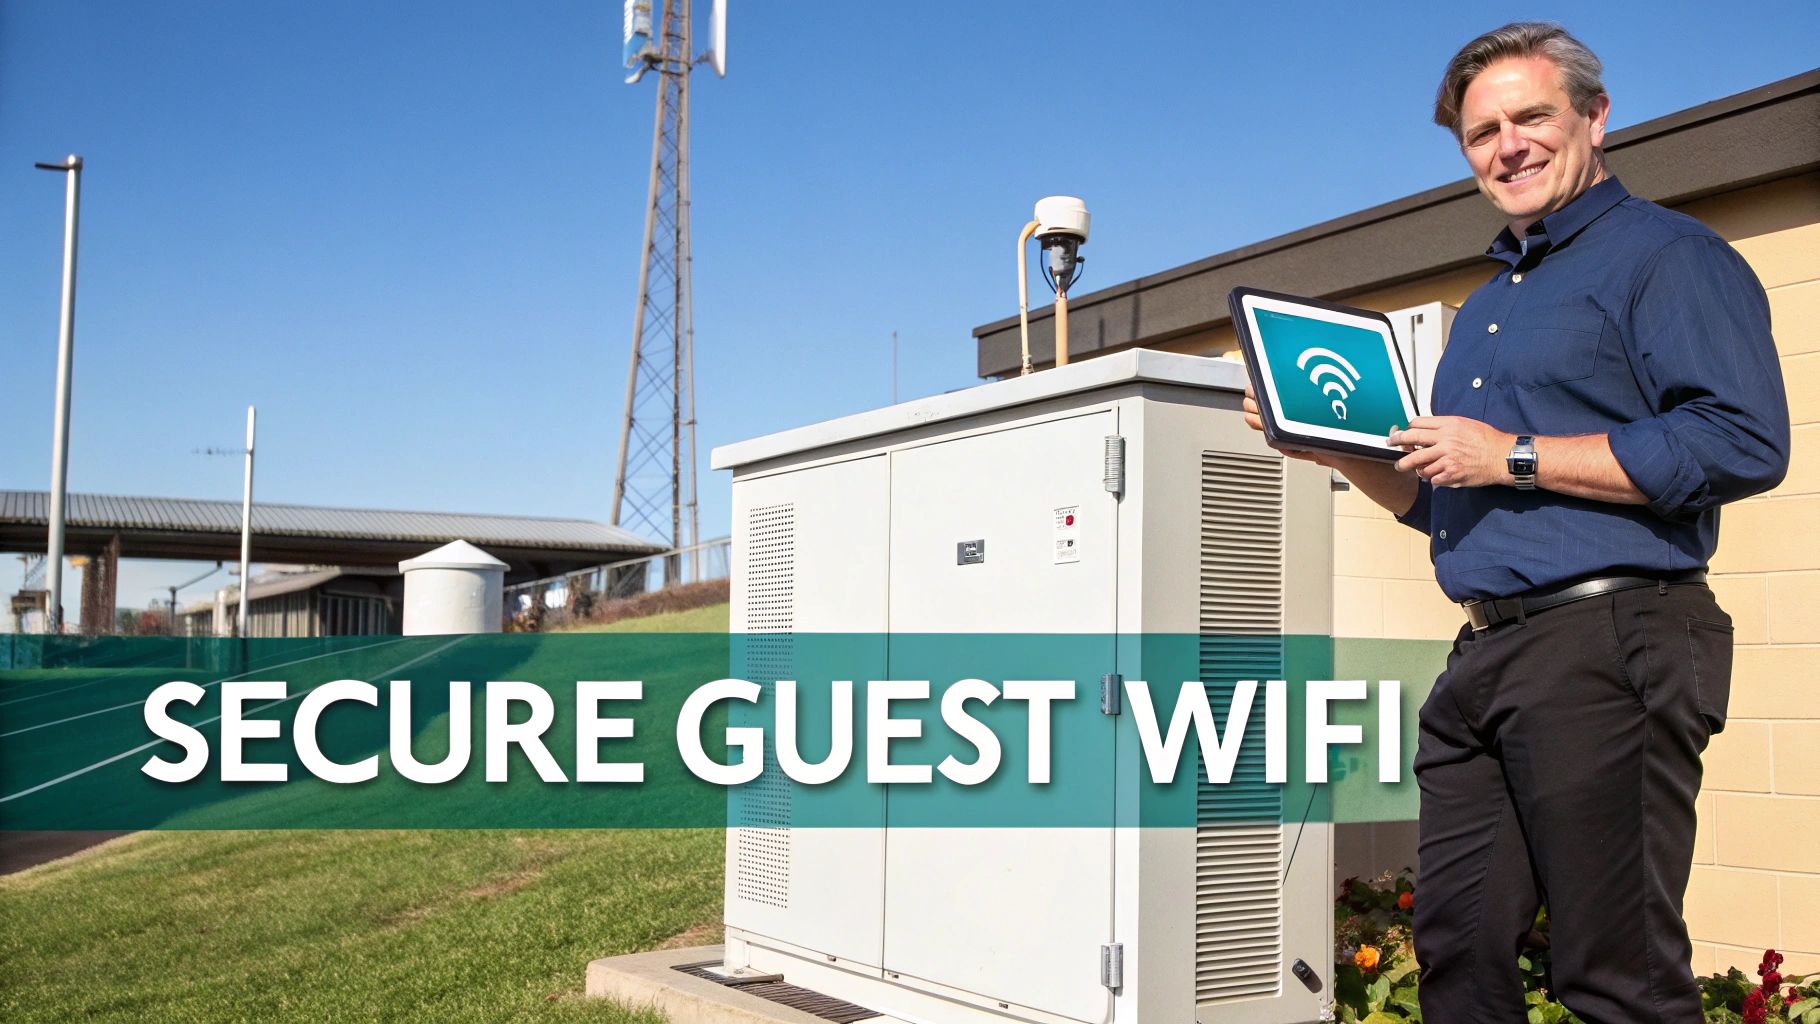
Turning Connectivity Into a Brilliant Guest Experience
With a secure link established, you can now extend your entire network’s intelligence across to the remote location. This is especially powerful if you're running on Cisco and Meraki platforms, where that single pane of glass makes deploying sophisticated user experiences incredibly straightforward.
Now, that remote building—whether it's a student dorm in an Education setting or a new warehouse in a Corporate BYOD environment—can offer the exact same seamless and secure Wi-Fi as your main site. This is where Captive Portals come into play.
A Captive Portal is that branded login page users see when they first connect to your guest network. It’s your chance to welcome them, share terms and conditions, and offer different ways to get online. For Retail centers, this is a golden opportunity to enable social login options. Letting customers connect with their social media accounts is frictionless for them and can provide valuable, anonymous marketing insights for your business. This kind of easy social WiFi is a proven way to boost engagement.
Advanced Authentication for Secure Environments
While social logins are great for public spaces, many environments demand much tighter control. This is where modern Authentication Solutions really shine, giving you granular, secure access for every single user.
Think about these real-world scenarios:
- Corporate BYOD: You can't have employees in a remote office sharing a single Wi-Fi password. It's a security nightmare. With IPSK (Individual Pre-Shared Key) or EasyPSK, your IT team can generate a unique, secure passphrase for every single employee and their devices. When an employee leaves, you just revoke their key without disrupting anyone else.
- Education Campuses: In a student housing block, an IPSK system can give each student their own private network key. This isolates their devices, preventing them from seeing each other’s traffic and creating a secure, personal Wi-Fi experience right in their room.
By integrating these authentication methods into your Cisco Meraki network, your new wireless bridge becomes a true extension of your secure infrastructure. It's no longer just about providing an internet connection; it’s about delivering the right level of access to the right people, securely and efficiently. To dive deeper, check out our guide on how to properly secure a Wi-Fi network for more field-tested best practices.
Alright, let's zoom out for a second and appreciate what you've just built. You've gone from a simple site survey to a fully deployed and secure point-to-point wireless bridge outdoor. That's a serious accomplishment. You now have the hands-on experience to pick the right Cisco or Meraki-compatible gear, mount it properly, and dial it in for maximum performance.
But here’s the real takeaway: this bridge is so much more than just a link between two buildings. It’s the foundation for expanding what your network can do. When you pair this new infrastructure with a smart guest wifi platform, you open up a whole new world of possibilities.
From a Simple Link to a Smarter Network
With the physical connection locked in, you can now start extending your network's intelligence across that link. This is where the magic happens—deploying custom Captive Portals and sophisticated Authentication Solutions becomes straightforward. Your network is no longer boxed in by physical walls, whether you’re managing a university campus, a large Retail park, or a Corporate office with a strict BYOD policy.
Think about the practical applications this unlocks across your entire property:
- For Retail Venues: You can now push your branded guest wifi experience out to a pop-up shop in the car park or an outdoor patio. Things like social login and social wifi marketing are no longer limited to your main building.
- On Education Campuses: Need to provide students in a remote dorm with secure, isolated network access? Now you can, using advanced security protocols like IPSK.
- In Corporate Offices: Extending your BYOD security policies, including things like EasyPSK, to a satellite building is now a clean process without messy workarounds.
This kind of technology is making a huge difference. Businesses are often cutting network deployment costs by 50-70% compared to trenching fiber. You can dive deeper into the growing outdoor Wi-Fi market to see just how big this trend is.
You haven't just connected two points on a map. You've laid the groundwork for a more intelligent, secure, and user-centric network that's ready to scale as your organization grows.
Got Questions? We've Got Answers
When you're diving into the world of point-to-point wireless bridge outdoor setups, it's natural to have a few questions. We get asked these all the time by people on the ground, so let's clear up some of the most common ones.
What's the Real-World Range of a Wireless Bridge?
Honestly, it all comes down to your gear, the antennas you pick, and having a perfect line of sight.
Some off-the-shelf equipment might peter out after a few hundred feet. But when you step up to professional-grade systems from vendors like Cisco, you can build rock-solid links that punch out over miles if the conditions are right.
How Critical Is a Clear Line of Sight?
It’s 100% critical. I can't stress this enough—it's a non-negotiable part of the equation.
For a link that’s not just stable but also fast, you need an unobstructed path between your two antennas. Things you might not even think about, like a new building, a hill, or even a thick grove of trees that will grow over time, can kill your signal or degrade it to the point of being useless.
Will Bad Weather Knock My Bridge Offline?
It certainly can. Heavy rain, thick fog, and even heavy snow can absorb and scatter radio signals, which we call "rain fade." This effect is much more pronounced on higher frequency bands.
This is exactly why we always build a "fade margin" into our link budget calculations. It’s essentially extra signal strength that acts as a buffer, ensuring your connection holds steady when the weather gets nasty.
Can I Use a Wireless Bridge for Guest WiFi?
Yes, and it's a perfect application for it. A wireless bridge is an incredibly effective way to push your guest wifi network out to places your cables can't easily reach. Think about a separate building on an Education campus, a hotel's poolside bar, or an outdoor shopping area in a Retail setting.
And this is where things get really powerful. By tying the bridge into your existing Cisco Meraki dashboard, you can extend all your advanced network features—like branded Captive Portals and sophisticated Authentication Solutions—to these new zones.
You can manage the whole experience from one place, offering easy social login for public access or deploying more robust security like IPSK and EasyPSK for staff BYOD or student housing. Suddenly, that remote connection becomes a fully integrated part of your intelligent network.
Ready to transform your guest WiFi experience across any distance? Splash Access provides a powerful platform that integrates seamlessly with your Cisco Meraki network, allowing you to deploy beautiful Captive Portals, secure authentication methods like IPSK, and gain valuable user insights. Learn more about how we can help you extend your network's intelligence at https://www.splashaccess.com.


