Hey there! Setting up an access point correctly is more than just plugging it in. It's a journey through a few key stages, from the initial hardware setup to fine-tuning security and designing a welcoming guest login experience. When you get it right, your network becomes secure, reliable, and genuinely user-friendly for everyone—whether they're staff, students in an Education setting, or customers in a Retail space. We'll walk you through this process using the powerful and intuitive Cisco Meraki cloud dashboard as our friendly guide.
Your Guide to a High-Performing WiFi Network
Putting together a new wireless network can feel like a huge task, but I'm here to tell you it doesn't have to be. Let's get our hands dirty with practical, real-world examples that solve the challenges I see every day, especially with amazing hardware like Cisco and Meraki APs. My goal is to show you how to set up an access point that doesn't just provide an internet connection but actually becomes a powerful tool for your organization.
This guide is for you if you're looking to:
- Create seamless guest experiences with branded Captive Portals.
- Implement rock-solid security using modern Authentication Solutions like IPSK and EasyPSK.
- Support Bring-Your-Own-Device (BYOD) policies without sacrificing network integrity in a Corporate or Education environment.
- Tailor your WiFi for the unique demands of Retail, Education, or Corporate sectors.
The Foundation of Modern Connectivity
The pressure on today's networks to perform is immense. You can see it in the numbers: the enterprise WLAN market continues to show double-digit growth, climbing 10.6% year-over-year in Q1 to hit $2.3 billion in revenue. This explosion in demand for fast, seamless wireless is why the best enterprise access points are judged by how easily they scale and simplify configuration. For a deeper dive, check out the latest IDC report on enterprise networking.
By the end of this guide, you won't just know how to click the right buttons in the Cisco Meraki dashboard; you'll understand the why behind each choice. That's the real key to building a WiFi network that's not only reliable and secure but also perfectly aligned with your goals.
What Does Great Configuration Actually Look Like?
A well-configured network is so much more than a strong signal. It's about intelligently segmenting traffic to protect sensitive data, managing who gets access and how, and presenting a professional, branded experience to guests.
Think about it this way: a university campus in the Education sector has vastly different needs than a coffee shop in Retail. The campus might use IPSK or EasyPSK to give each student a unique key for their devices—a brilliant way to handle BYOD and stop password sharing.
On the other hand, the coffee shop is all about that Captive Portal. They want to grant WiFi access while showing off their daily specials. This is where effective access point management becomes a true business asset. We'll explore these scenarios and more, giving you the actionable steps to build the right network for your specific environment.
This table breaks down the essential stages of configuring an access point, from initial setup to advanced user management, to give you a clear roadmap.
Key Configuration Stages at a Glance
| Configuration Stage | Primary Goal | Key Technologies Involved |
|---|---|---|
| Initial AP Setup & Onboarding | Get the hardware online and communicating with the cloud. | Cisco Meraki Dashboard, AP claiming, network creation |
| SSID & Network Settings | Define the wireless network and its basic parameters. | SSID broadcasting, VLAN tagging, traffic shaping |
| Security & Authentication | Secure the network and control user access. | WPA3, 802.1X RADIUS, IPSK, Splash Access Authentication Solutions |
| Guest Access & Captive Portal | Create a branded and seamless login for visitors. | Splash Page customization, social logins, data capture |
| User & Device Management | Monitor and manage connected clients. | Client lists, device policies, bandwidth limits |
Understanding these distinct stages helps you approach the configuration process methodically, ensuring you cover all your bases for a secure and high-performing network.
Laying the Groundwork for Your Cisco Meraki AP
Before you touch a single setting in the dashboard, let's talk about the prep work. I've seen it time and again: a successful WiFi deployment is 90% planning and 10% execution. Jumping straight into the configuration without a solid plan is the fastest way to build a network that underperforms or, worse, creates security headaches.
Start by looking at the physical space itself. The environment dictates everything. A high-density Education lecture hall, packed with students streaming video, has vastly different needs than a sprawling Retail floor needing consistent coverage for POS devices and guest shoppers. A multi-story Corporate office with a heavy BYOD policy? That requires careful channel planning to manage interference between floors.
Define Your Primary Objective
So, what's the end goal here? Answering this one question will shape every decision you make. Are you trying to build a network for:
- Maximum Speed for Internal Users? Think of a Corporate office where employees need blazing-fast access to internal servers and cloud apps. Performance is king.
- Seamless BYOD Onboarding? In schools and modern workplaces, the focus is on security and a frustration-free experience. You need a simple, secure way for people to connect their personal devices, which is where Authentication Solutions like IPSK and EasyPSK really shine.
- A Branded Guest Experience? For a Retail store or hotel, the WiFi is a marketing tool. The priority shifts to creating a custom Captive Portal that engages customers and looks like it's part of your brand.
Once you’ve nailed down your primary goal, you can start matching the hardware to the mission. If you're not sure which model is right, our guide on choosing the best Meraki access points can help you make the right call.
Your existing infrastructure is the foundation your new wireless network will be built on. A state-of-the-art access point can't perform if it's connected to an outdated switch or a slow internet connection.
This brings us to the final piece of the pre-flight check: your current network gear. Take an honest look at your switches, routers, and internet bandwidth. Make sure your switches can deliver enough Power over Ethernet (PoE) and that your internet pipe has the capacity to handle the new load.
Ignoring these basics is like putting a high-performance engine in a beat-up old car—you simply won't get the performance you paid for. A quick audit now will save you from major bottlenecks later on.
Setting Up Secure SSIDs for Your Staff and Guests
Alright, let's dive into the heart of the setup! We’re heading into the Cisco Meraki dashboard to create the SSIDs—that’s the network name people see when they want to connect. It’s easy to think you can just set up one network with a password and call it a day, but to build a truly professional and secure WiFi experience, we need to be a bit smarter.
Our goal here is to create two completely separate networks for two very different groups. One will be a secure, fast network just for your internal team. The other will be a welcoming guest network that uses a Captive Portal to get people online. This separation is non-negotiable; it's the foundation of a solid wireless setup.
This infographic shows a network administrator securely configuring SSIDs on a Cisco Meraki dashboard, visualizing the flow of creating separate, secure networks for different user groups.
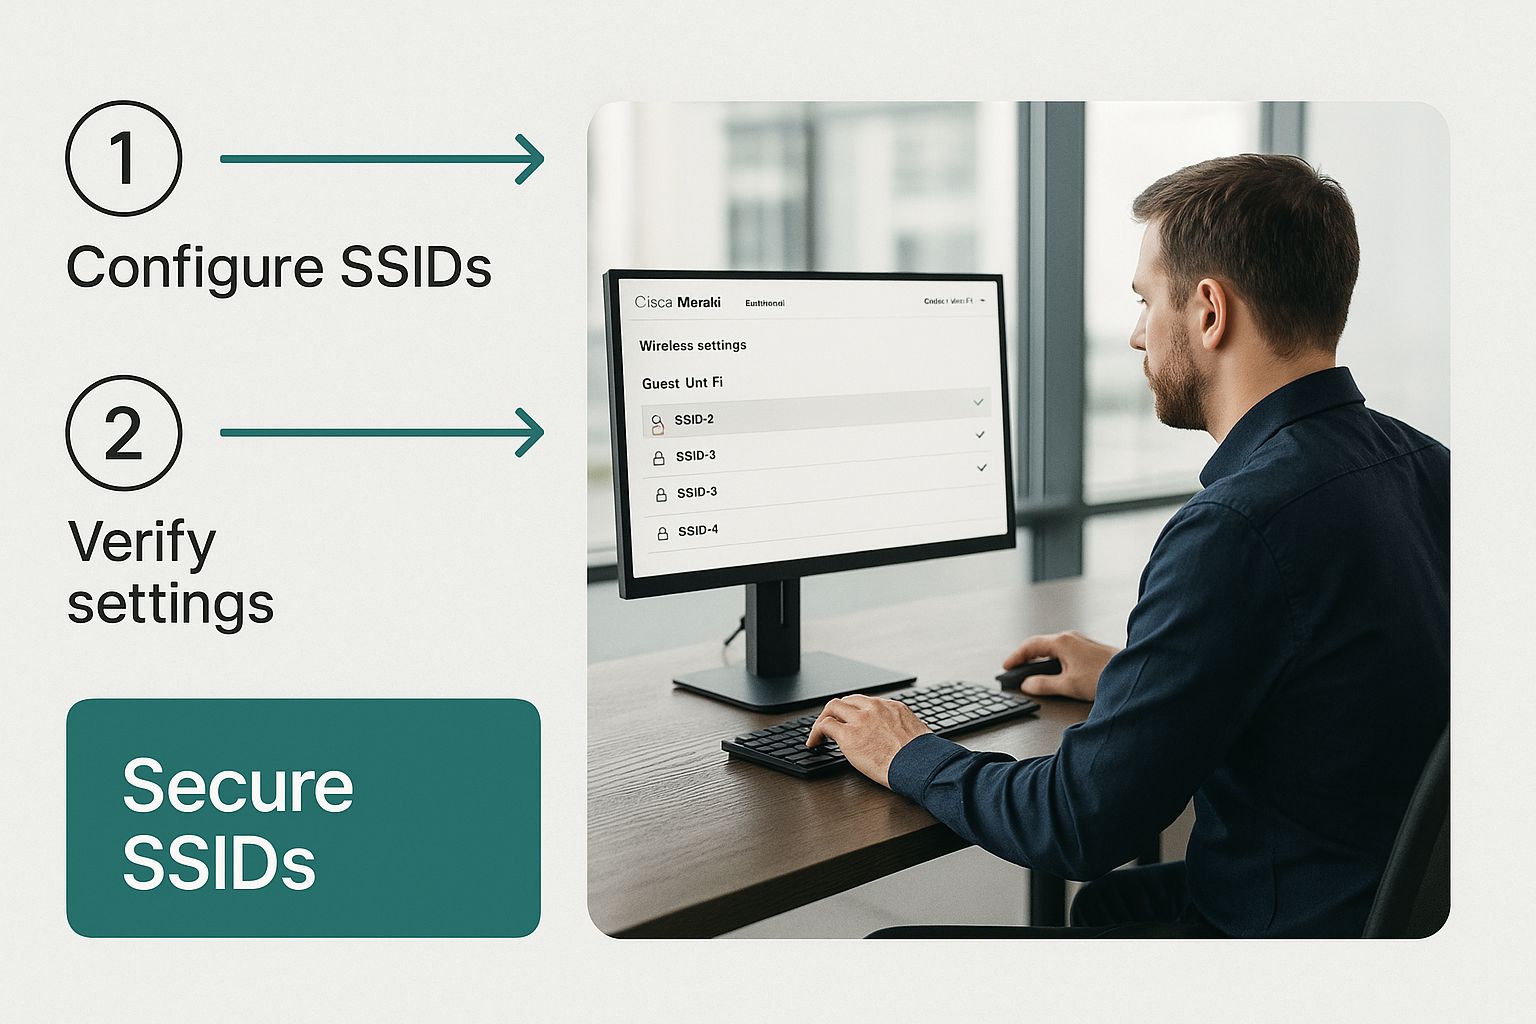
The main takeaway is that you can't use a one-size-fits-all approach. Good network configuration requires segmenting your users to protect company resources while still giving guests the easy access they expect.
Locking Down Your Internal Network with IPSK
Let’s start with your internal network. This is for your trusted users—your Corporate staff, teachers in the Education sector, or maybe the POS systems in your Retail shop. For this, we need serious security. This is where a technology like Identity Pre-Shared Keys (IPSK), sometimes called EasyPSK, really shines as a fantastic Authentication Solution.
Forget the days of sharing a single WiFi password with the entire office. With IPSK, you can generate a unique, private key for every single person or device. This is a game-changer for security, especially in BYOD (Bring Your Own Device) environments. If an employee leaves the company or a device gets lost, you just revoke its specific key. Nobody else is affected. It delivers the kind of granular security you'd expect from a complex enterprise system, but without all the usual setup pain.
IPSK hits that perfect middle ground for modern network security. It gives every user their own credential, which is exactly what you need for the dynamic mix of devices you see in schools, retail stores, and offices today.
Using VLANs to Isolate Your Traffic
Creating different SSIDs is a great first step, but it's not enough on its own. To truly secure your network, you have to isolate the traffic flowing through each of those networks. We do this by assigning each SSID to a different VLAN (Virtual Local Area Network).
Think of VLANs as creating invisible walls within your network infrastructure. Your internal staff, operating on VLAN 10, will be completely walled off from the guest traffic on VLAN 20. This segmentation is absolutely critical. It’s what stops a guest on your public WiFi from ever stumbling upon sensitive internal resources like file servers or private company data. Inside the Cisco Meraki dashboard, assigning a VLAN tag to an SSID is a simple click, but it's one of the most powerful moves you can make to fortify your network.
To really nail this, it helps to have a good handle on fundamental network security principles. Understanding the "why" behind segmentation and strong authentication makes the "how" much more effective. After all, the global indoor access point market is projected to reach $5 billion, packing more power into these devices than ever. Yet, research shows that up to 40% of all network problems come from simple configuration errors.
Engaging Users with a Custom Captive Portal
With your secure SSIDs locked down, it's time to shift focus to the guest experience. This is where you get to turn a basic internet connection into a genuine engagement tool. Your Captive Portal is essentially the digital front door to your network, and it’s your first—and often best—chance to make a solid impression.
Just think about the different places this comes into play. In a Retail shop, the portal can flash the latest sales or nudge visitors to join a loyalty program. On a university campus in the Education sector, it’s a perfect spot to greet students with event schedules. For visitors in a Corporate office, a sharp, branded portal instantly communicates professionalism.
Learning how to properly configure an access point is about more than just flipping a switch for connectivity. It’s about building an experience that serves your organization's goals.
Crafting Your Brand's Digital Welcome Mat
The good news is that pairing a platform like Splash Access with your Cisco Meraki hardware makes this whole process remarkably simple. You're no longer stuck with a generic, cookie-cutter login page. Instead, you can build something that feels like a natural extension of your brand, creating a smooth journey from the moment a guest taps your SSID.
Here are a few of the core elements you can customize:
- Logos and Branding: Your logo should be the first thing people see, giving them confidence they're connecting to the right network.
- Background Imagery: Ditch the default backgrounds. Use high-quality photos of your storefront, campus, or office to create a sense of place.
- Tailored Messaging: Write your welcome messages, terms of service, and login instructions in a voice that matches your brand.
This level of control transforms a simple utility into a powerful marketing asset. If you're just getting started, our in-depth guide on what a Captive Portal for WiFi is offers a great primer on its full potential.
Choosing the Right Authentication Solutions
Your portal's design is only half the story; its function is just as critical. How do you want users to get online? The answer depends entirely on what you want to achieve, especially in BYOD-heavy environments like Education and Corporate offices.
The right sign-on method simplifies access for users while providing valuable data for your organization. It's a strategic choice that balances user convenience with your business needs.
Different Authentication Solutions are built for different scenarios. A simple click-through agreement is perfect for a café where speed is key. But a Corporate lobby or a Retail store can benefit from more strategic options, like social media logins for demographic insights or a short form to grow an email list.
When you combine these user-friendly authentication solutions with strong backend security like IPSK or EasyPSK for your private networks, you create a truly comprehensive wireless environment. Guests get easy access, and you maintain bulletproof control over your internal network.
Keeping Your Network Humming: Performance and Troubleshooting
So, you’ve got your access point online and the SSIDs are broadcasting. That's a great start, but the real work of managing a great network is just beginning. This isn't a "set it and forget it" kind of deal. To keep things running smoothly, especially in busy places like schools (Education), retail shops (Retail), or Corporate office buildings, you'll need to do a bit of ongoing fine-tuning.
Thankfully, you're not on your own. Modern platforms like Cisco Meraki do a lot of the heavy lifting for you. Gone are the days of manually tweaking radio settings and just hoping you got it right. Meraki’s Auto RF feature is constantly analyzing your wireless environment, automatically picking the best channels and power levels to sidestep interference. This feature alone is a massive time-saver.
The demand for this kind of smart technology is exploding. The global wireless access point market is expected to jump from USD 5,619 million to a staggering USD 9,091.9 million by 2032. With bandwidth needs projected to grow by 500% by 2029, getting a handle on AI-driven management and advanced network protocols is no longer just a nice-to-have for IT pros—it's essential. You can dive deeper into these market trends to see where the industry is heading.
Tackling Common WiFi Headaches
Even with the best automated tools, you’ll eventually hear those dreaded words: "The WiFi is slow." When that call comes, a methodical troubleshooting plan is your best defense. The Meraki dashboard is packed with data, from client health scores to network usage charts, that can help you get to the root of the problem fast.
The first move is always to figure out how widespread the issue is.
- Is it just one person? If a single user is struggling, the problem is almost certainly on their end. Look for outdated drivers on their device or see if they've mistakenly connected to the slower 2.4GHz band when a strong 5GHz signal is available.
- Is it a specific spot? When a group of users in one area has issues, it's time to play detective. Look for physical interference. A new microwave in the breakroom or even thick concrete walls can absolutely kill a WiFi signal.
- Is the whole network down? If everyone is complaining, the problem is likely further up the chain. Start by checking your main internet connection, look at your switch configurations, and review any recent changes made to firewalls or network-wide policies.
I’ve seen it a hundred times: people immediately point the finger at the access point for any connection problem. More often than not, the AP is doing its job just fine. The real culprit is usually a misconfigured device or a simple physical barrier. Always start troubleshooting at the client and work your way back.
Using Analytics to Stay Ahead
Fixing problems is one thing, but preventing them is even better. This is where proactive monitoring comes in. The analytics baked into platforms like Meraki are incredibly insightful. You can see exactly which apps are hogging bandwidth, track how many devices are connected over time, and get a clear picture of signal strength across your entire building.
This data isn't just for show—it helps you make smarter decisions.
For example, let's say you're managing a network for a university. If you notice that client health scores in a particular lecture hall are always terrible during peak hours, it’s a clear sign you might need to adjust the AP's placement or add another one to handle the density of devices.
Or, in a Retail setting, you could use foot traffic analytics to see when your store is busiest and adjust your Captive Portal marketing messages to match. By using these tools effectively, you shift from being a network firefighter to a network strategist. If you want to take your skills to the next level, it's worth exploring some advanced network performance monitoring tools for even deeper visibility.
Common Questions We Get During AP Configuration
Even the most detailed guide can't anticipate every question that pops up during a real-world setup. When you're in the weeds with your Cisco Meraki dashboard, things can get tricky. So, let's tackle a few of the most common questions we hear from people just like you.
Can I Just Use the Same SSID for Staff and Guests?
Technically, yes. But from a security and network management standpoint, you absolutely should not. Think of it this way: putting your internal staff and public guests on the same network is like giving everyone in your lobby a keycard to your server room. It’s a massive security hole waiting to be exploited.
Best practice is always to create separate SSIDs and then assign each one to its own VLAN. This creates a virtual wall between the two, completely isolating guest traffic from your sensitive internal resources. A guest browsing the web shouldn't even be able to see your staff printers or file servers, and this is how you make sure of that.
What's the Big Deal with IPSK vs. a Standard WPA2 Password?
A standard WPA2 password is a one-size-fits-all solution. Everyone gets the same "master key" to the network. If that password leaks or an employee leaves, your only option is to change it for everyone—a huge hassle, especially in a BYOD environment.
This is where IPSK (Identity Pre-Shared Key), also known as EasyPSK, changes the game. Instead of one password for everyone, IPSK lets you generate a unique key for every single user or device. It's like giving each person a personal keycard instead of a single master key.
If a device is lost or an employee leaves, you just deactivate their specific key. The rest of the network keeps running smoothly without a single interruption.
This approach gives you the kind of granular control that modern networks demand. It’s perfect for dynamic environments like schools (Education) or Corporate offices where people and devices are constantly coming and going.
Is a Captive Portal Really Necessary for My Guest Network?
"Necessary" might be a strong word, but skipping it is a huge missed opportunity. Sure, an open network with just a password works, but a Captive Portal turns that simple connection into a valuable business tool. It’s your digital front door.
Imagine a Retail shop using its portal to display today's sales, or a hotel using it to offer room service. A Corporate office can reinforce its brand with a professional welcome page and require guests to agree to an acceptable use policy.
By integrating Authentication Solutions like those from Splash Access, you can manage who gets on your network, for how long, and even gather marketing consent. It transforms a basic utility into a powerful engagement platform.
Ready to build a WiFi experience that's secure, branded, and incredibly user-friendly? Splash Access is designed to work seamlessly with your Cisco Meraki gear, giving you complete control over your captive portals and user authentication.
Let's build a network that truly works for you and your guests. Find out how at https://www.splashaccess.com.


