Diving into Cisco networking for the first time can feel a little daunting, but don't worry—you're in the right place! The first step to configure a Cisco switch involves plugging in a console cable, getting to the command-line interface (CLI), and locking down the basic security. This initial setup is the bedrock of a solid, reliable network. It's what preps your hardware for everything from simple VLANs to more complex user authentication solutions like a captive portal.
Your First Steps in Cisco Switch Configuration
Setting up a Cisco switch correctly is fundamental to building a secure, high-performing network. This is especially true in busy places like in Education, Retail, or any corporate office that has a Bring-Your-Own-Device (BYOD) policy. My goal here isn't just to have you memorize commands; it's to help you understand why you're typing them, so you can build a network with confidence.
When you pull a new Cisco or Cisco Meraki switch out of the box, it's essentially a blank canvas. The very first thing you'll do is connect directly to it, usually with a console cable. This is how you give the switch its identity and secure it from anyone who shouldn't be touching it. Think of this as the first handshake—it sets the stage for every other feature you'll roll out later, including your Wi-Fi authentication solutions.
Getting Connected and Comfortable
The command-line interface (CLI) is where all the action happens. It might look a bit old-school, but it gives you incredibly precise control over your network. Your first few commands will be simple: setting a hostname so you can easily spot the switch on your network and creating passwords to protect access.
I always tell people to think of this as giving your new switch a name and a set of keys. Without them, it's just an anonymous box on the network that anyone can wander into. This is non-negotiable, foundational network security.
Here’s a glimpse of what that initial login and entry into configuration mode looks like. This is the screen that greets you every time.
You're seeing the first two critical commands here: enable gets you into privileged mode, and configure terminal is your gateway to actually making changes.
Laying the Groundwork for Advanced Features
Once you nail these basics, you're ready for the more interesting stuff, like setting up a user-friendly captive portal for your guest Wi-Fi. A properly configured switch is the backbone for authentication solutions like IPSK or EasyPSK, which are essential for securing BYOD environments in both corporate and educational settings.
There's a reason Cisco has such a massive footprint in the industry. Its hardware is built for this kind of detailed, granular control. Getting these initial steps right is vital, as they form the building blocks for everything else you'll do to manage traffic and security. If you're just getting started, taking a moment to understand the benefits of managed switches will give you some great context on why this level of control matters so much.
Building a Secure Foundation with VLANs and Trunks
Alright, with your switch secured and accessible, it's time to get into the really powerful stuff: VLANs (Virtual LANs) and Trunks. This is where you go from a basic, flat network to a smart, segmented one. It's a friendly way of saying we're building digital walls to keep different types of users safely separated.
Imagine your network as a big, open-plan office. Everyone can see and hear everyone else. Now, think of VLANs as building walls to create separate, secure rooms for different teams. This is exactly what VLANs do for your network traffic—they create isolated virtual networks on a single physical switch.
Why Bother with Segmentation?
In any environment with multiple user types—like a school with students, staff, and guests—segmentation isn't just a good idea; it's essential. You can create a Student-WiFi VLAN, a Staff-LAN VLAN, and a Guest-Portal VLAN. By doing this, you're making it impossible for a student's device in a BYOD scenario to even see the staff network, let alone try to access it. A guest trying to connect in your retail store lobby has no pathway to your critical internal systems.
This is a fundamental security practice. You’re drastically reducing your attack surface by containing traffic and users to only the resources they absolutely need.
Creating Your Digital Highways
Putting these VLANs in place on a Cisco switch is surprisingly straightforward. You're essentially just defining the virtual networks, giving each one a number (the VLAN ID) and a descriptive name so you remember what it’s for.
But how does traffic from these different VLANs get to other switches or up to your wireless access points? That's where trunk ports come into play.
If a regular switch port (an access port) is a door into a single room (one VLAN), a trunk port is like a main hallway connecting all the rooms. It carries traffic from all your VLANs simultaneously, using special tags to keep everything separate. This is how you’ll link your switch to other switches and, more importantly for this guide, to your Wi-Fi access points.
These foundational steps—connecting, logging in, and locking down the switch—are the non-negotiable prerequisites before you start building out your VLAN architecture for your Cisco or Meraki network.
Planning Your VLANs
Before you start punching in commands, a little planning goes a long way. A simple table can help you organize your thoughts and ensure your network structure makes sense.
Here’s a practical example for a school environment:
Example VLAN Plan for a School
| VLAN ID | VLAN Name | Purpose | Security Level |
|---|---|---|---|
| 10 | Staff-LAN | Wired connections for admin and teacher devices. | High |
| 20 | Student-BYOD | Wireless access for student-owned devices. | Low (Internet only) |
| 30 | Guest-WiFi | Captive portal access for visitors. | Very Low (Isolated) |
| 40 | IoT-Devices | Security cameras, smart boards, printers. | Medium |
| 99 | Management | Secure access for network administrators. | Very High |
This kind of clear, logical separation is the hallmark of a professionally managed network.
How This All Ties into Authentication
This entire VLAN and trunk setup is the critical underpinning for modern authentication solutions. When you want to roll out a guest Wi-Fi network with a captive portal, you absolutely must funnel that guest traffic into its own isolated VLAN. This ensures that when a user connects, they're shunted directly to your Splash Access login page without ever getting a whiff of your internal network.
The same principle applies to more advanced security like IPSK (Identity Pre-Shared Key) or EasyPSK. These systems give unique credentials to each user or device, and the switch relies on VLAN assignments to route authenticated devices to the correct network segments automatically.
Building a secure foundation isn't just about locking doors; it's about building the right hallways and directing traffic intelligently. A well-planned VLAN structure is the blueprint for a network that’s both secure and easy to manage, especially in Education or Retail sectors.
As you build this out, it's smart to keep common network security vulnerabilities in mind. This is precisely why robust hardware from brands like Cisco is so important. Their market leadership is built on providing the tools to tackle these challenges head-on.
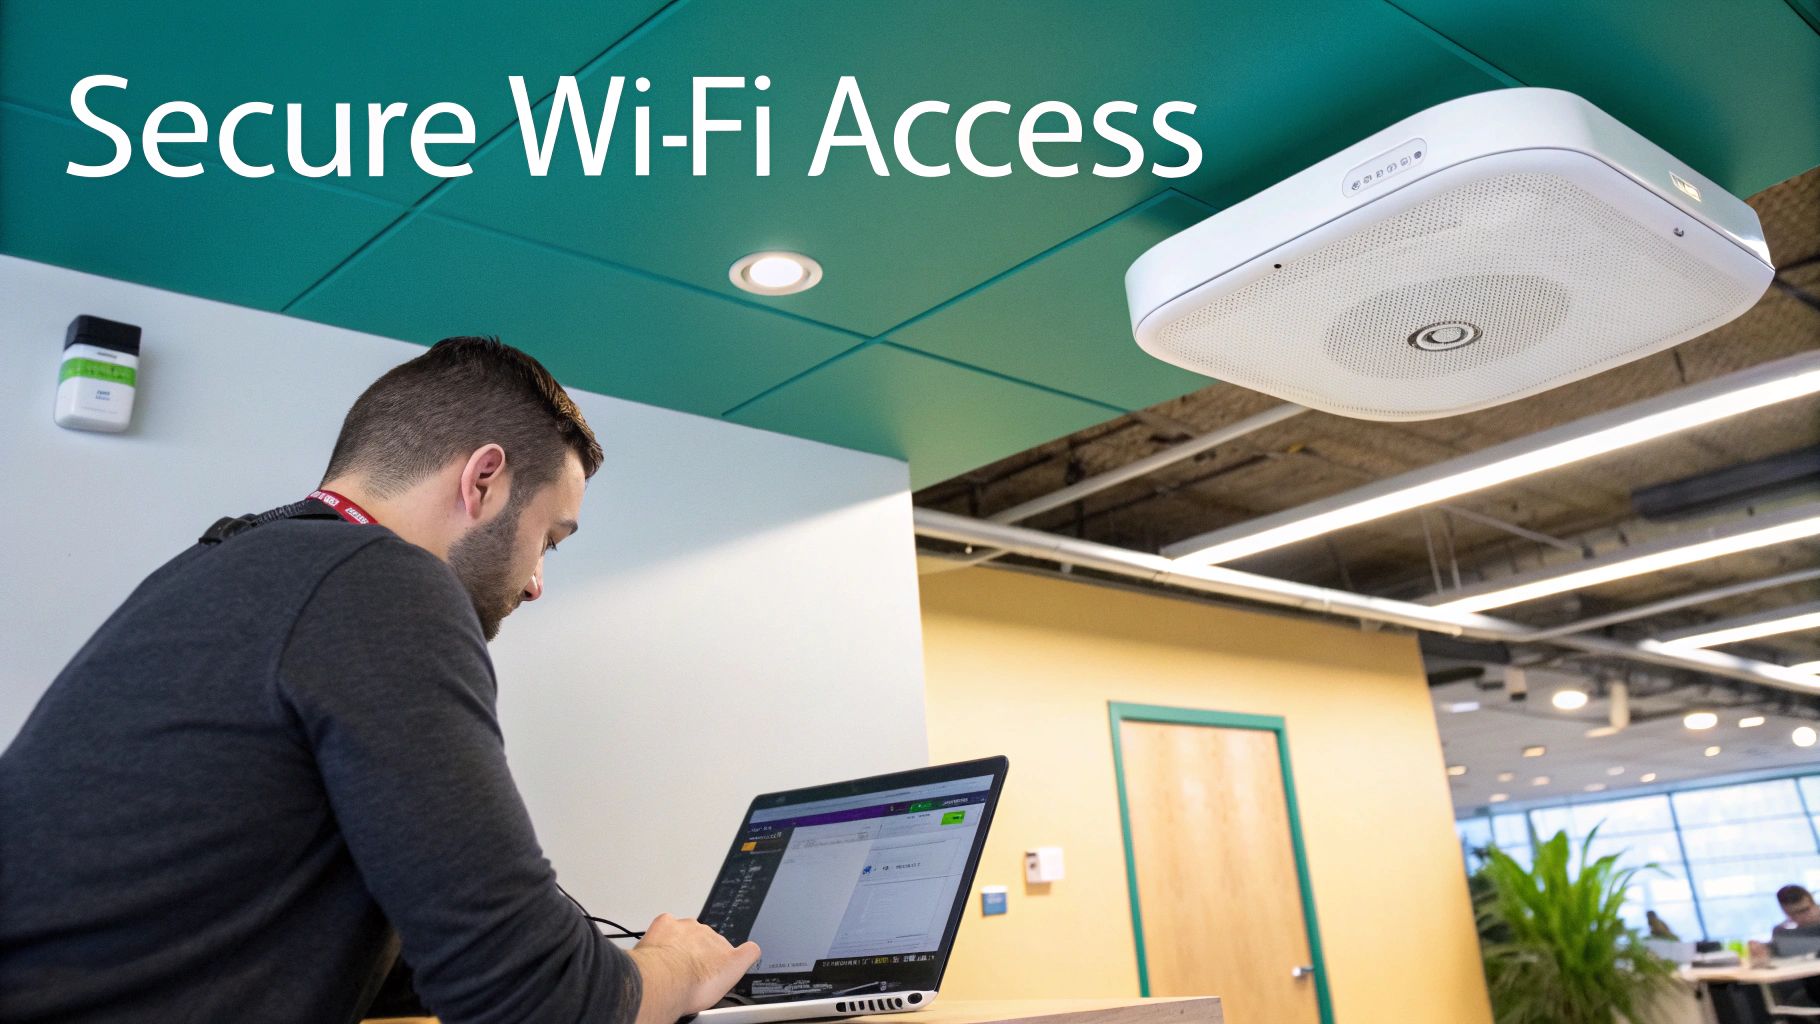
Connecting Meraki Wi-Fi with Secure Authentication
Alright, this is where the magic happens. Your carefully configured Cisco switch is about to meet the wireless world. By plugging in your Cisco Meraki access points (APs), you’re laying the groundwork for a unified Wi-Fi experience for both guests and internal staff. The first and most critical part is getting the port assignments right.
When you physically connect a Meraki AP to one of your switch ports, that port needs to know what to do with the traffic. By assigning it to the ‘Guest-WiFi’ VLAN we created, you're essentially building a dedicated, isolated lane on your network highway. This ensures that anyone connecting to the guest Wi-Fi is automatically sandboxed, keeping them completely separate from your sensitive internal network. It’s a simple but powerful step toward a professional and secure login process via a captive portal.
Preparing for Modern Authentication
This VLAN setup is more than just good network housekeeping; it’s the necessary foundation for modern authentication solutions. The end goal isn't just to provide internet—it's to create a secure, welcoming front door to your network. This is where a captive portal enters the picture.
By routing all your guest VLAN traffic through a platform like Splash Access, a simple Wi-Fi connection becomes a valuable engagement tool. This kind of integration opens up a world of possibilities:
- Manage user logins through social media, email capture, or simple access forms.
- Showcase your brand with a custom splash page that matches your company's or school's identity.
- Secure your network by requiring users to accept your terms and policies before connecting.
Game-Changing Security for BYOD
Let's be real—in any corporate, retail, or educational setting, you're dealing with a flood of personal devices (BYOD). A single, shared Wi-Fi password posted on a wall just doesn't fly anymore. It's wildly insecure and a management headache.
This is precisely where advanced solutions like Identity Pre-Shared Key (IPSK) or EasyPSK change the game. Instead of one password for everyone, these systems generate a unique, private credential for each user or device. It's like giving every person their own personal key to the Wi-Fi.
A single compromised password can bring down an entire network. With IPSK, if a student loses a laptop or an employee leaves the company, you simply revoke their specific key. The rest of the network stays secure, completely unaffected. It’s enterprise-level security without all the usual complexity.
This approach is a perfect fit for BYOD environments, striking a great balance between robust security and user convenience. For organizations needing even tighter controls, you can learn more about Cisco Meraki and directory integrations to see how it can plug into existing systems like Active Directory.
Here’s a glimpse of the kind of visibility you get from a Meraki dashboard once everything is up and running.
This level of insight is invaluable. You can see exactly who is on your network and how they're using it, all from one central dashboard. When you properly configure a Cisco switch to work in tandem with a Meraki wireless network, you unlock this powerful combination of control and intelligence—the key to a network that’s not just functional, but truly smart and secure.
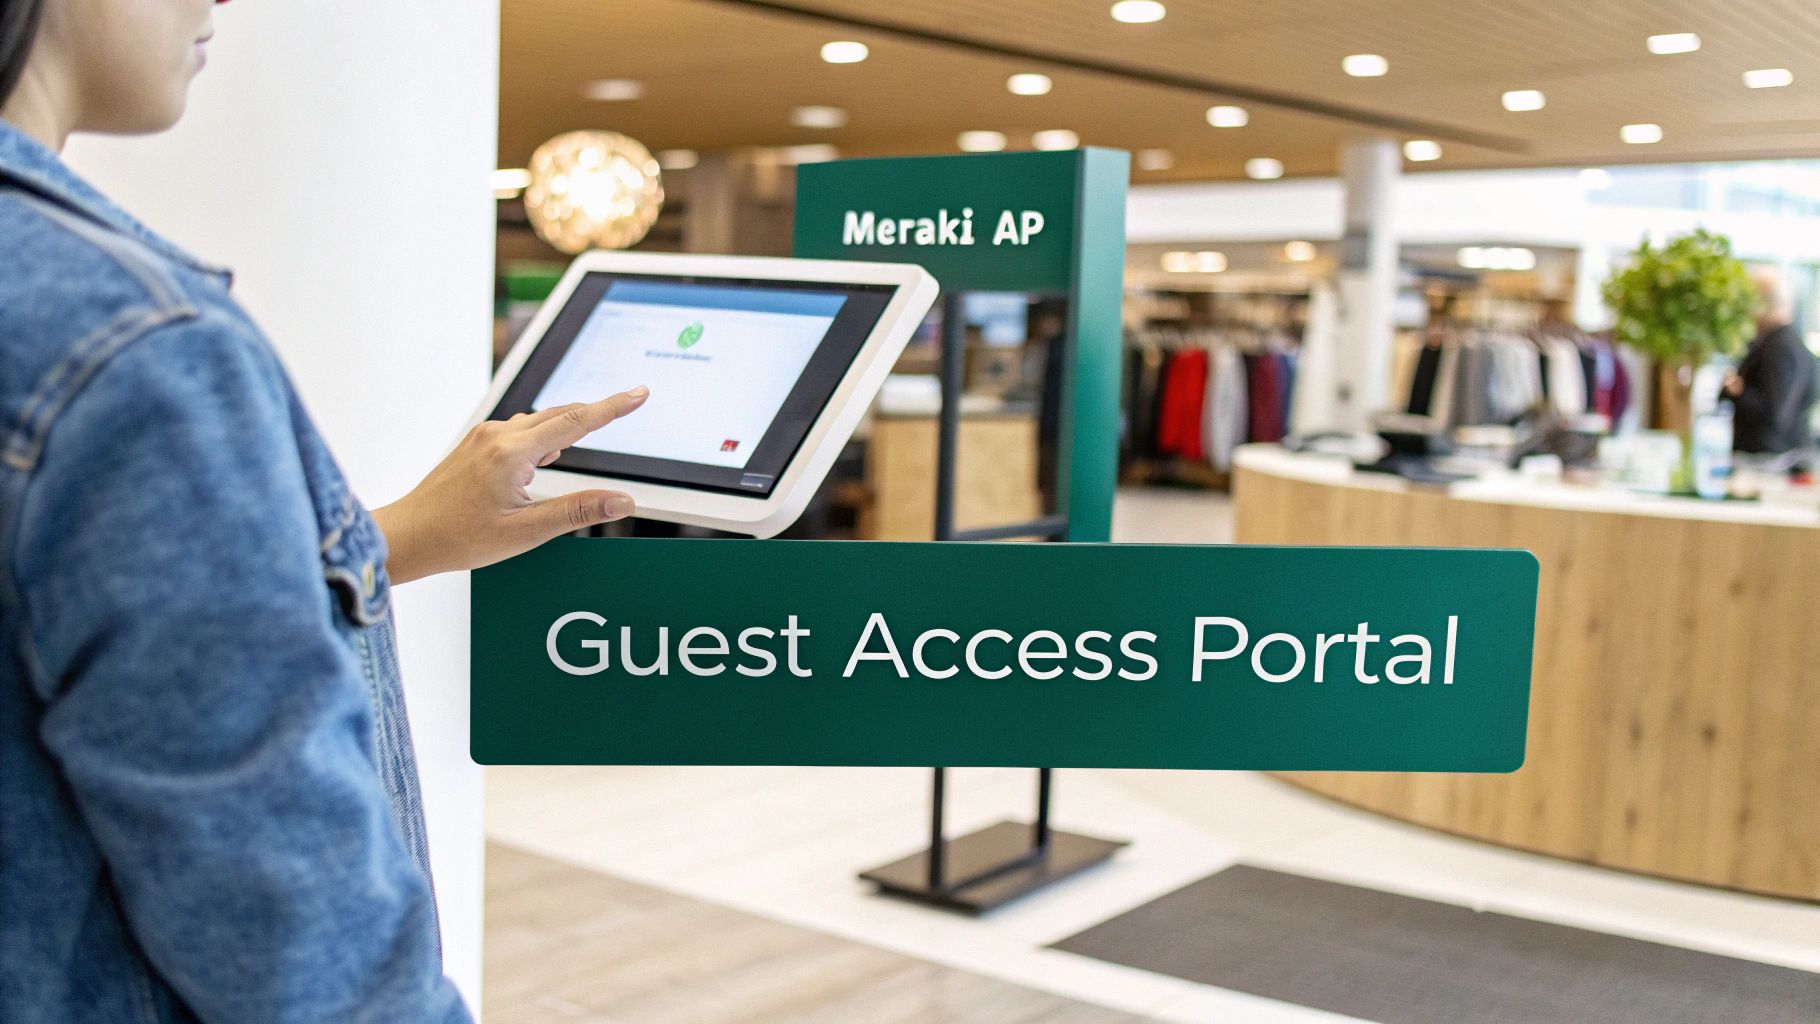
Deploying a Captive Portal for Guest and BYOD Access
A great guest Wi-Fi experience should feel professional, secure, and completely effortless. This is where a well-designed captive portal truly shines. After you’ve done the heavy lifting of configuring your Cisco switch and connecting your Cisco Meraki APs, the final piece is creating that polished login page to greet every visitor. Think of it as your network's digital front door.
Whether it’s for shoppers in a retail store, parents visiting a school in the education sector, or contractors needing temporary access in a corporate office, a captive portal is a non-negotiable part of modern network management. It elevates a simple internet connection into a secure, branded, and interactive experience.
Beyond Just a Password
In the real world, the value of a captive portal goes way beyond just asking for an email address. It’s your first point of contact with a user, giving you a chance to set clear expectations right from the start.
- Display Terms & Conditions: You can require users to accept your acceptable use policy before they get online. It's a simple but crucial step for compliance and limiting liability.
- Offer Flexible Login Methods: Let people connect in ways that make sense for them, like through social media accounts, a simple form, or even voucher codes. This kind of flexibility makes a world of difference to the user.
- Reinforce Your Brand: A customized splash page ensures a consistent, professional look that matches your organization's brand identity.
When you integrate a solution like Splash Access, you can tie these features directly into the VLANs you’ve already configured on your Cisco switch. This ensures a seamless and secure flow for every single guest. If you want to dive deeper into the possibilities, our guide on a captive portal for Wi-Fi has plenty of useful insights.
Modernizing Security for BYOD
The "Bring-Your-Own-Device" (BYOD) trend isn't slowing down. From education and retail to corporate environments, trying to manage a flood of personal devices with a single, shared password is a security nightmare waiting to happen. That one password gets passed around, compromised, and becomes almost impossible to manage effectively.
This is where more advanced authentication solutions like IPSK (Identity Pre-Shared Key) or EasyPSK become absolutely invaluable.
Think of it this way: a shared password is like leaving the key to your building under the doormat for everyone to use. IPSK, on the other hand, gives every single person their own unique key. If one key is lost or no longer needed, you simply disable it without having to re-key the entire building.
This approach is a much more robust and secure alternative for BYOD environments. It provides each user or device with its own unique key, which dramatically strengthens your security posture. If an employee leaves or a student's device is lost, you can revoke access for that specific key instantly without disrupting anyone else. It gives you powerful, granular control that’s surprisingly easy to manage.
Ultimately, combining a properly configured Cisco switch, Meraki APs, and a smart captive portal creates a network that’s not just functional—it’s secure, user-friendly, and professional. It's the standard for any modern organization.
Pro Tips for a Secure and Reliable Network
You've done the heavy lifting and configured your Cisco switch hardware. That's a great start, but now we need to make sure all that hard work sticks. These are the friendly habits I've seen in the field that keep networks for education, retail, and corporate BYOD environments humming along long after the initial setup day.
The Simple Mistakes That Cause Big Headaches
One of the most common—and painful—mistakes I see is forgetting to save the running configuration. It’s a gut-wrenching feeling to realize that after hours of carefully setting up VLANs and port assignments, a simple power cycle has wiped it all away.
Always, always save your work from RAM to the startup config. It's a single command that can save you from a world of hurt.
Another absolute must is implementing basic port security. This is your first line of defense, allowing you to lock down a switch port to a specific device's MAC address. It effectively stops unauthorized devices from being plugged into your network—a simple way to prevent rogue access points or other unknown hardware from popping up in your school or office.
Good Habits: Documentation and Updates
Keeping your network organized is just as important as the initial configuration. Trust me, a little documentation today saves countless hours of frantic troubleshooting tomorrow.
- Document Everything: Keep a simple spreadsheet or document that maps out which VLAN is on which port and what its purpose is. When you need to add a new Cisco Meraki AP for a captive portal, you’ll know exactly which port is ready to go.
- Keep Firmware Updated: This one's non-negotiable. Manufacturers regularly release software updates that patch security holes and boost performance. Make it a routine to check for and apply these updates.
A well-documented network is a manageable network. When you’re trying to diagnose why a device with an EasyPSK or IPSK key won't connect, your documentation will be the first place you look. It turns a potential crisis into a quick fix.
Stay Ahead of the Curve
Finally, great network management is proactive, not reactive. The networking market is always expanding, driven by the demand for faster, more flexible infrastructure, especially with the growth of Wi-Fi needs in sectors like Education and Retail.
Staying on top of best practices is essential. By adopting these habits, you transform a well-configured switch into a truly secure and reliable network backbone. For a deeper dive, check out our guide on the best practices for network security to keep your skills sharp.
Common Questions Answered
When you're knee-deep in a Cisco switch configuration, especially for something as critical as guest Wi-Fi, a few questions always seem to come up. I've been there. Let's walk through some of the most common ones I hear to clear things up and make sure your network foundation is solid from the get-go.
Why Do I Really Need a Separate VLAN for Guest Wi-Fi?
This is a big one, and the answer is all about security. Putting your guest Wi-Fi on a dedicated VLAN is non-negotiable for creating a secure network. It essentially builds a digital wall between your visitors and your internal resources—the important stuff like company servers, private files, and staff workstations.
Think of it this way: you're offering your guests a convenient on-ramp to the internet without handing them the keys to your entire building. This segmentation is the bedrock of any secure captive portal deployment, whether you're in retail, education, or a corporate office.
What's the Deal with IPSK and BYOD Security?
Identity Pre-Shared Key (IPSK), or similar authentication solutions like EasyPSK, are a huge leap forward for managing Bring Your Own Device (BYOD) environments. Forget having one Wi-Fi password for everyone that inevitably gets written on a sticky note and passed around.
IPSK flips the script by giving each user or device its own unique password.
This is incredibly practical. If an employee leaves or a student loses their tablet, you just revoke their specific key. The rest of the network keeps running without a hitch. It gives you the granular control of a high-end enterprise system but in a much more manageable package, which is a lifesaver for schools and businesses juggling dozens of personal devices.
In short, IPSK takes you from a single, weak point of failure to a system where every user has their own unique credential. It's a game-changer for BYOD security, making your network both safer and simpler to manage.
Can I Use a Captive Portal if I Don't Have Meraki Wi-Fi?
You absolutely can. Platforms like Splash Access are built to be vendor-agnostic. While this guide uses the common Cisco switch and Cisco Meraki AP combo as an example, the core networking principles are universal.
The key ingredients are a switch and access point that support VLAN tagging and can redirect traffic. As long as your gear can isolate guest traffic onto its own VLAN and push unauthenticated users to an external login page, you can implement a robust captive portal.
This flexibility means you can create a secure, branded login experience for your guests no matter what wireless hardware you're running.
Ready to create a secure, branded, and intelligent guest Wi-Fi experience? Splash Access integrates seamlessly with your Cisco and Meraki hardware to deliver powerful captive portals, advanced authentication like IPSK, and valuable user insights. Learn more and get started today at https://www.splashaccess.com.


