Hey there! Let's talk about setting up a VLAN. In simple terms, it means creating separate, isolated networks that all run on the same physical hardware. It’s one of the most important things you can do to improve network security and performance. On a Cisco Meraki network, this is pretty straightforward and a real game-changer. You can easily assign different SSIDs to their own VLANs, building digital walls between different groups of users, like your staff and your guests.
Why Modern WiFi Absolutely Needs VLAN Segmentation
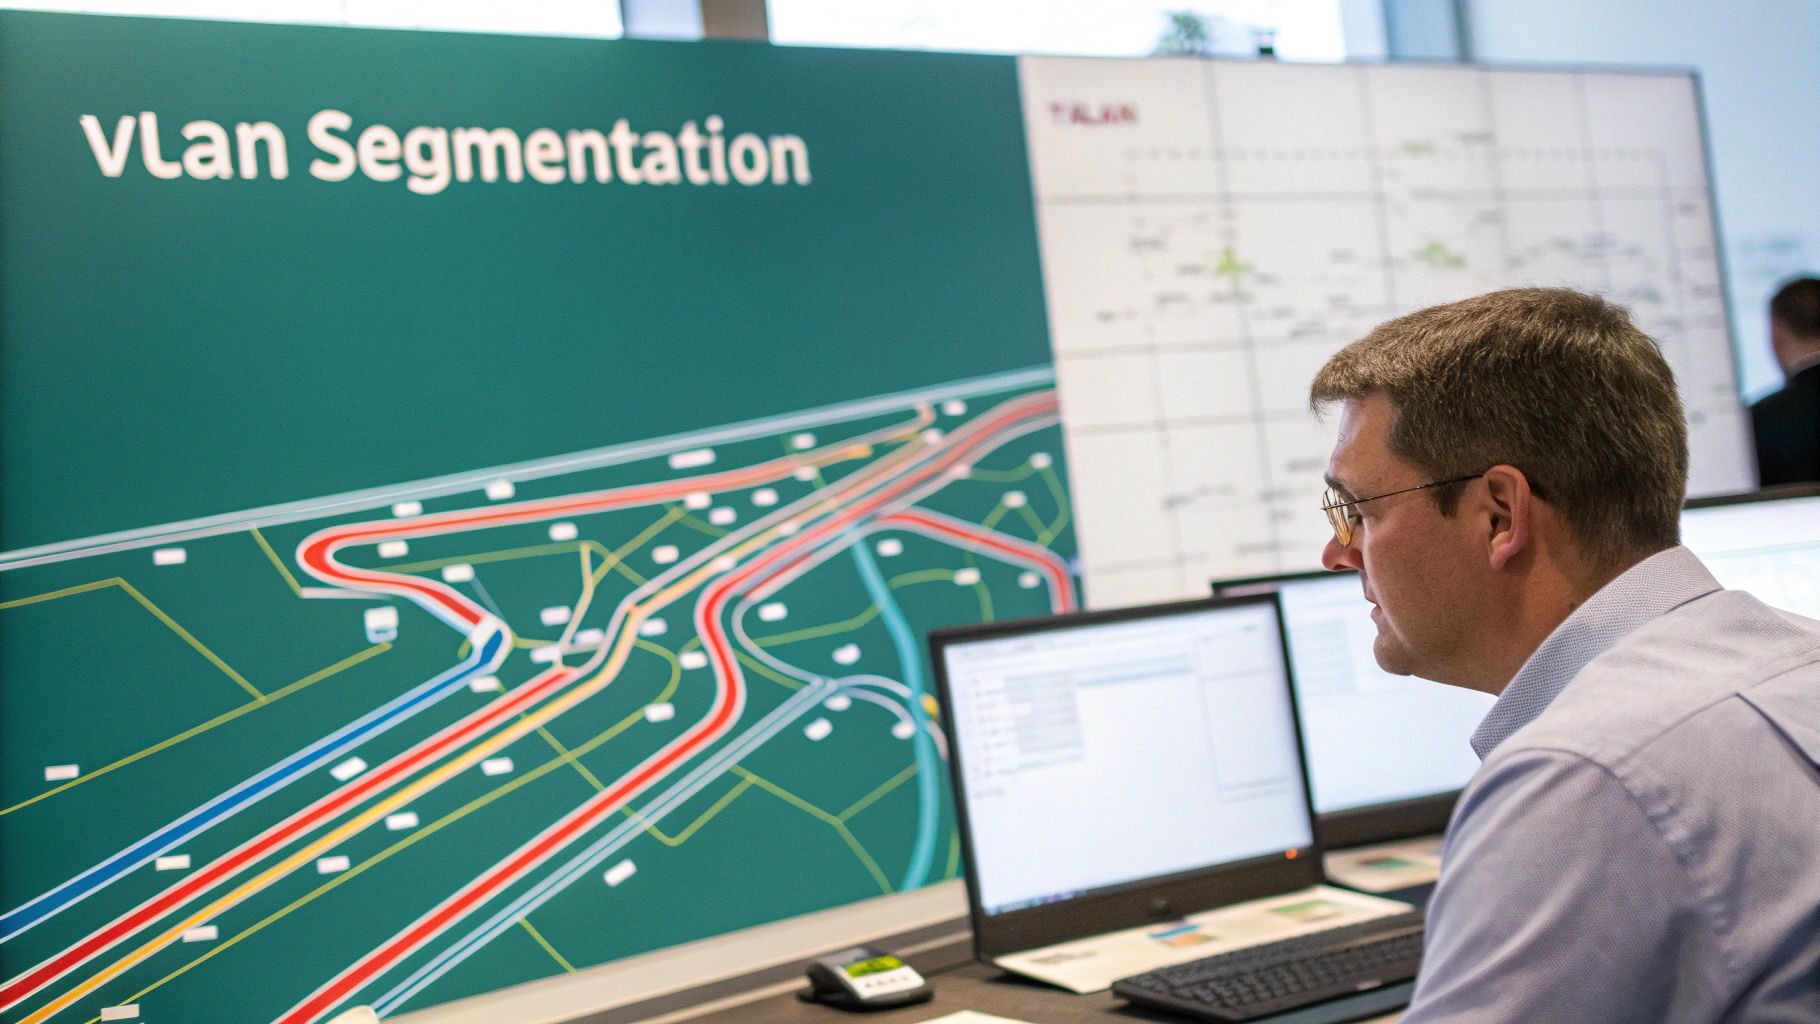
Picture your network as a single-lane road during rush hour. Every vehicle, from secure corporate data trucks to public guest WiFi cars, is stuck in the same jam. That’s a flat network, and it’s a recipe for security headaches and slowdowns. Implementing VLANs on your network completely changes the game.
Think of a VLAN (Virtual Local Area Network) as adding dedicated, invisible lanes to that highway. One lane is just for your secure corporate traffic, another is for the public guest WiFi, and maybe a third is for sensitive devices like point-of-sale systems. This network segmentation isn't just a "nice-to-have" feature; it's a fundamental requirement for modern security and efficiency, especially on powerful platforms like Cisco Meraki.
Securing Your Digital Lanes
Security is, without a doubt, the number one reason to set up VLANs. By separating traffic, you ensure that a potential breach on your guest network can't spread to your internal servers. This is absolutely critical in places like Education, Retail, and any office with a BYOD policy where all sorts of different user groups share the same wireless hardware.
A well-designed VLAN structure ensures that:
- Guest traffic is isolated: Visitors who log in through a captive portal are kept completely separate from sensitive company resources.
- Critical systems are protected: Devices like POS terminals or admin servers live on their own protected VLAN, walled off from less secure networks.
- Compliance is maintained: Industries with strict data handling rules can use VLANs to enforce policies and prove traffic is isolated during audits.
By creating these logical separations, you’re building a foundational layer of security. A threat that compromises a device on the guest VLAN is stopped cold, unable to move laterally to more critical network segments.
Boosting Network Performance and Efficiency
Beyond the obvious security wins, VLANs also give your network's performance a serious boost. On a flat network, every device sees every broadcast message, creating a ton of background noise that eats up bandwidth and slows things down. VLANs keep all that broadcast traffic contained within its own virtual network.
Less chatter means a faster, more reliable wireless experience for everyone. For even more robust security, you can design your VLAN segmentation to support advanced Zero Trust security strategies.
Ultimately, pairing Authentication Solutions like IPSK or EasyPSK with your VLANs takes things to the next level. You can automatically place users into the correct VLAN based on their unique credentials, creating a dynamic and highly secure experience without any manual work. To dive deeper into the nitty-gritty, check out these detailed network segmentation best practices.
Designing Your VLAN Blueprint for Different Environments
Before you ever touch the Cisco Meraki dashboard, the most critical step is to map out your network plan. Seriously, taking the time to design a solid blueprint now will save you from security holes, performance bottlenecks, and the kind of late-night troubleshooting that can ruin a weekend. Think of it like drawing up plans before building a house—you wouldn't just start putting up walls without knowing where the rooms go, right?
The real power of VLANs lies in their flexibility. A setup that works perfectly for a school would be a security risk in a retail store, and a corporate office has its own unique set of challenges. Let's look at how this strategic separation plays out in the real world.
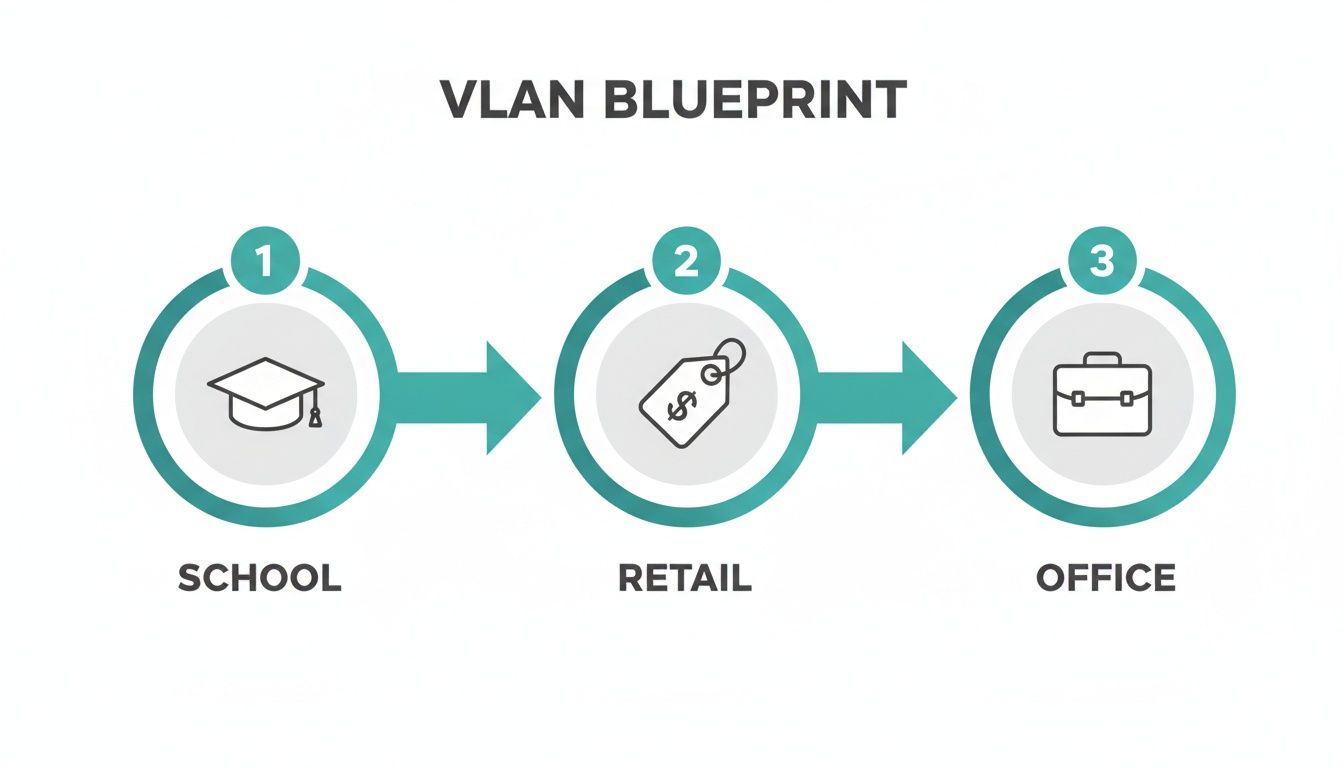
As you can see, a successful VLAN strategy is never a one-size-fits-all solution. It’s about creating a tailored plan to isolate traffic for better security and performance based on your specific needs.
VLANs in the Education Sector
In a school, the main priorities are protecting sensitive student data while keeping the core administrative network completely secure. It's a classic segmentation scenario where platforms like Cisco Meraki really shine.
A typical school network can be broken down into three fundamental VLANs:
- Faculty VLAN: This is the inner sanctum for trusted staff devices, providing access to essential resources like student information systems, shared servers, and network printers. This segment is always the most locked-down and heavily firewalled.
- Student VLAN: Here, students get the internet and educational resources they need, but it's completely firewalled off from the faculty network. This is also where you'd apply your strictest content filtering rules.
- Guest WiFi VLAN: Reserved for parents, visitors, and guest speakers, this VLAN should offer internet-only access, typically through a Captive Portal. This keeps untrusted devices safely isolated from any internal school systems.
Blueprints for the Retail Space
For a retail environment, the game changes. The top priorities are locking down financial transactions for PCI compliance and using the guest WiFi as a marketing engine.
A smart retail blueprint often includes:
- POS & Payments VLAN: This is a non-negotiable, highly restricted network exclusively for credit card terminals and payment processors. Firewall rules here should be incredibly strict, only allowing traffic out to specific payment gateways and nowhere else.
- Operations VLAN: This network is for staff devices that run the business—think inventory scanners, back-office computers, and internal printers.
- Guest WiFi VLAN: This is where you can get creative. By pairing this VLAN with a Captive Portal from a provider like Splash Access, you can offer free internet in exchange for a social login or an email signup. Suddenly, your social wifi is generating real marketing value.
Tackling the BYOD Corporate Challenge
In a modern corporate office, especially one with a Bring-Your-Own-Device (BYOD) policy, the challenge is balancing employee freedom with ironclad security. You can't have personal phones sitting on the same network as your confidential financial servers.
This is where sophisticated Authentication Solutions are a game-changer. Instead of one shared password, you can use systems like IPSK or EasyPSK to automatically sort users into the right VLAN based on their unique credentials.
A robust corporate VLAN strategy looks something like this:
- Corporate VLAN: Exclusively for company-owned and managed devices. This VLAN has full, trusted access to internal servers and all corporate resources.
- BYOD VLAN: For employee-owned devices. This network grants internet access and limited access to essentials like email and calendars but is firewalled from sensitive internal servers. An IPSK solution is perfect here, ensuring only registered employees can connect their personal devices.
- Visitor VLAN: A completely isolated, internet-only network for guests. Access is managed through a simple sign-on Captive Portal to keep things secure and straightforward.
Sample VLAN Segmentation Plan by Sector
To make this even clearer, here’s a table outlining how these VLANs might be structured across different sectors. This blueprint gives you a practical starting point for designing your own network segmentation strategy.
| Sector | VLAN ID & Name | User Group / Purpose | Security & Access Policy |
|---|---|---|---|
| Education | VLAN 10 (Faculty) | Teachers, Admin Staff | Full access to internal servers, printers, SIS. |
| VLAN 20 (Students) | Student Laptops, Tablets | Internet access with heavy content filtering; isolated from VLAN 10. | |
| VLAN 30 (Guests) | Visitors, Parents | Internet-only via Captive Portal; total isolation from all internal networks. | |
| Retail | VLAN 50 (POS) | Payment Terminals | PCI compliant; highly restricted access only to payment gateways. |
| VLAN 60 (Operations) | Staff PCs, Scanners | Access to inventory systems, corporate network; isolated from POS. | |
| VLAN 70 (Guest WiFi) | Shoppers, Customers | Internet-only via Captive Portal with social login for marketing data capture. | |
| Corporate | VLAN 100 (Corporate) | Company-issued Laptops | Full access to all internal servers and resources. |
| VLAN 110 (BYOD) | Employee Personal Devices | Internet and limited internal access (e.g., email); IPSK/EasyPSK authentication. | |
| VLAN 120 (Visitors) | Clients, Contractors | Internet-only via Captive Portal; isolated from VLAN 100 & 110. |
With a clear plan for these distinct segments, jumping into the Meraki dashboard to configure everything becomes a much smoother and more logical process.
Configuring VLANs and SSIDs in the Meraki Dashboard
With your network blueprint finalized, it's time to roll up your sleeves and bring it to life inside the Cisco Meraki dashboard. This is where the theoretical design meets practical, hands-on configuration. We're going to walk through creating your VLANs and then linking them directly to your wireless networks, or SSIDs.
This is the linchpin of the whole setup. It’s how you ensure that when a user connects to "Corporate_WiFi" or "Guest_WiFi," their device is automatically steered into the correct virtual lane. Getting this right is fundamental to building a secure, organized network.
Defining Your Network Segments
First things first, let's carve out those virtual networks. Inside the Meraki dashboard, your home base for this is the 'Addressing & VLANs' section.
This is where you'll enable VLANs and then add each one from your plan. You'll create a "Corporate" network and assign it a VLAN ID, then do the same for your "Guest" network. You're essentially telling the Meraki system that these separate, logical networks now exist and are ready for traffic.
This simple act of defining VLANs is more powerful than it looks. The concept has been a cornerstone of network management since the IEEE 802.1Q standard was established back in 1998. One school network that implemented this strategy slashed its internal broadcast traffic by 73%, which directly cut down on bandwidth waste and eased the load on every connected device. You can learn more about how VLANs impact network performance in this detailed study.
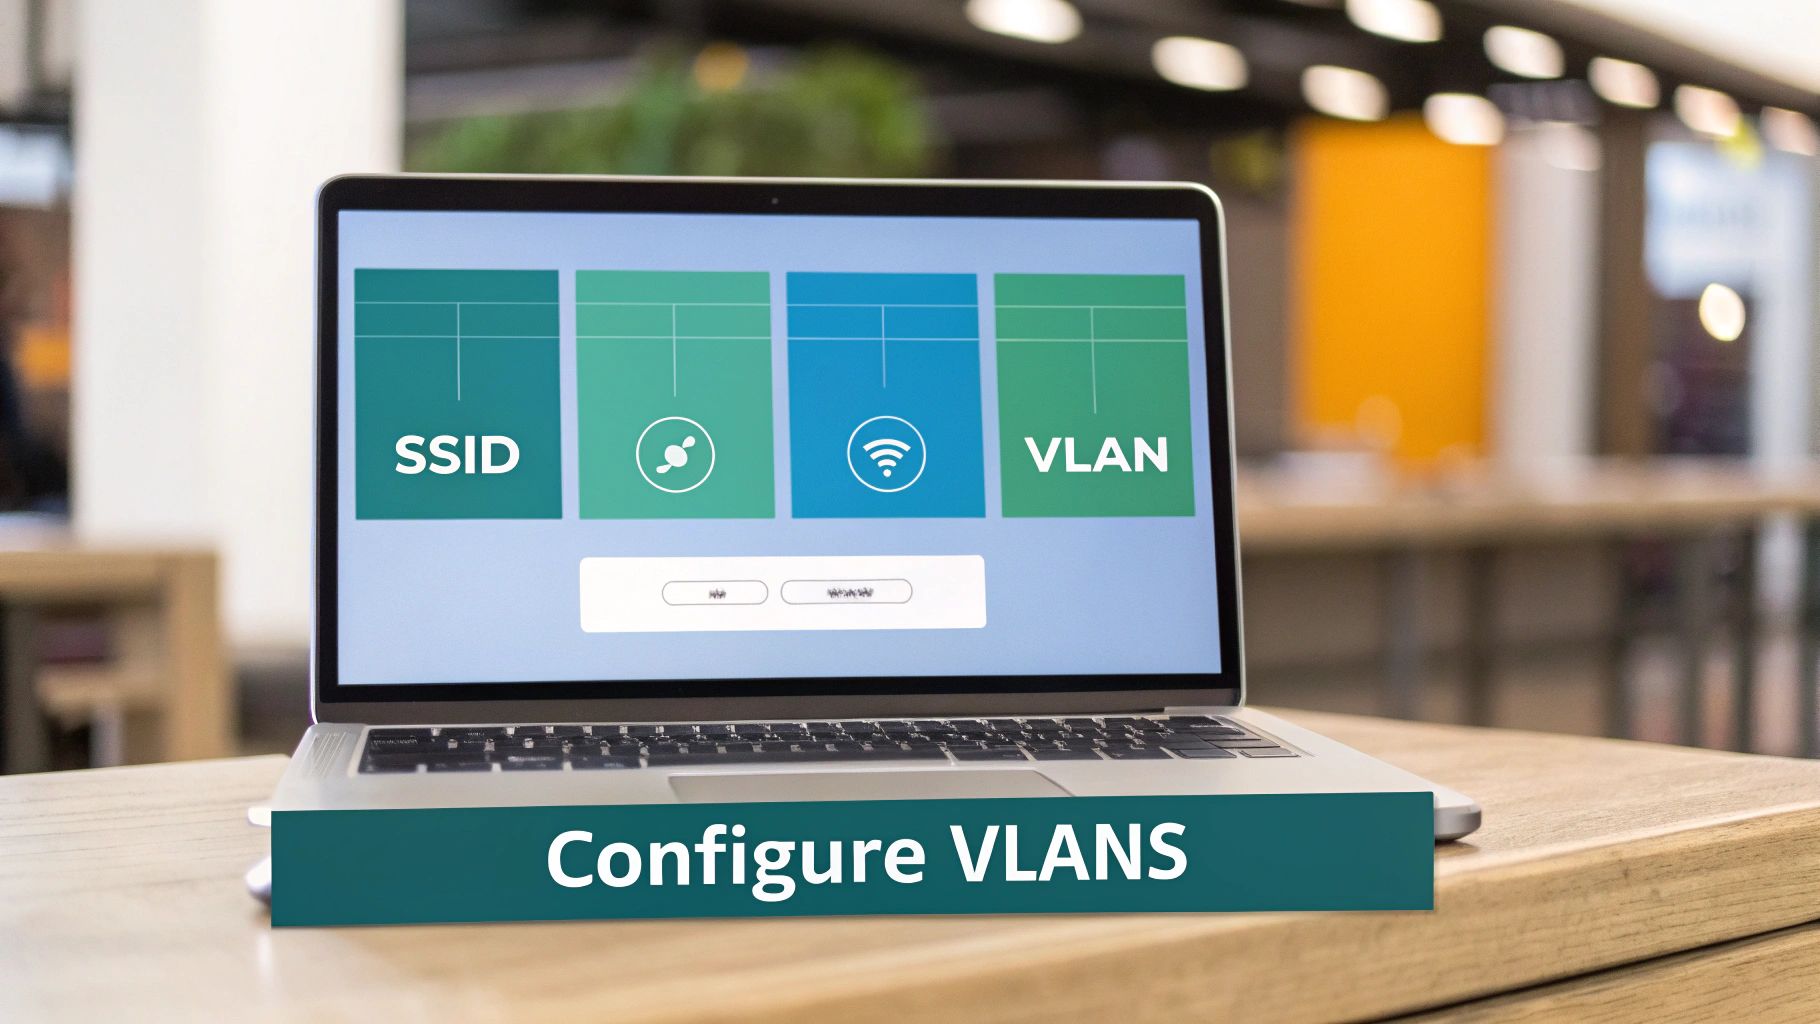
Tying SSIDs to Your New VLANs
Once your VLANs are defined, the next logical step is to connect them to the user-facing wireless networks. This is how you control which "lane" of the network highway a user's traffic will travel on. For each SSID you create, you'll assign it to a specific VLAN.
Here’s what that looks like in a typical real-world scenario:
- Corporate SSID: You'd set up an SSID named something like "Staff_Secure" and tag it with your corporate VLAN ID. You would then lock this down with a robust authentication method like WPA2-Enterprise or an IPSK system.
- Guest WiFi SSID: Next, you'll create another SSID, maybe "Public_Guest_WiFi." This one gets tagged with your guest VLAN ID, ensuring that guest traffic is walled off from your internal network right from the point of connection.
This mapping is what makes the whole system work. It tells the access points how to label and sort traffic the moment a device connects, a crucial function for both security and organization.
Choosing the Right Mode for Your Guest Network
When setting up your guest WiFi SSID, Meraki presents a critical choice: 'Bridge mode' or 'NAT mode'. This determines how guest devices get their IP addresses.
Here's the breakdown of what those SSID modes look like in the dashboard.
The screenshot shows the key options—Bridge mode, NAT mode, and Layer 3 roaming—which control how devices receive their network addresses.
- Bridge Mode: Here, wireless clients land on the same logical network as your wired devices. They'll pull an IP address from your main DHCP server. While this is great for your internal corporate SSID, it's a poor choice for guests because it offers no isolation.
- NAT Mode with Meraki DHCP: This is usually the simplest and most secure route for guest networks. The Meraki access point itself acts as a DHCP server, handing out IP addresses from a private, isolated range. This creates an instant layer of separation, as guest devices are firewalled and "NAT'd" from your main network right at the AP level.
For most setups in Education, Retail, or BYOD Corporate environments, using NAT mode for the guest VLAN is the go-to strategy. It keeps IP management simple and seriously boosts security without a ton of extra work.
Enabling VLAN Tagging on Your Access Points
The final piece of the puzzle is telling your access points how to handle all this neatly sorted traffic. You have to enable VLAN tagging for your SSIDs. This feature instructs the Meraki APs to add a digital "tag" to every packet of data, identifying which SSID it came from.
When that tagged traffic from an AP hits a switch, the switch reads the tag and knows exactly which VLAN to forward it to. This is what maintains the separation across your entire infrastructure. Without tagging, all traffic would just get dumped into the default VLAN, completely defeating the purpose of all your careful planning. For those managing a large fleet, understanding the capabilities of different Meraki access points is key to a smooth deployment.
With your VLAN segments built, you've essentially laid down the secure digital highways for your network traffic. But now comes the real challenge: how do you manage the on-ramps? This is where we go beyond basic passwords and start talking about Captive Portals and modern Authentication Solutions to elevate both the user experience and your security.
Think of it this way: your VLANs are the foundation for creating distinct, secure entry points for different groups of people. This isn't just a security exercise. It's about designing a specific, intentional experience for everyone who connects, whether it's a first-time shopper in a Retail store or a trusted employee in a BYOD Corporate environment. The technology you layer on top is what makes it all work.
Elevating the Guest WiFi Experience
For your guest VLAN, a Captive Portal is your most powerful tool. It’s the digital welcome mat for your network, turning a simple internet connection into a real engagement opportunity. Instead of just a password field, you can greet users with a branded welcome page that does so much more.
This is a game-changer in sectors like Retail and Education. You can set up things like:
- Social WiFi Login: Let people connect using their social media accounts. It's a nearly frictionless way to grant access while collecting valuable, permission-based marketing data.
- Email Capture: Offer free WiFi in exchange for an email address. This is a classic, effective way to build your marketing lists and stay connected with your customers or visitors.
- Terms of Service Agreement: Make sure every guest clicks "I agree" to your acceptable use policy before getting online. It's a simple but crucial step for liability protection.
A well-implemented captive portal, like those from Splash Access, turns your guest network from a simple utility into an interactive asset. It's the bridge between providing a service and actually creating a connection with your users.
Moving Beyond Shared Passwords with IPSK
Now, let's talk about your internal networks, especially in a BYOD Corporate setting. A single, shared password for everyone is a massive security risk. If that one password gets out, your entire "secure" network is wide open. This is where Identity Pre-Shared Keys, or IPSK, completely change the game.
With an Authentication Solution like EasyPSK, you can generate a unique key for every single user or even every single device. It might sound like a lot of work, but for the user, it’s incredibly simple. They just connect to the main corporate SSID, and their unique key does all the heavy lifting in the background. It not only authenticates them but also automatically shunts them into the correct, pre-assigned VLAN.
The Magic of Dynamic VLAN Assignment
This dynamic assignment is where the real power of modern authentication and VLANs comes together. An employee from the marketing team and a temporary contractor can both connect to the same "Company_WiFi" SSID. But behind the scenes, their unique IPSK credentials direct them to entirely different virtual networks. The employee lands on the corporate VLAN with full access, while the contractor gets placed on a restricted VLAN with only the resources they absolutely need.
This whole process delivers a seamless and incredibly secure experience that a single shared password could never hope to match. And for you, the administrator? No more juggling multiple SSIDs for different tiers of users. One SSID, powered by IPSK, can intelligently manage access for everyone. To make this work, you'll need a system to manage these keys and link them to your network policies, which is where knowing how to set up a RADIUS server becomes absolutely essential for dynamic user authentication.
This strategy doesn't just simplify your day-to-day management; it seriously hardens your security posture. For a deeper look at securing access points, especially when you're layering on these modern tools, it's worth understanding what Two-Factor Authentication (2FA) is and the vital role it plays.
The bedrock technology making all of this possible is the humble Ethernet switch. The whole concept of setting up a VLAN has been a networking fundamental since the 1990s, and it's a key reason the global Ethernet switch market is expected to rocket from $41.8 billion in 2024 to over $68 billion by 2032. With over 85% of enterprises already using VLANs to segment traffic, their importance is only growing. You can find more details on the growth of the Ethernet switch market on Fortune Business Insights. This growth is being directly fueled by the need for the exact security and segmentation features we've been discussing.
Making Sure Your Switches Can Handle VLAN Traffic
A killer wireless network is nothing without a solid wired backbone to support it. Once you've mapped out your VLANs and SSIDs in the Cisco Meraki dashboard, the next make-or-break step is getting your switches configured. This is where your virtual networks hit the physical world, and getting the settings right is absolutely critical.
Think of your switches as the traffic cops for your entire network. Their job is to make sure data gets where it needs to go, which means they have to understand the VLANs you've created. If the switch configuration is wrong, all that careful planning in the cloud is pointless—traffic will either get lost or end up on the wrong network.
The Two Types of Switch Ports: Access vs. Trunk
To get this right, you first need to grasp two fundamental concepts: access ports and trunk ports. Mixing these up is probably the most common mistake I see when people are setting up a VLAN.
-
Access Ports: An access port is like a dedicated lane for a single vehicle. It's assigned to one specific VLAN and assumes any device plugged into it belongs on that network. You’d use an access port for a device that never needs to talk to other VLANs directly, like a desktop PC on the corporate VLAN or a shared office printer.
-
Trunk Ports: A trunk port, on the other hand, is a multi-lane highway. It’s built to carry traffic from multiple VLANs at the same time. It uses those 802.1Q tags we mentioned earlier to keep everything organized, making sure your guest WiFi traffic never crosses paths with your secure corporate data.
Here's the golden rule, and it's not negotiable: any switch port that connects to a Meraki access point must be configured as a trunk port. This is the only way the AP can handle traffic from all your different SSIDs—Corporate, Guest, BYOD—and send it back to the network with the correct VLAN tag.
How This Looks in the Real World
Let's ground this with a practical example. On a school campus in the Education sector, the switch port for a teacher's desktop PC would be an access port assigned to the "Faculty" VLAN. Simple enough. But the port for the Meraki AP in that same classroom has to be a trunk port so it can manage traffic from the "Faculty," "Student," and "Guest_WiFi" SSIDs all at once.
In a Retail environment, a port connected to a point-of-sale terminal would be a hardened access port locked down to your PCI-compliant VLAN. Meanwhile, the AP that provides social wifi for shoppers connects to a trunk port. For a more detailed breakdown of the commands, our guide on Cisco switch configuration walks you through the specifics.
Using Firewall Rules to Enforce Separation
Just getting your ports configured correctly ensures traffic flows where it should, but it doesn't automatically make your network secure. The final, and arguably most important, piece of the puzzle is setting up firewall rules in the Meraki dashboard to enforce the isolation between your VLANs.
This is where you explicitly block traffic from communicating between your guest VLAN and your internal corporate networks. You'll create a rule that effectively says, "Deny any and all traffic originating from the Guest VLAN's IP range trying to reach the Corporate VLAN's IP range."
This single step is what turns your VLANs from a simple organizational tool into a powerful security boundary. It's what ensures that a visitor who connects through your Captive Portal can't even attempt to access your internal servers. This level of isolation is absolutely essential for protecting sensitive data, especially in BYOD Corporate environments that rely on Authentication Solutions like IPSK or EasyPSK to manage a wide variety of devices across different VLANs.
Common Questions About Meraki VLAN Setups
Even with a perfect plan on paper, questions always pop up when you're deep in a VLAN configuration. Getting the right answers quickly can be the difference between a smooth rollout and a night spent troubleshooting. Let's walk through some of the most frequent questions I hear when working with Cisco Meraki networks.
How Many VLANs Can I Realistically Create?
The IEEE 802.1Q standard technically allows for over 4,000 VLANs, but don't let that number intimidate you. The real-world limit is dictated by your Meraki hardware and how complex your network is. You’re almost certainly never going to hit that ceiling.
For most deployments I see—whether it's an Education campus, a network of Retail stores, or a corporate office with a BYOD policy—somewhere between 5 to 15 VLANs is the sweet spot. This is more than enough to get the job done right.
The key thing to remember is that adding VLANs doesn't hurt performance; it actually helps. By creating smaller, isolated broadcast domains, you cut down on all that network "chatter." This frees up bandwidth and makes the whole network feel faster for everyone.
AP VLAN Tagging vs. a Switch Trunk Port
This one trips people up all the time, but the two concepts are really just two sides of the same coin. They have to work together.
Here’s a simple way to think about it:
- A trunk port on your switch is like a multi-lane highway built to carry traffic from many different VLANs at once.
- VLAN tagging on a Meraki AP is the process of putting a digital license plate on every data packet, telling it which VLAN "lane" it belongs to.
So, when a user connects to your "Guest WiFi" SSID, the access point tags their traffic for the guest VLAN. When that traffic hits the switch, the trunk port reads the tag and keeps it in the correct lane, making sure it never mixes with your secure corporate traffic. If one of these pieces is missing, your segmentation just won't work.
Proper port configuration is the number one cause of VLAN-related connectivity issues. If a device can't get an IP address on a new VLAN, the first thing to check is that every link in the chain—from the AP to the switch to the firewall—is correctly configured as a trunk port to allow that VLAN's traffic to pass.
Can a Guest on My WiFi Access Corporate Servers?
If you've configured your VLANs and firewall correctly, the answer is a hard no. This isolation is the whole point. When a guest connects through a Captive Portal and gets placed on the guest VLAN, they are effectively on a completely separate virtual network.
To make this separation ironclad, you also need to set up Layer 3 firewall rules in your Meraki dashboard. This means creating a specific rule that explicitly denies any traffic from the guest VLAN's IP address range to your corporate VLAN's IP range. This is the single most critical security step for any public or guest wifi network.
If you're stuck, a resource like this guide on VLAN troubleshooting with Meraki MS switches can be a lifesaver for double-checking your work.
Why Use IPSK Instead of a Single WiFi Password?
Think of a standard WPA2 password as a single master key to your entire building. If that key gets lost or copied, your whole network is exposed. IPSK (Identity Pre-Shared Key) flips that model on its head by giving a unique password to every single person or device.
The security and management benefits are massive:
- Granular Control: If a user's device is lost or they leave the company, you just revoke their individual key. Nobody else is affected.
- Dynamic VLAN Assignment: With Authentication Solutions like EasyPSK, you can automatically shunt users into different VLANs based on their unique key. An employee and a contractor can connect to the same SSID, but their keys will place them into the "Employee" and "Contractor" VLANs, respectively.
This approach offers a powerful, dynamic security posture that a single shared password can't even come close to. It's the perfect solution for managing all the different user groups in a modern BYOD environment.
At Splash Access, we specialize in elevating your guest WiFi from a simple utility to a powerful tool for engagement and security. Learn how our instantly deployable captive portals and advanced authentication solutions can work for you.


