Hey there! Getting your Cisco switch configuration dialed in is the absolute bedrock of a high-performing and secure network. It’s the first, most critical step to ensure everything from Wi-Fi logins to resource access runs smoothly for your users.
Building Your Foundation for a Smart Network
Let's be honest—configuring a switch can feel like a purely technical chore. But really, you're setting the stage for everything that comes after. A solid configuration is non-negotiable, especially in busy environments like a school campus, a bustling retail store, or a corporate office juggling a Bring Your Own Device (BYOD) policy.
This groundwork is what allows powerful tools like Cisco Meraki access points and advanced Authentication Solutions to work their magic. It’s how you create a seamless captive portal, deploy robust security with things like IPSK and EasyPSK, and deliver a hassle-free connection for every student, shopper, or employee. A good starting point is understanding the principles of designing a robust network infrastructure.
The Core of Your Network
At the heart of this setup are managed switches. These devices give you the granular control you absolutely need for complex setups involving VLANs, port security, and traffic shaping. If you're not entirely familiar with them, we have a guide explaining what are managed switches. Check it out at: https://www.splashaccess.com/what-are-managed-switches/
This infographic gives a great visual overview of how a smart Wi-Fi network comes together, starting from the ground up.
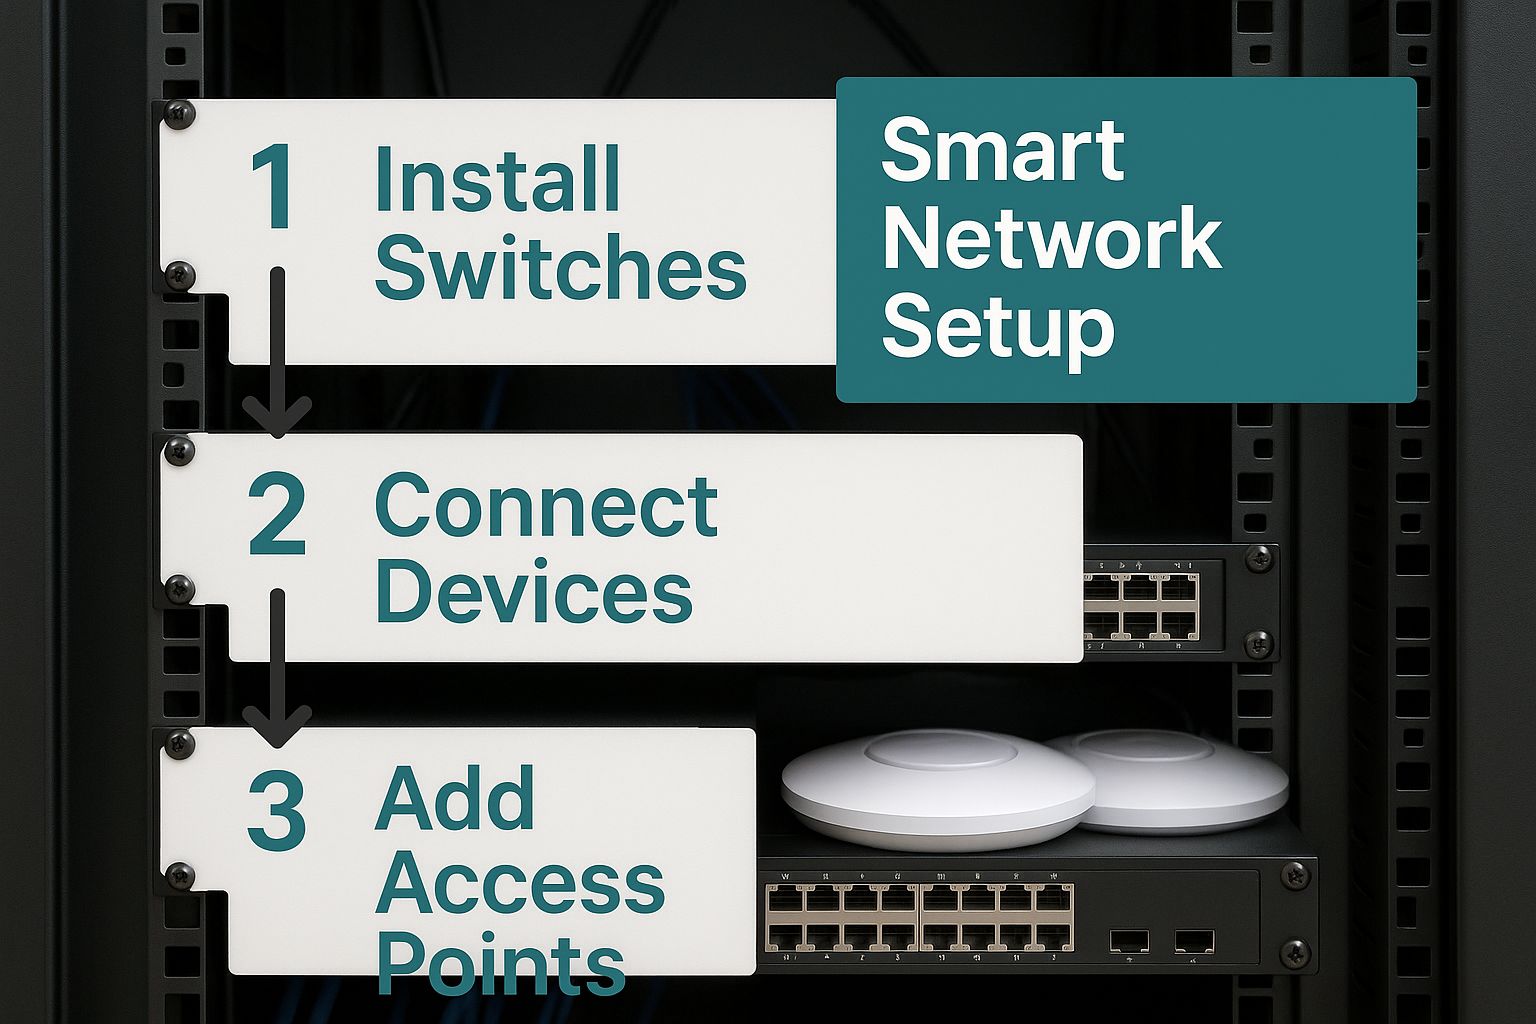
As the image shows, a successful network really does begin with well-configured hardware. It forms the base for secure and efficient wireless access for everyone.
There's a good reason we focus on Cisco hardware. They dominate the global Ethernet switch market, which speaks volumes about the reliability and versatility of their products. This market leadership also means you're tapping into a massive well of community support and field-tested dependability for your network's core.
Here's a quick look at the primary networking goals for Education, Retail, and Corporate BYOD environments, highlighting the pivotal role of the switch.
Core Configuration Goals for Different Sectors
| Sector | Primary Goal | Key Switch Configuration Role |
|---|---|---|
| Education | Secure, segmented access for students, staff, and guests. | VLANs to isolate traffic, port security to prevent unauthorized devices, and QoS to prioritize educational apps. |
| Retail | Seamless guest Wi-Fi for shoppers with marketing integration. | Trunking to APs, ACLs for security, and ensuring stable connectivity for POS systems and guest networks. |
| Corporate BYOD | Secure onboarding and access for personal devices without compromising the internal network. | Dynamic VLAN assignment, 802.1X authentication, and strict access policies per user role. |
Ultimately, no matter the environment, the switch configuration is where your network's security, speed, and reliability truly begin. Getting it right makes everything else fall into place.
Prepping Your Switch for Captive Portal Integration
Before you can roll out a slick captive portal that wows your users, your Cisco switch needs a little prep work. Think of this as laying the proper foundation for your network. Getting this groundwork right is what makes advanced authentication solutions possible, creating a smooth and secure experience for everyone, whether they're in a school (Education), a Retail store, or a Corporate BYOD environment.
The first and most critical step is network segmentation using VLANs (Virtual Local Area Networks). This isn't just a best practice; it's a security necessity. You absolutely have to separate your guest Wi-Fi traffic from your sensitive internal network. Creating a dedicated guest VLAN acts as a digital barrier, ensuring that a student's tablet or a shopper's phone can never access your company's private servers. This simple piece of cisco switch configuration is your first line of defense.
Ensuring Connectivity for Every Device
Once you have your guest VLAN, you need to make sure every device that connects can actually get an IP address. This is where the ip helper-address command becomes your best friend.
By pointing this command to your DHCP server, you ensure that even though guests are on a completely separate network, they can still request and receive an IP lease. Without it, their devices would connect to the Wi-Fi but couldn't access anything—a surefire way to frustrate your users.
This fundamental step paves the way for the magic of captive portals. If you want a deeper dive into how they function from a network manager's perspective, check out our comprehensive guide to captive portals for 2025. Honestly, understanding the mechanics will make the whole configuration process feel much more intuitive.
Next up, let's look at the switch ports that connect to your Cisco Meraki access points. These aren't just any old ports; they need to be configured as trunks.
Pro Tip: Think of a trunk port as a multi-lane highway for your network traffic. It allows multiple VLANs (like your internal network and your new guest network) to travel over a single physical cable to the access point. This is how a single AP can broadcast multiple Wi-Fi networks at the same time.
Configuring Your AP Ports
Setting up these ports correctly is straightforward, but it’s absolutely vital. You’ll need to define the trunking protocol and specify exactly which VLANs are allowed to cross that link.
Here’s a quick breakdown of what you're trying to achieve:
- Set the Port Mode: First, you'll configure the interface to operate in
switchport mode trunk. - Allow Specific VLANs: Then, use the
switchport trunk allowed vlancommand to explicitly permit your guest and internal VLANs. - Define the Native VLAN: It’s also wise to set a native VLAN, which is typically your management or internal data VLAN. This just tells the switch how to handle any untagged traffic coming from the AP.
Getting these basic interface settings right ensures that when a user connects to the guest SSID on a Meraki AP, their traffic is correctly tagged for the guest VLAN. The switch then knows exactly what to do with it, directing them toward your captive portal and eventually the internet—all while keeping your internal resources safely cordoned off. This is the foundation for deploying more advanced authentication solutions like IPSK and EasyPSK.
Unlocking Powerful Authentication with AAA
If you're ready to graduate from using a single, shared Wi-Fi password for everyone, then you're ready for AAA. We're about to walk through setting up Authentication, Authorization, and Accounting (AAA) on your Cisco switch, which is the cornerstone of any modern, secure network.
This isn't just another networking acronym; it's the framework that makes sophisticated authentication possible. Think of AAA as the gatekeeper for your network. It’s what allows your Cisco gear to validate credentials against a central authority, apply specific access rules, and log all the activity.
Why Centralized Authentication is a Game-Changer
With AAA, your switch stops making access decisions on its own. Instead, it queries an external RADIUS (Remote Authentication Dial-In User Service) server. This server becomes your single source of truth for who is allowed on the network and what they can do. For anyone managing more than a handful of users, this is a massive operational win.
This model is transformative, especially for dynamic environments:
- Effortless Scalability: Perfect for growing networks in Education or large Retail settings. Instead of touching every switch, you add or remove users in one place: the RADIUS server.
- Granular Security: You can get incredibly specific with access policies. A student's device can have different permissions than a faculty member's, or a corporate user can get different access than a guest.
- Detailed Auditing: AAA logs are a goldmine. They show who connected, when, and for how long, which is invaluable for troubleshooting, security audits, and just understanding how your network is being used.
This centralized approach is what makes next-generation Wi-Fi security a reality.
By passing authentication duties to a RADIUS server, you open the door to powerful technologies like Identity Pre-Shared Keys (IPSK) and solutions like EasyPSK. Suddenly, you're not managing one password for everyone—each user or device gets its own unique key. This dramatically tightens security in BYOD Corporate environments.
Connecting the Dots in Your Network
The real power of this setup shines when you integrate it with your existing identity systems. A common and highly effective strategy is to link your RADIUS server to a central user database like Active Directory. For a deeper look at how this works in practice, check out our guide on integrating Cisco Meraki with Active Directory and LDAP server support.
The actual cisco switch configuration for AAA involves a few critical commands. You’ll need to define the RADIUS server's details (like its IP and shared secret), create method lists that tell the switch how to process authentication requests, and finally, apply those policies to your guest VLAN. This configuration forces any device joining the guest network to be vetted by the AAA framework first.
Getting this right is a crucial skill, especially given how common Cisco hardware is. The company has long been a dominant force in networking, and its massive market share is built on a portfolio of switches, routers, and firewalls that power businesses all over the world.
Ultimately, enabling AAA is how you evolve from a simple password-protected network to a dynamic, identity-aware system. It's the critical piece that connects your switch, your Cisco Meraki access points, and the secure, seamless Captive Portals you want to provide for your users.
Implementing Web Authentication and Redirects
Alright, with the network groundwork and AAA framework set up, we get to the fun part: making sure users land on your captive portal. This is where your Cisco switch configuration becomes the star of the show, intercepting guest traffic and pointing it straight to your branded authentication page. We'll be focusing on Web-based Authentication (WebAuth) and the crucial access control lists (ACLs) that make it all work.
Think of this as connecting the secure backend you just built to the front-end login experience. It’s the handshake that ensures every student, shopper, or corporate guest in a BYOD environment sees a professional, secure login page before getting full internet access.

Building the Pre-Authentication ACL
Before a user authenticates, their device is stuck in what’s often called a "walled garden." It needs just enough access to get online but nothing more. This is exactly what a pre-authentication ACL does—it's a temporary rulebook for any device that hasn't proven who it is yet.
The goal here is to be strict but functional. You need an ACL that explicitly permits only the bare essentials while dropping everything else.
Here’s the breakdown of what your ACL absolutely must allow:
- DHCP: So devices can get an IP address. Without this, they're not even on the network.
- DNS: This allows devices to look up domain names, especially the address of your captive portal.
- HTTP/HTTPS to the Portal: This is key. It ensures users can actually see and load the login page.
Everything else—from Spotify to Outlook—gets blocked until the user authenticates through one of your Authentication Solutions. Getting this right is what keeps your guest network secure from the get-go.
Applying the Redirect Policy
Once the ACL is ready, you have to tell the switch what to do with the web traffic it intercepts. You’ll do this by applying a web-auth redirect policy directly to the guest VLAN interface. In this policy, you'll point to two things: the pre-authentication ACL you just created and the URL for your captive portal.
This redirect URL is simply the address of your Splash Access login page. When a guest opens a browser, the Cisco switch checks their traffic, sees they're unauthenticated, and immediately sends them to this URL. It’s a clean handoff from the network gear to the user's screen.
This is what makes the integration between Cisco Meraki APs and your switch so effective. The access points handle the wireless side, while the switch enforces the access rules, creating a single, secure system. It's the technical engine that supports advanced security like IPSK and EasyPSK while giving users a clean, branded welcome.
If you're looking for ideas on what your login page can look like, you can check out some great Meraki splash page examples to see what’s possible.
By pairing a tight ACL with a redirect policy, you create a controlled funnel where the only way forward for a new user is through your authentication portal. This setup is a must-have for networks in Education, Retail, and corporate environments where security and a smooth user experience are equally important.
Fine-Tuning for a Professional User Experience
Getting the core Cisco switch configuration in place is the heavy lifting, but the final touches are what truly elevate a network from functional to exceptional. These refinements are critical for delivering a secure and seamless experience, especially in demanding environments like Education, Retail, or corporate BYOD programs.
Let’s start with a foundational pro tip: implementing port security. This is your first line of defense at the physical layer, allowing you to lock down switch ports so only authorized devices can connect. It's a surprisingly simple way to prevent someone from plugging in a rogue laptop and gaining access to your network.
Prioritizing What Matters Most
Now, let's talk about managing the flow of data. This is where Quality of Service (QoS) comes in, acting like a traffic cop for your network. QoS lets you give priority to business-critical applications—think VoIP calls, video conferences, or crucial point-of-sale transactions.
You essentially tell the network to handle that important traffic first, ahead of less time-sensitive data like web browsing or social media updates. This ensures that even when the network is busy, your most important services don't slow down. For any organization running a mix of applications, this isn't a "nice-to-have," it's essential.
A smooth user journey is about more than just speed. The goal is to make the entire connection process, from joining the Wi-Fi to hitting the captive portal and authenticating, feel intuitive and seamless. This is a key part of building a positive brand perception.
Enhancing the User Journey
The last piece of the puzzle is all about the user's direct interaction with your network. Small details here make a huge difference. For instance, think about the session timeouts on your Captive Portals—are they set so users aren't annoyingly forced to log back in every few minutes?
The redirect to your splash page should be instant, and the page itself needs to be clean and easy to use. This level of polish directly impacts user satisfaction and is a cornerstone of customer experience personalization. To dig deeper into this, we’ve put together some great information on improving the customer experience through personalization.
These refinements are becoming more important every day. The campus Ethernet switch market is seeing huge growth in port shipments, a trend fueled by the need for more bandwidth and regular hardware upgrades. This tells us that networks are being built to handle much heavier loads. You can see the full analysis on this campus switch market growth.
By pairing robust Authentication Solutions like IPSK with a thoughtfully tuned network, you’re not just providing Wi-Fi; you’re delivering a truly professional service.
Answering Your Top Configuration Questions
We've covered a lot of ground on Cisco switch configuration, and it's totally normal for a few questions to pop up as you go. Let's walk through some of the most common ones we hear from people in the field, so you can feel confident getting everything set up correctly.
Can I Use This Configuration for Both Cisco Catalyst and Meraki Switches?
That's a great question, and the short answer is no—the process is quite different. The concepts are the same, but the execution is worlds apart.
This guide is built for the command-line interface (CLI) you'll find on Cisco IOS switches, like the ever-popular Catalyst series. This is where you get deep, hands-on control over every packet and port.
Cisco Meraki switches, on the other hand, are all managed through their slick cloud dashboard. You'll achieve the same results—creating VLANs, setting up RADIUS—but you'll do it with a graphical interface. Even so, understanding these IOS commands gives you a huge advantage, as it demystifies what Meraki's user-friendly dashboard is actually doing behind the scenes.
What's the Big Deal with IPSK? Isn't It Just a Wi-Fi Password?
This gets to the very core of modern, secure network access. A standard Wi-Fi password (technically a Pre-Shared Key, or PSK) is a single, static password that everyone shares. If one person leaks it or their device gets compromised, your only option is to change it for everyone. Imagine doing that in a busy Retail store or a large Education campus—it's a nightmare.
Identity Pre-Shared Key (IPSK), and solutions like EasyPSK, flips that model on its head. Instead of one key for everyone, it generates a unique, private key for each user or device.
The security benefit here is massive. Access is tied to an identity, not a shared secret. When a team member leaves your BYOD Corporate environment, you simply revoke their key. No one else is affected. It’s easily one of the most effective Authentication Solutions out there today.
Does My Cisco Switch Need a Direct Connection to the Internet?
Your switch itself doesn't need a public IP address, but it absolutely needs a path to the internet through your network's gateway. It also has to be able to reach your internal RADIUS and DNS servers to handle authentication requests and resolve hostnames.
The most critical piece of the puzzle is the guest VLAN. The VLAN you created specifically for guest traffic must have a clear, unfiltered route to the internet. When a new user connects, their first stop is a redirect to your cloud-hosted Captive Portals. If that guest VLAN can't get out to the internet, the redirect breaks, and users will be stuck, never even seeing your login page.
Ready to create a seamless and secure guest Wi-Fi experience? Splash Access provides the powerful captive portal and authentication solutions you need to make the most of your Cisco and Meraki hardware. Learn more and get started today at https://www.splashaccess.com.


